LOOSE PARTS KIT
DESCRIPTION | QTY | USE |
Steering wheel | 1 | On steering shaft |
Roll Pin | 1 | Secure steering wheel to shaft |
Stone Guard Assy. | 1 | Fitted to cutter head |
Spring Stone Guard | 1 | On stone guard pivot rod |
‘E’ Clip | 1 | In groove in pivot rod |
Ignition Keys | 1 | To start machine |
Plug Spanner | 1 |
|
SETTING UP INSTRUCTIONS
Fig. 4
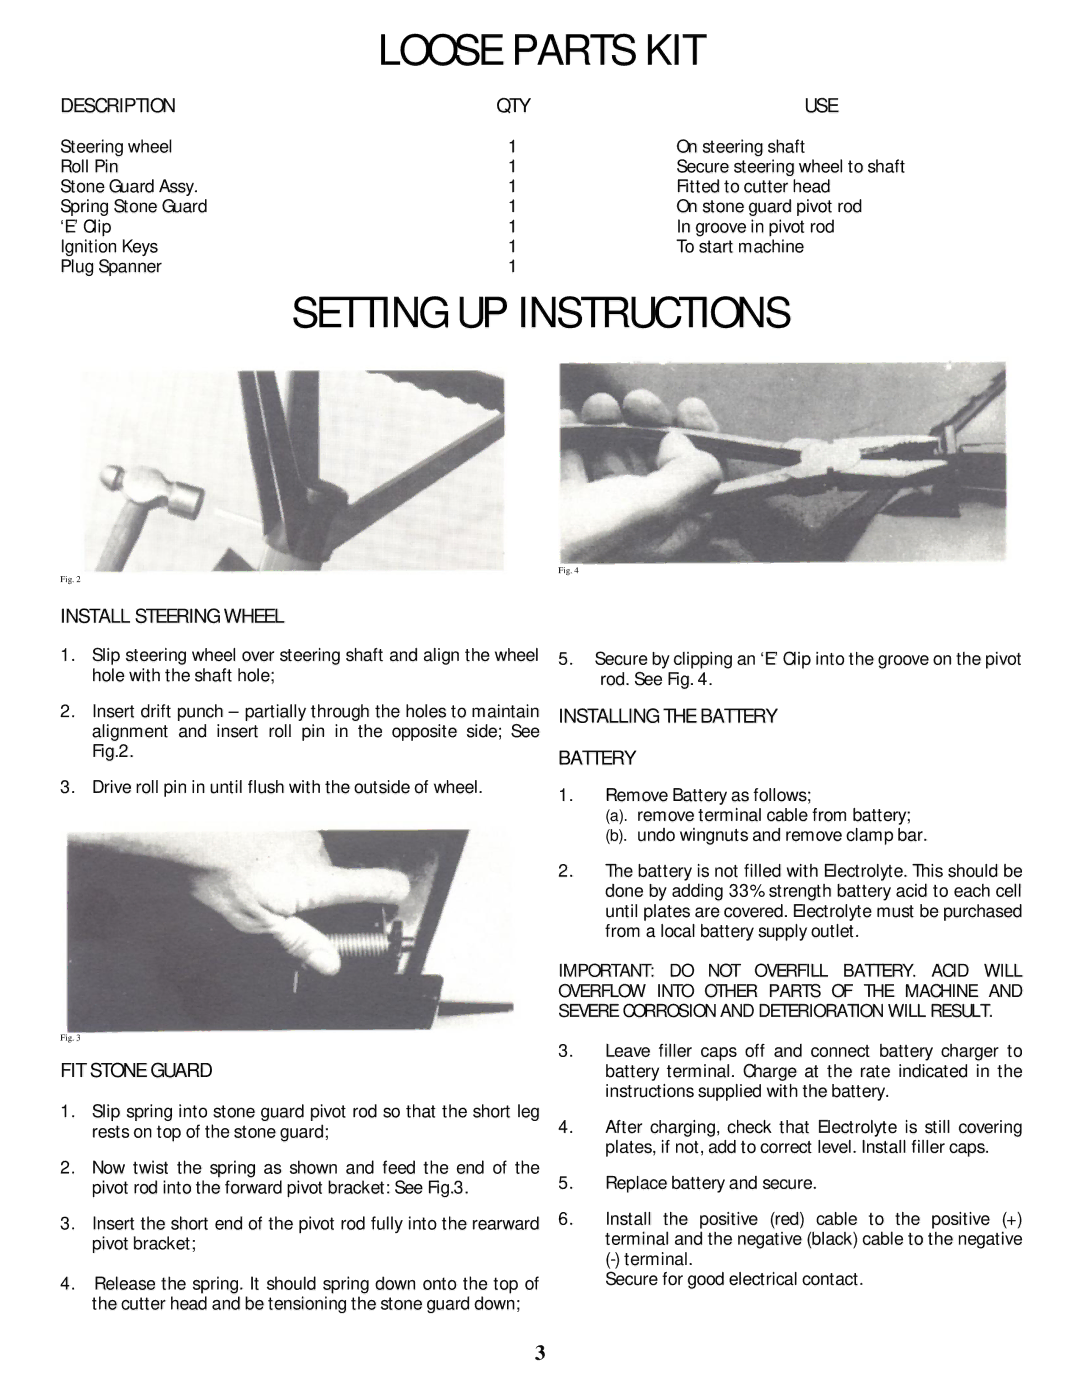
Fig. 2
INSTALL STEERING WHEEL
1.Slip steering wheel over steering shaft and align the wheel hole with the shaft hole;
2.Insert drift punch – partially through the holes to maintain alignment and insert roll pin in the opposite side; See Fig.2.
3.Drive roll pin in until flush with the outside of wheel.
Fig. 3
FIT STONE GUARD
1.Slip spring into stone guard pivot rod so that the short leg rests on top of the stone guard;
2.Now twist the spring as shown and feed the end of the pivot rod into the forward pivot bracket: See Fig.3.
3.Insert the short end of the pivot rod fully into the rearward pivot bracket;
4.Release the spring. It should spring down onto the top of the cutter head and be tensioning the stone guard down;
5.Secure by clipping an ‘E’ Clip into the groove on the pivot rod. See Fig. 4.
INSTALLING THE BATTERY
BATTERY
1.Remove Battery as follows;
(a). remove terminal cable from battery;
(b). undo wingnuts and remove clamp bar.
2.The battery is not filled with Electrolyte. This should be done by adding 33% strength battery acid to each cell until plates are covered. Electrolyte must be purchased from a local battery supply outlet.
IMPORTANT: DO NOT OVERFILL BATTERY. ACID WILL OVERFLOW INTO OTHER PARTS OF THE MACHINE AND SEVERE CORROSION AND DETERIORATION WILL RESULT.
3.Leave filler caps off and connect battery charger to battery terminal. Charge at the rate indicated in the instructions supplied with the battery.
4.After charging, check that Electrolyte is still covering plates, if not, add to correct level. Install filler caps.
5.Replace battery and secure.
6.Install the positive (red) cable to the positive (+) terminal and the negative (black) cable to the negative
Secure for good electrical contact.
3