Operation
•Lamp Hours: This menu page also displays the number of hours that the lamp has
been in service, and lets you reset the counter (which is recommended after you replace the lamp; refer to Lamp Replacement on page 55).
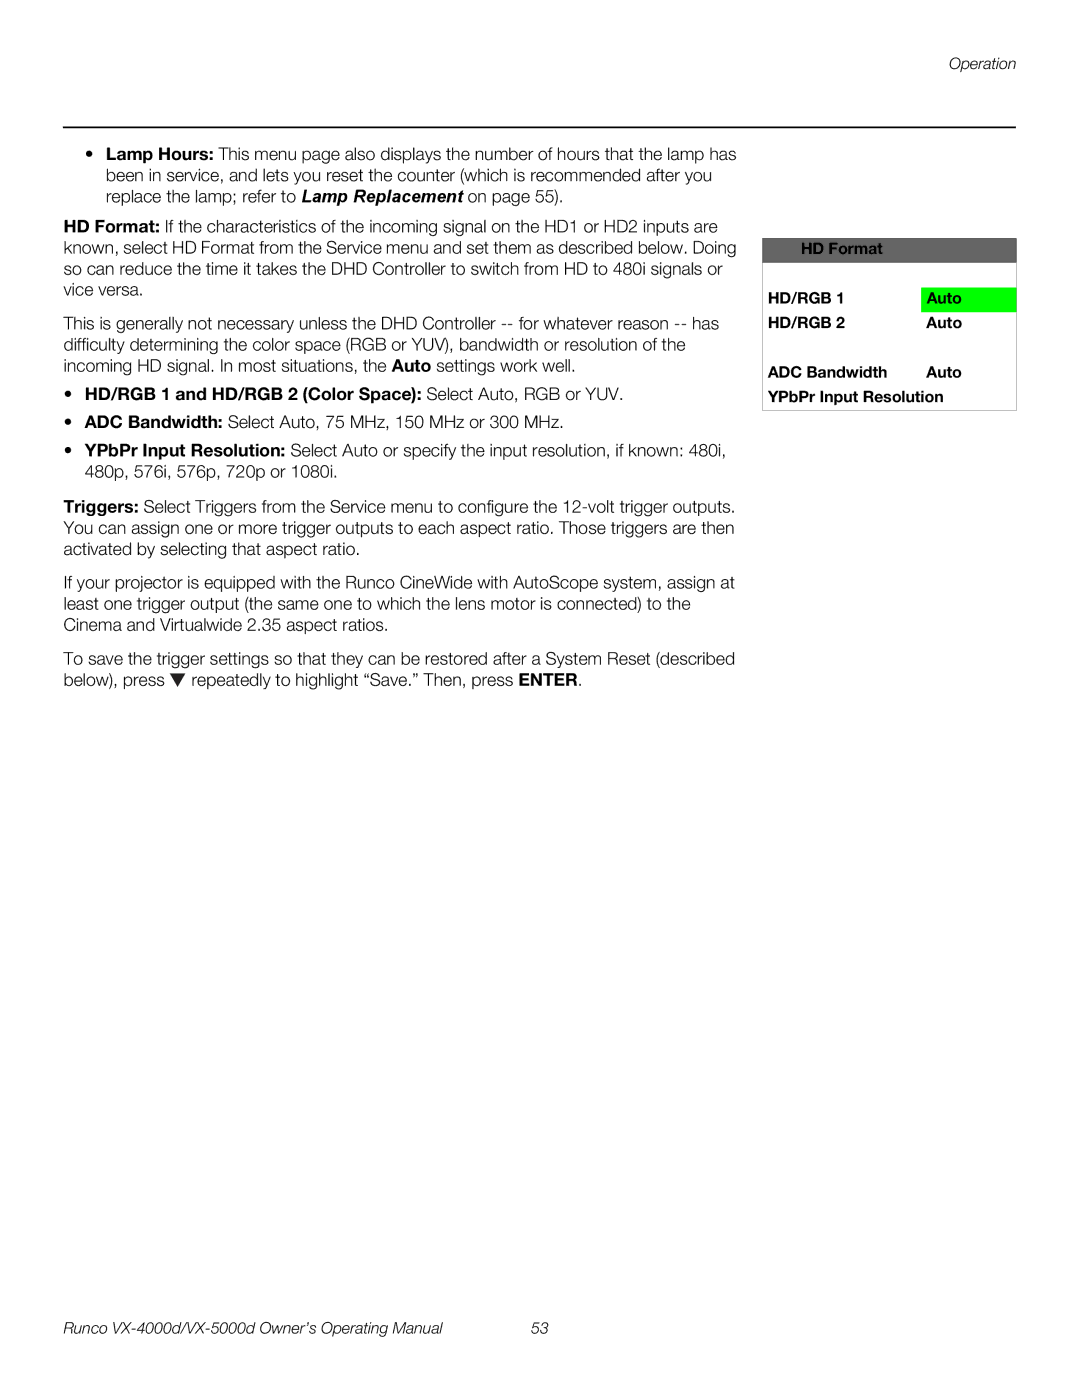
HD Format: If the characteristics of the incoming signal on the HD1 or HD2 inputs are known, select HD Format from the Service menu and set them as described below. Doing so can reduce the time it takes the DHD Controller to switch from HD to 480i signals or vice versa.
This is generally not necessary unless the DHD Controller
•HD/RGB 1 and HD/RGB 2 (Color Space): Select Auto, RGB or YUV.
•ADC Bandwidth: Select Auto, 75 MHz, 150 MHz or 300 MHz.
•YPbPr Input Resolution: Select Auto or specify the input resolution, if known: 480i, 480p, 576i, 576p, 720p or 1080i.
Triggers: Select Triggers from the Service menu to configure the
If your projector is equipped with the Runco CineWide with AutoScope system, assign at least one trigger output (the same one to which the lens motor is connected) to the Cinema and Virtualwide 2.35 aspect ratios.
To save the trigger settings so that they can be restored after a System Reset (described below), press ![]() repeatedly to highlight “Save.” Then, press ENTER.
repeatedly to highlight “Save.” Then, press ENTER.
HD Format
HD/RGB 1 | Auto |
HD/RGB 2 | Auto |
ADC Bandwidth | Auto |
YPbPr Input Resolution
Runco | 53 |