MAINTENANCE AND REPAIR INSTRUCTIONS (Continued)
4.Apply clean oil to the filter enough to saturate the filter (Fig. 26).
Fig. 26
5. Squeeze the filter to spread the oil (Fig. 27).
Fig. 27
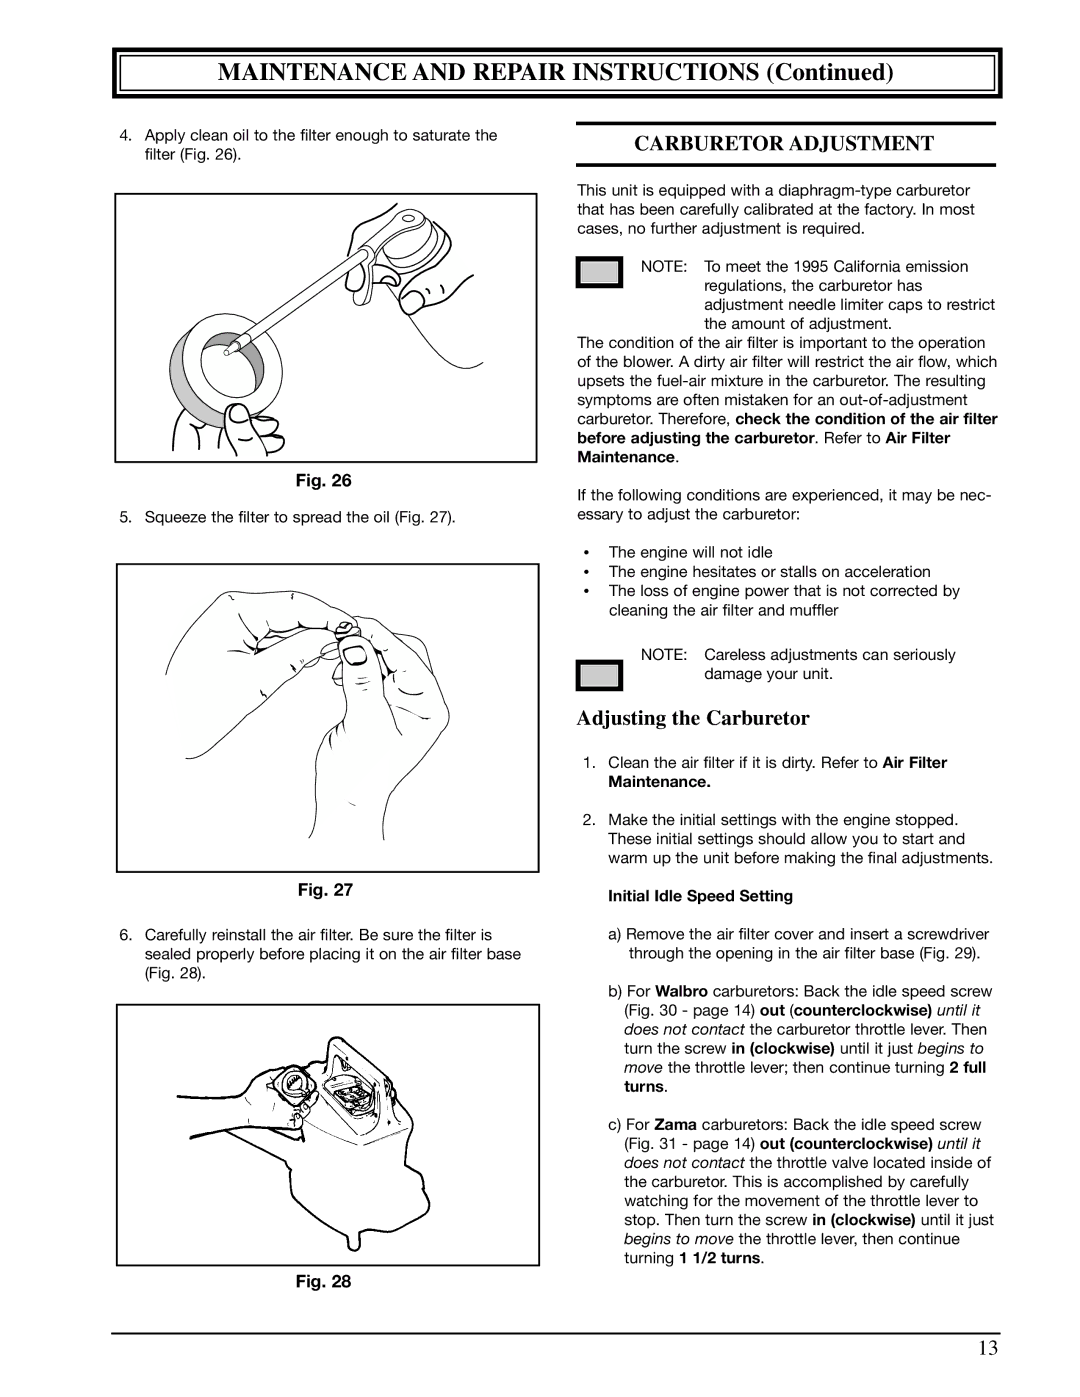
6.Carefully reinstall the air filter. Be sure the filter is sealed properly before placing it on the air filter base (Fig. 28).
Fig. 28
CARBURETOR ADJUSTMENT
This unit is equipped with a
NOTE: To meet the 1995 California emission
regulations, the carburetor has adjustment needle limiter caps to restrict the amount of adjustment.
The condition of the air filter is important to the operation of the blower. A dirty air filter will restrict the air flow, which upsets the
If the following conditions are experienced, it may be nec- essary to adjust the carburetor:
•The engine will not idle
•The engine hesitates or stalls on acceleration
•The loss of engine power that is not corrected by cleaning the air filter and muffler
NOTE: Careless adjustments can seriously damage your unit.
Adjusting the Carburetor
1.Clean the air filter if it is dirty. Refer to Air Filter
Maintenance.
2.Make the initial settings with the engine stopped. These initial settings should allow you to start and warm up the unit before making the final adjustments.
Initial Idle Speed Setting
a)Remove the air filter cover and insert a screwdriver through the opening in the air filter base (Fig. 29).
b)For Walbro carburetors: Back the idle speed screw (Fig. 30 - page 14) out (counterclockwise) until it does not contact the carburetor throttle lever. Then turn the screw in (clockwise) until it just begins to move the throttle lever; then continue turning 2 full turns.
c)For Zama carburetors: Back the idle speed screw (Fig. 31 - page 14) out (counterclockwise) until it does not contact the throttle valve located inside of the carburetor. This is accomplished by carefully watching for the movement of the throttle lever to stop. Then turn the screw in (clockwise) until it just begins to move the throttle lever, then continue turning 1 1/2 turns.
13