OPERATING INSTRUCTIONS
TIPS FOR BEST TRIMMING RESULTS
•Keep the cutting attachment parallel to the ground.
•Do not force the cutting attachment. Allow the tip of the line to do the cutting (especially along walls). Cutting with more than the tip will reduce cutting efficiency and may overload the engine.
•Cut grass over 8 in. (200 mm.) by working from top to bottom in small increments to avoid premature line wear or engine drag.
•Cut from right to left whenever possible. Cutting to the left improves the unit's cutting efficiency. Clippings are thrown away from the operator.
•Slowly move the trimmer into and out of the cutting area at the desired height. Move either in a
•Trim only when grass and weeds are dry.
•The life of your cutting line is dependent upon;
•Following the previous trimming techniques
•What vegetation is being cut
•Where it’s being cut
For example, the line will wear faster when trimming against a foundation wall as opposed to trimming around a tree.
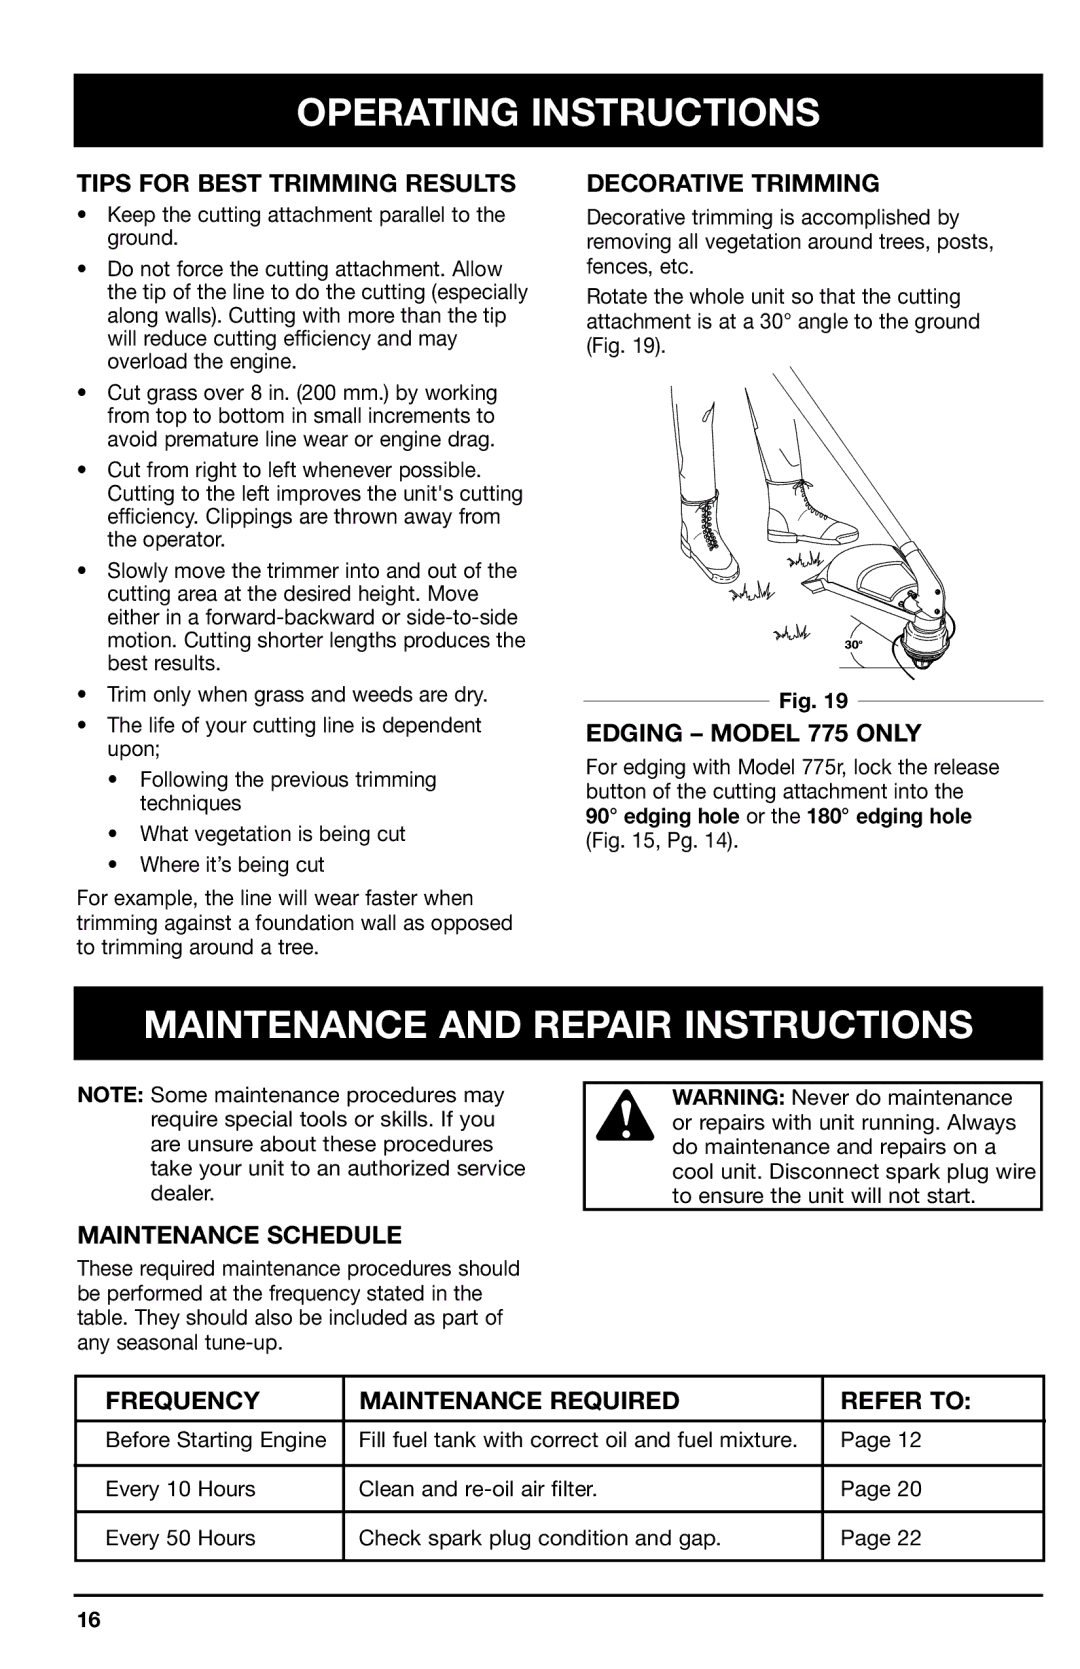
DECORATIVE TRIMMING
Decorative trimming is accomplished by removing all vegetation around trees, posts, fences, etc.
Rotate the whole unit so that the cutting attachment is at a 30° angle to the ground (Fig. 19).
Fig. 19
EDGING – MODEL 775 ONLY
For edging with Model 775r, lock the release button of the cutting attachment into the
90° edging hole or the 180° edging hole (Fig. 15, Pg. 14).
MAINTENANCE AND REPAIR INSTRUCTIONS
NOTE: Some maintenance procedures may require special tools or skills. If you are unsure about these procedures take your unit to an authorized service dealer.
WARNING: Never do maintenance or repairs with unit running. Always do maintenance and repairs on a cool unit. Disconnect spark plug wire to ensure the unit will not start.
MAINTENANCE SCHEDULE
These required maintenance procedures should be performed at the frequency stated in the table. They should also be included as part of any seasonal
FREQUENCY | MAINTENANCE REQUIRED | REFER TO: |
|
|
|
Before Starting Engine | Fill fuel tank with correct oil and fuel mixture. | Page 12 |
|
|
|
Every 10 Hours | Clean and | Page 20 |
|
|
|
Every 50 Hours | Check spark plug condition and gap. | Page 22 |
|
|
|
|
|
|
16