ASSEMBLY INSTRUCTIONS
INSTALLING AND ADJUSTING THE J-HANDLE - MODEL 775r
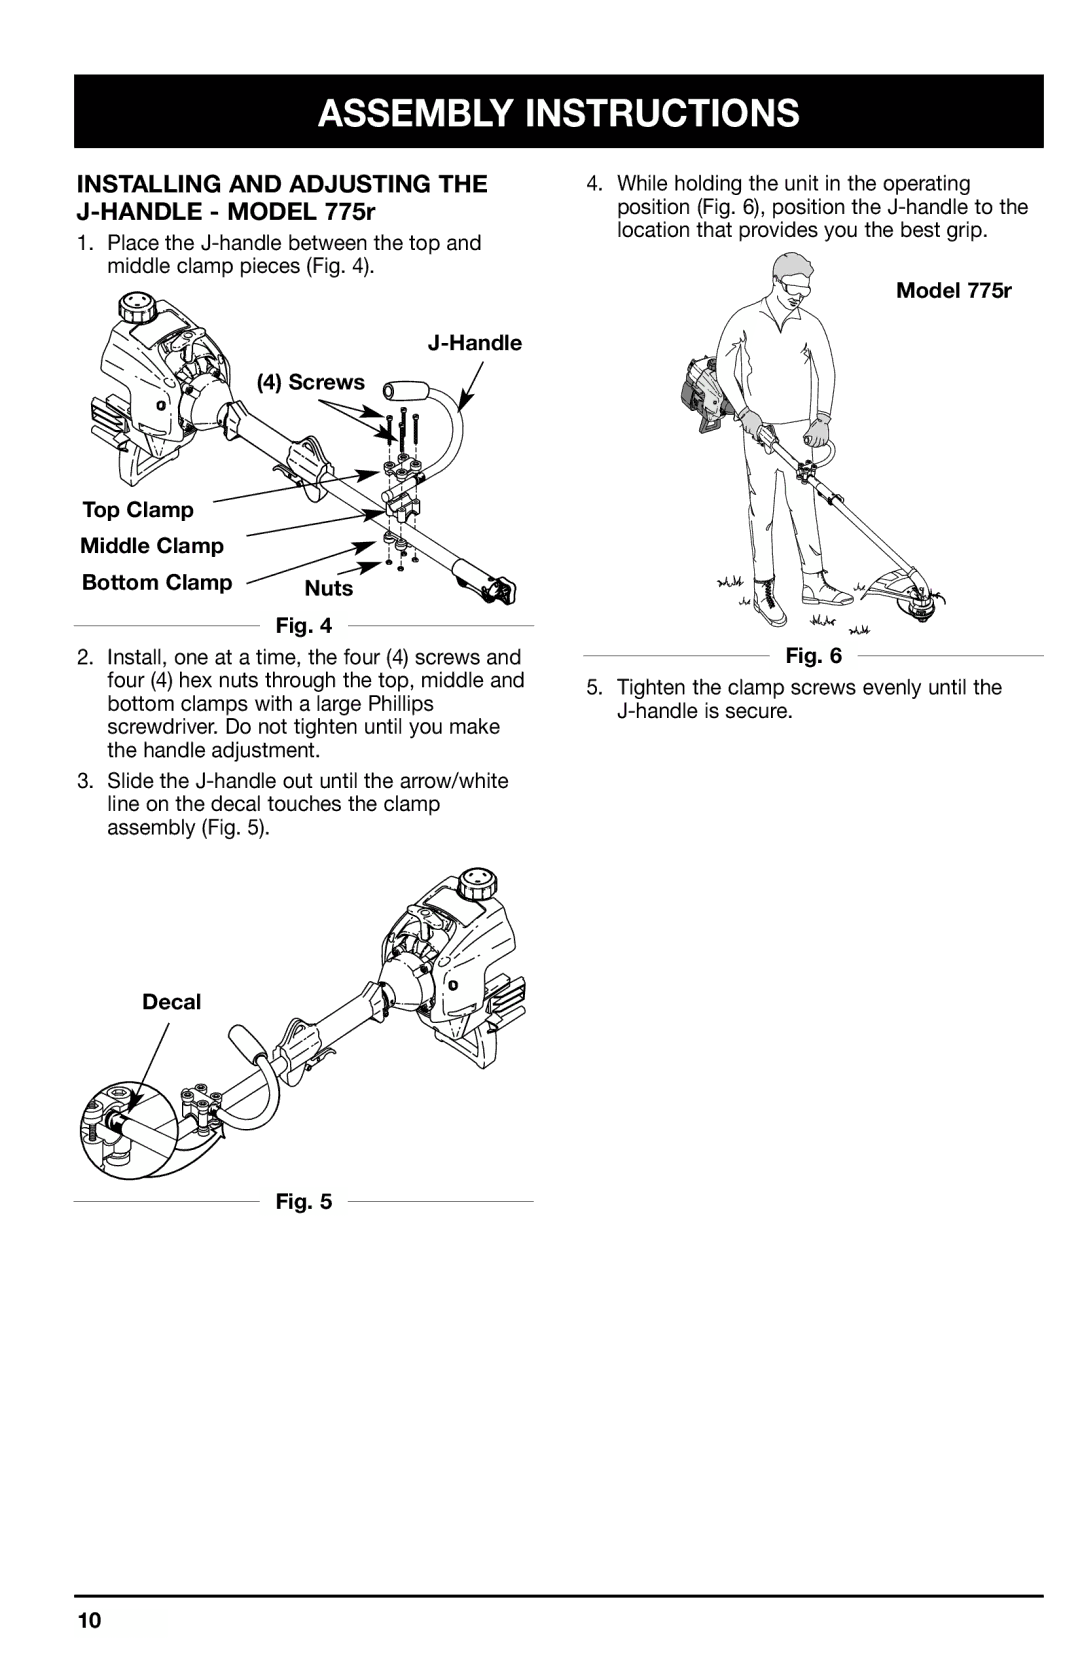
1.Place the
J-Handle
(4) Screws
Top Clamp |
|
Middle Clamp |
|
Bottom Clamp | Nuts |
Fig. 4
2.Install, one at a time, the four (4) screws and four (4) hex nuts through the top, middle and bottom clamps with a large Phillips screwdriver. Do not tighten until you make the handle adjustment.
3.Slide the
4.While holding the unit in the operating position (Fig. 6), position the
Model 775r
Fig. 6
5.Tighten the clamp screws evenly until the
Decal
Fig. 5
10