OPERATION
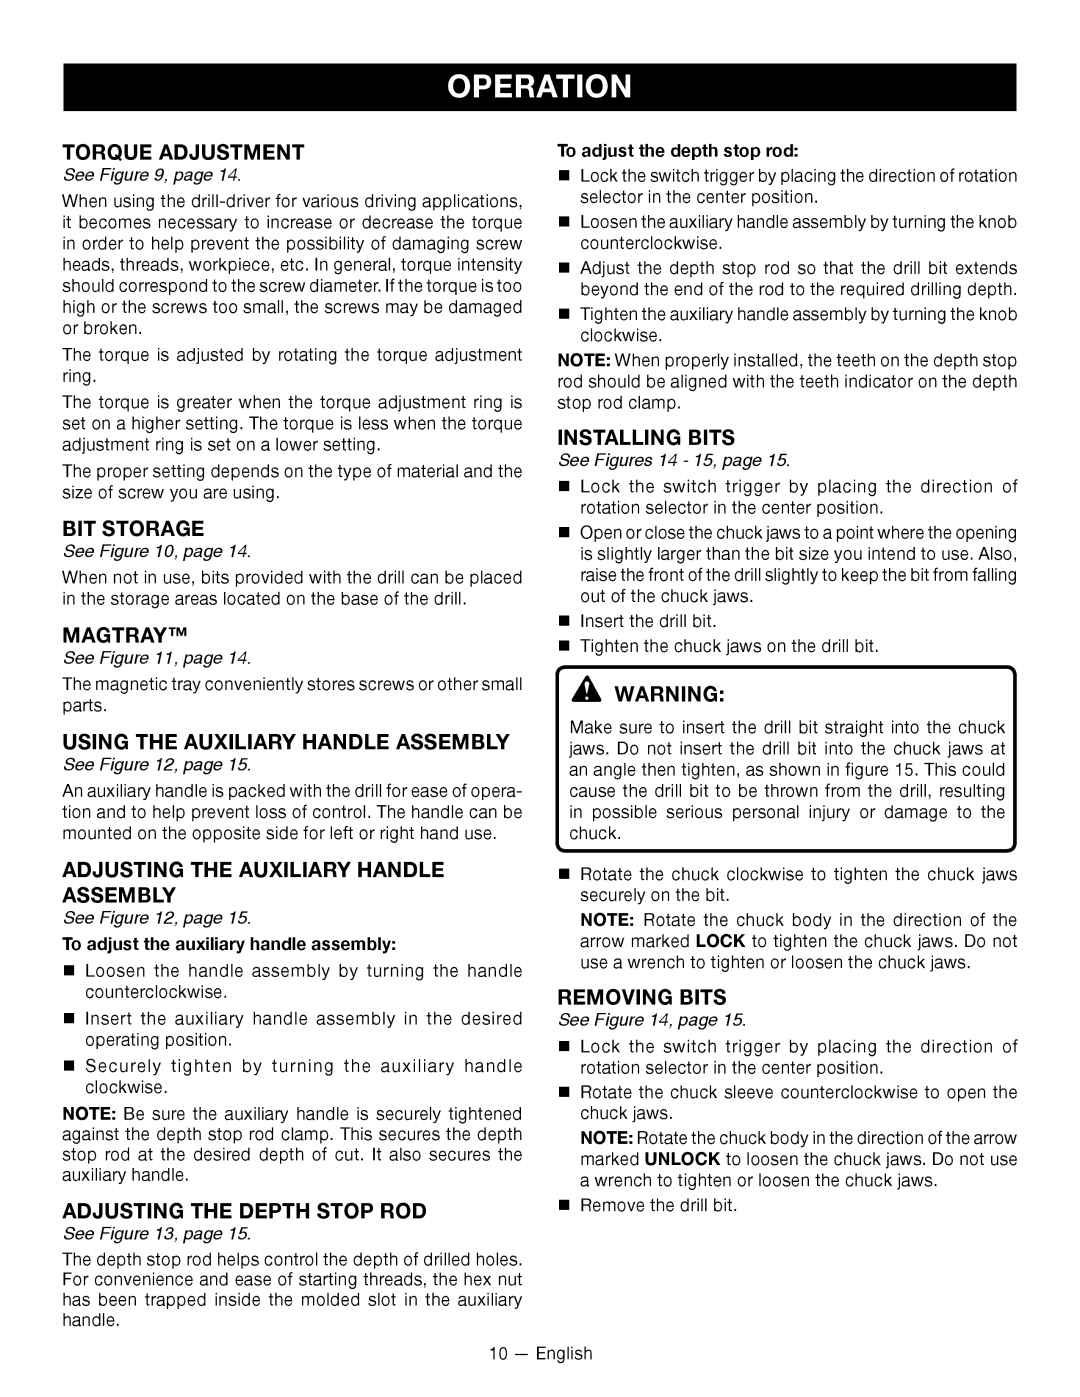
TORQUE ADJUSTMENT
See Figure 9, page 14.
When using the
The torque is adjusted by rotating the torque adjustment ring.
The torque is greater when the torque adjustment ring is set on a higher setting. The torque is less when the torque adjustment ring is set on a lower setting.
The proper setting depends on the type of material and the size of screw you are using.
BIT STORAGE
See Figure 10, page 14.
When not in use, bits provided with the drill can be placed in the storage areas located on the base of the drill.
MAGTRAY™
See Figure 11, page 14.
The magnetic tray conveniently stores screws or other small parts.
USING THE AUXILIARY HANDLE ASSEMBLY
See Figure 12, page 15.
An auxiliary handle is packed with the drill for ease of opera- tion and to help prevent loss of control. The handle can be mounted on the opposite side for left or right hand use.
ADJUSTING THE AUXILIARY HANDLE ASSEMBLY
See Figure 12, page 15.
To adjust the auxiliary handle assembly:
Loosen the handle assembly by turning the handle counterclockwise.
Insert the auxiliary handle assembly in the desired operating position.
Securely tighten by turning the auxiliary handle clockwise.
NOTE: Be sure the auxiliary handle is securely tightened against the depth stop rod clamp. This secures the depth stop rod at the desired depth of cut. It also secures the auxiliary handle.
ADJUSTING THE DEPTH STOP ROD
See Figure 13, page 15.
The depth stop rod helps control the depth of drilled holes. For convenience and ease of starting threads, the hex nut has been trapped inside the molded slot in the auxiliary handle.
To adjust the depth stop rod:
Lock the switch trigger by placing the direction of rotation selector in the center position.
Loosen the auxiliary handle assembly by turning the knob counterclockwise.
Adjust the depth stop rod so that the drill bit extends beyond the end of the rod to the required drilling depth.
Tighten the auxiliary handle assembly by turning the knob clockwise.
NOTE: When properly installed, the teeth on the depth stop rod should be aligned with the teeth indicator on the depth stop rod clamp.
INSTALLING BITS
See Figures 14 - 15, page 15.
Lock the switch trigger by placing the direction of rotation selector in the center position.
Open or close the chuck jaws to a point where the opening is slightly larger than the bit size you intend to use. Also, raise the front of the drill slightly to keep the bit from falling out of the chuck jaws.
Insert the drill bit.
Tighten the chuck jaws on the drill bit.
WARNING:
Make sure to insert the drill bit straight into the chuck jaws. Do not insert the drill bit into the chuck jaws at an angle then tighten, as shown in figure 15. This could cause the drill bit to be thrown from the drill, resulting in possible serious personal injury or damage to the chuck.
Rotate the chuck clockwise to tighten the chuck jaws securely on the bit.
Note: Rotate the chuck body in the direction of the arrow marked LOCK to tighten the chuck jaws. Do not use a wrench to tighten or loosen the chuck jaws.
REMOVING BITS
See Figure 14, page 15.
Lock the switch trigger by placing the direction of rotation selector in the center position.
Rotate the chuck sleeve counterclockwise to open the chuck jaws.
Note: Rotate the chuck body in the direction of the arrow marked UNLOCK to loosen the chuck jaws. Do not use a wrench to tighten or loosen the chuck jaws.
Remove the drill bit.
10 — English