Setting Up and Using Your S700 / S1000
Setting up your S700 / S1000 is a simple procedure which takes only a few minutes:
1.Remove all packing materials (save them in case of need for future service) and decide where the amplifier is to be physically
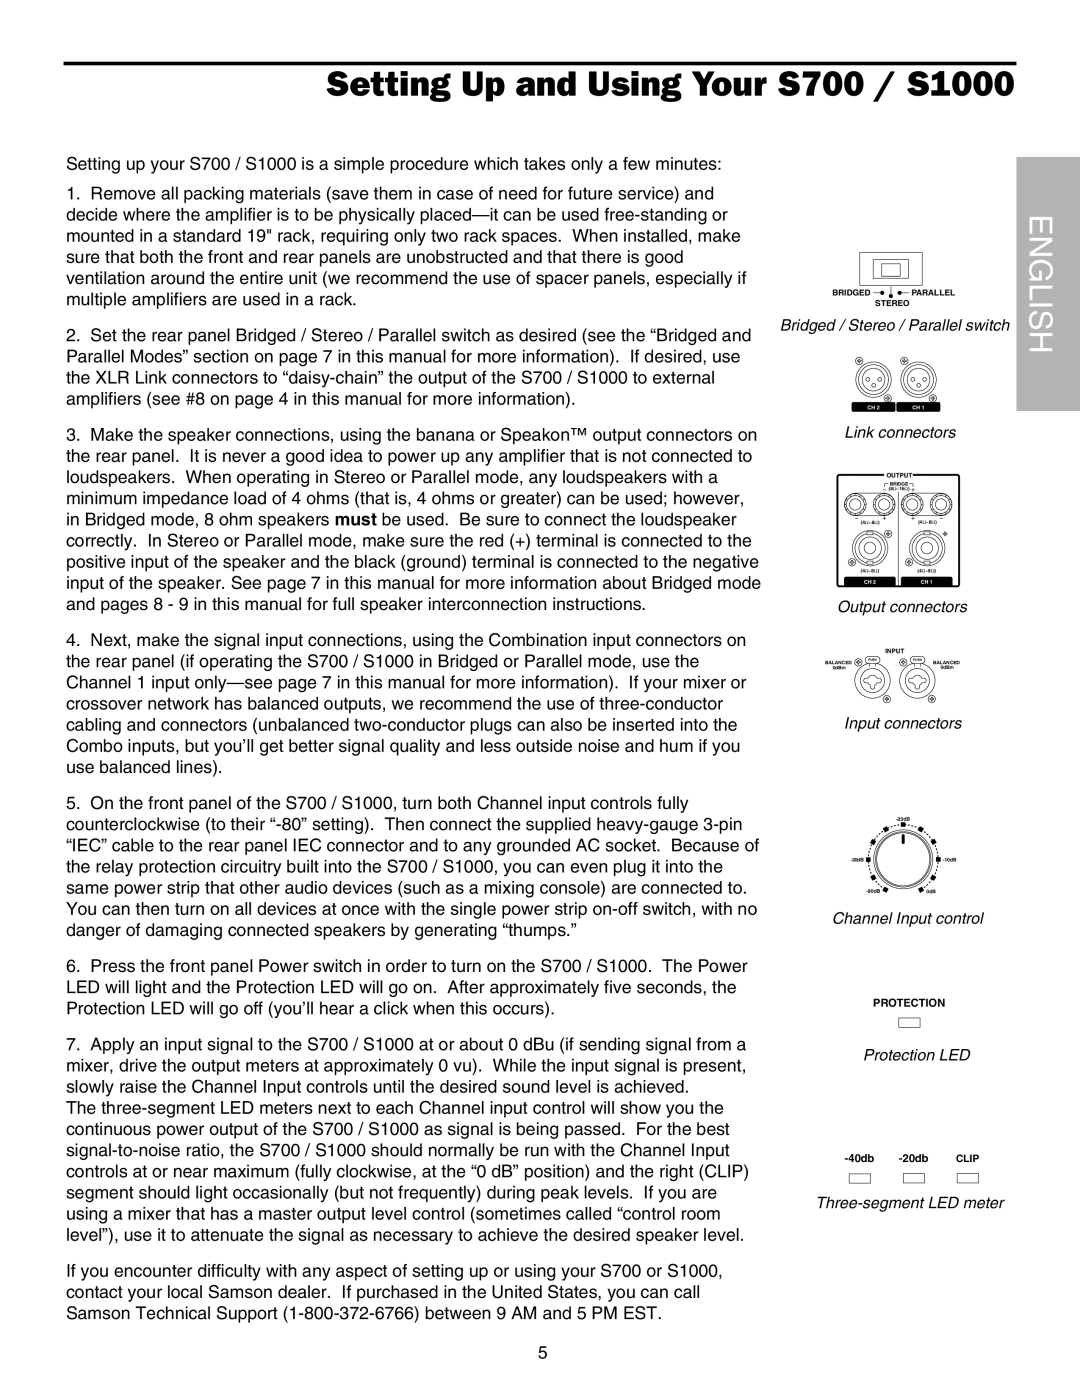
2.Set the rear panel Bridged / Stereo / Parallel switch as desired (see the “Bridged and Parallel Modes” section on page 7 in this manual for more information). If desired, use the XLR Link connectors to
3.Make the speaker connections, using the banana or Speakon™ output connectors on the rear panel. It is never a good idea to power up any amplifier that is not connected to loudspeakers. When operating in Stereo or Parallel mode, any loudspeakers with a minimum impedance load of 4 ohms (that is, 4 ohms or greater) can be used; however, in Bridged mode, 8 ohm speakers must be used. Be sure to connect the loudspeaker correctly. In Stereo or Parallel mode, make sure the red (+) terminal is connected to the positive input of the speaker and the black (ground) terminal is connected to the negative input of the speaker. See page 7 in this manual for more information about Bridged mode and pages 8 - 9 in this manual for full speaker interconnection instructions.
4.Next, make the signal input connections, using the Combination input connectors on the rear panel (if operating the S700 / S1000 in Bridged or Parallel mode, use the Channel 1 input
BRIDGED ![]()
![]()
![]() PARALLEL
PARALLEL
STEREO
Bridged / Stereo / Parallel switch
CH 2 | CH 1 |
Link connectors | |
| OUTPUT |
| BRIDGE |
| (8Ω~16Ω) |
(4Ω~8Ω) | (4Ω~8Ω) |
(4Ω~8Ω) | (4Ω~8Ω) |
CH 2 | CH 1 |
Output connectors | |
| INPUT |
PUSH | PUSH |
BALANCED | BALANCED |
0dBm | 0dBm |
Input connectors
ENGLISH
5.On the front panel of the S700 / S1000, turn both Channel input controls fully counterclockwise (to their
6.Press the front panel Power switch in order to turn on the S700 / S1000. The Power LED will light and the Protection LED will go on. After approximately five seconds, the Protection LED will go off (you’ll hear a click when this occurs).
7.Apply an input signal to the S700 / S1000 at or about 0 dBu (if sending signal from a mixer, drive the output meters at approximately 0 vu). While the input signal is present, slowly raise the Channel Input controls until the desired sound level is achieved.
The
If you encounter difficulty with any aspect of setting up or using your S700 or S1000, contact your local Samson dealer. If purchased in the United States, you can call Samson Technical Support
| |
0dB |
Channel Input control
PROTECTION
Protection LED
5