D R O I D T a B L E T
Address
Challenger Road
Samsung
Open Source Software
May play DivX video up to HD 1080p
Disclaimer of Warranties Exclusion of Liability
Table of Contents
100
101
102
104
131
157
172
176
181
This section helps you to quickly start using your device
Wireless and networks Wi-Fi settings
Getting Started
Special Text
Battery
Charging the Battery
Plug the Charging Head into a standard AC power outlet
Turning Your Device On and Off
Turning Your Device On
Setting Up Your Device
Turning Your Device Off
Touch Next to continue
Next
Retrieving Your Google Account Password
Using Google Maps
Task Manager
Task manager
Galaxy Tab Accessories
Press the Power/Lock Key
Securing Your Device
Locking the device manually
Troubleshooting
Android System Recovery
Release the Volume Down key
Reboot system now Turns on your device
Features
Built-in Wi-Fi technology 801.11 a/b/g/n
Understanding Your Device
Full Html Web Browser with Adobe Flash Technology
Power/Lock Key Press
Volume Key From a
Front View
Top and Bottom Views
Back View
Home Screen
Apps Display the Apps screen
Following items can be found on the back of your device
Touching Customize. From application screens, touch
Extended Home Screen
Customizing the Home Screens
Touch Customize
Time The current time. For more information, refer to
Screen Settings
Command Buttons
Navigating Your Device
Touch ScreenCapture
Notifications
Status Details
Screen Navigation
Quick Settings
Quick Settings are
Status Bar
GPS Active Displays when GPS is active
Wi-Fi In Range An open Wi-Fi network is in range
Primary Shortcuts
Widgets
Adding Widgets to a Home screen
Removing Widgets
Widget Options
Following widgets are available
Calendar on
Calendar Display a calendar. For more information, refer to
Page
Task Manager on
App Shortcuts
Adding Shortcuts from a Home Screen
Adding App Shortcuts from the Apps Screen
Removing App Shortcuts
Wallpapers
More
From a Home screen, touch and hold on the screen
From a Home screen, touch and hold on the screen
Mini App Tray
To close the app. For more information, refer
Apps Screen
Apps icons are arranged in alphabetic order
From a Home screen, touch Apps
Music player Displays the music player. Touch
Applications
Application Information
Understanding Your Device
Viewing Your Music Library on
Understanding Your Device
Entering Text
Virtual Qwerty Keyboard
Text Input Methods
Changing the Input Method
Entering Text Using Swype
For more information, refer to Configure Input Methods on
New
Configuring Swype
Entering Symbols and Numbers
Using Swype Speech Recognition
Swype Help
Entering Text Using the Samsung Keypad
Configuring the Keypad
Editing Keyboard
To display the Editing Keyboard
Entering Symbols and Numbers
Using XT9 Predictive Text
Entering Upper and Lower Case Letters
Touch to add an attachment from the Gallery
Editing Text
Editing Existing Text
Delete key
Copying, Deleting, or Replacing Text
Using the Handwriting Feature
Pasting Text
Closing the Keyboard
Touch Close Keyboard
Handwriting Settings
Handwriting Tips
Using Speech Recognition
Press twice to return to your message
Touch Speech Recognition again to speak and add more test
Setting Up Your Accounts
Contacts and Accounts
Accounts
Contacts
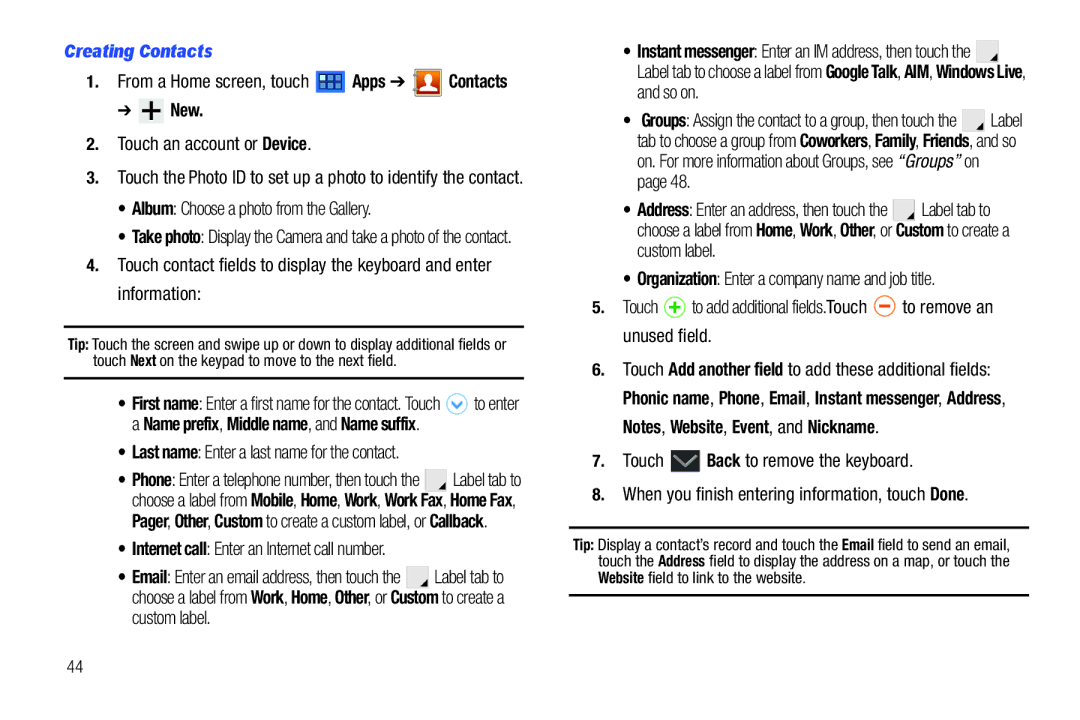
Creating Contacts
New
Updating Contacts
Deleting Contacts
Managing Photo IDs
Contacts Display Options
Settings
General settings Set the following Display options
Linked Contacts
Display options Set the following Display options
Sharing Contact Information
Touch Menu Send namecard via
Groups
Importing and Exporting Contacts
Creating a New Group
Renaming a Group
Deleting a Group
Adding Group Members
Removing Group Members
Accessing Favorites
Favorites
Adding Favorites
Touch Starred in Android
Setting Up Your Gmail Account
Messaging
Types of Messages
Gmail
Gmail Account Settings
Managing Your Gmail Account
Composing and Sending Gmail
Touch Compose
Gmail account settings Inbox settings
Configuring Email Accounts
Sync options
Notifications
Touch Menu Settings Add account
Enter the Email address, Password, and so on
Options are 1, 2, 5, 10, 20, 50, or 100 KB, or All
Touch Done
Account Settings
Composing and Sending Email
Managing Email
Application Preferences
Touch an email account to display the following settings
General settings
Exchange ActiveSync settings
Notification settings
Incoming Server Settings
Google Talk
Open Talk and Sign
From a Home screen, touch Apps Talk
Sign
Invite a Friend to Chat
View and Accept an Invitation to Become a Friend
Options While Chatting
Google Talk Settings
Additional Talk Options
Chat notifications
Voice & video chat settings
Account
About
Web and Social Networking
Books
Touch Apps Books Menu Help
Browser
Navigating the Web
Following options are available for web navigation
Touch Back or to return to the previous
Using Browser Windows
Screen, and then touch
Entering a URL
Copying Fields or Text
Using Bookmarks
While browsing, bookmark a site to quickly access it later
Bookmarks
Touch Bookmarks and History
Browser Menu
General
City / Town Enter your city and town
Privacy and Security
Clear history Delete the list of previously-visited pages
Advanced
Maps
Labs
Navigating the Map
Zooming
Maps Menu
Help Learn about Google maps
About View information about Maps
Other Map Options
Latitude
Touch Home Apps Latitude
Sharing Your Location with Friends
Touch Menu Add friends
Navigation
Latitude Menu
Places
Google Search
Layers Choose map layers to display
Google Search
Voice Search
YouTube
Voice Search
Flag Flag the video for YouTube review
Music
Music App
Changing Library View
Playlists, or Genres
Changing Music Settings
Searching for Music
Listening to Music
Playing Music
To play a song
Label area under an item and touch Play
Displaying the Now Playing Screen
Creating a Playlist
Touch Menu Add to playlist New playlist
Adding Songs to Playlists
Touch Menu Add to playlist
Viewing Your Music Library
Deleting a Playlist
Music player
Managing Your Music
Rename playlist
Touch and touch a playlist
Add music
Changing Music Settings
Touch Remove to delete the selected playlist
Playing a Playlist
Deleting a Playlist
Accessing the Music Player
Music Player
To play a song From the Home screen, touch Apps
Touch a song or playlist to begin playback
Volume Channel Mode Progress Shuffle
Channel Mode Touch to enable stereo sound
Song Title
Repeat Time
Music Hub
From the Home screen, touch Music Hub
Back to exit Music Hub Home screen displays
Touch one of the following options
My page Displays the following options
Purchase List Displays a list of your purchases
Help Display help information for Music Hub
Mode Camera Image Viewer Options
Photos and Video
Camera
Taking Photos
Focus mode Set the focus mode to Auto focus or Macro
Camera Options
Viewing Photos with the Image Viewer
Camcorder
Current or Elapsed Time Mode Record Image Viewer Options
Recording Videos
Camcorder Options
Flash Touch Off or On
Settings Video
Exposure value Set the brightness of the video
Viewing Videos with the Image Viewer
Video
From a Home screen, touch Apps Video
Touch the Thumbnails, List, or Folders tab
While viewing the list, touch Menu for options
Gallery
Selecting Photos and Videos to View
Touch Menu to display the Make available offline option
Viewing Categories of Photos and Videos
Viewing Photos and Videos
Touch Menu to display the following options for photos
From a Home screen, touch Apps Gallery
Setting a Photo as a Contact Icon
Setting a Photo as Wallpaper
Setting a Photo as a Lock Screen
Playing Videos
Sharing Photos and Videos
Share photos and videos with your friends
Color Set the Auto adjustment, Exposure
Photo Editor
Photo editor
Crop Touch to crop cut-out an area of a photo
Media Hub
Media Hub screen displays
Movie Studio
Movie Studio
Adding a New Movie Project
Movie Studio Touch New project
Remove Delete the selected segment
Deleting a Movie Project
Wi-Fi
Configuring Wi-Fi Settings
Turning Wi-Fi On or Off
Connections
Bluetooth
Scanning and Connecting to a Wi-Fi Network
Adding a Wi-Fi Network Manually
Touch Save to save the settings
Turning Bluetooth On or Off
Pairing with a Bluetooth Device
Managing Downloads
Uninstalling an App
There are several ways to uninstall an app
Samsung Kies
Applications Manage applications
Connecting With Samsung Kies
Install Samsung Kies software on your PC
Applications and Widgets
GPS Applications
104
Alarm
Adding and Configuring Alarms
Activating Alarms
Deactivating and Deleting Alarms
Alarm Settings
Alarm Volume
Configuring AllShare
AllShare
Amazon Kindle
Amazon MP3
Amazon Kindle
Amazon MP3
Enter the first number using the numeric keys
Calculator
Touch a playlist, an artist, an album, or a song
Touch player to return to the music player
Calendar
Touch a tab to choose a calendar view
Creating a Calendar Event
To create a calendar event
Touch Menu Settings
Calendar view settings
Reminder settings
Managing Calendar Events
Downloads
Dual Clock
Touch Widgets Dual clock
EBook
Options While Reading a Book
Touch Back to return to the eBook main screen
From a Home screen, touch Apps eBook
Managing Your Books
To add more books to your library, touch Shop
From a Home screen, touch Apps Gallery
From the Home screen, touch Apps Gmail
Market
From a Home screen, Google From a Home screen, touch Apps
From the Home screen, touch Maps
From the Home screen, touch Market
Browse for items to install
Accounts Touch the account you want to use
My Apps
Touch Menu for the following options
Memo
Composing a Memo
Touch New Memo, compose the memo, then touch Done to save
Memo List Options
Memo Options
117
Moviefone
Music
From a Home screen, touch Music Hub
From the Home screen, touch Apps Music
Display mode Enable or disable thumbnails for each file
MyFiles
From a Home screen, touch Apps MyFiles
While viewing a photo file
Pen Memo
While viewing a video file
Composing a Pen Memo
Touch New Memo
Pen Memo List Options
While viewing the list of Memos
121
Polaris Office
Touch the body of the memo to edit the memo
From a Home screen, touch Apps Places
Polaris Office
Settings Displays the following options
File list settings
Pulse
123
Readers Hub
Samsung Apps
Screensaver
Settings
Social Hub
Deleting the Screensaver Icon
Screensaver Options
Update Your Status
Talk
Videos
Social Hub Messages Options
Words
World Clock
World Clock
Touch the on the pop-up to add the city
Yahoo Finance
To add the Yahoo Finance widget
Adding Your First Stock
To add your first stock
Additional Options
Delete Touch to delete the stock being displayed
129
130
Settings
Accessing Settings
Wireless and Networks
Flight Mode
Specify when to disconnect from Wi-Fi
Set up and manage wireless access points
Touch Menu for these settings
Never
Bluetooth Settings
Device settings
VPN settings
Wireless and networks VPN settings
Adding a VPN
Touch Add Pptp VPN
Sound Settings
Vibrate Mode
Volume
Notification Ringtone
Sound Notification ringtone
Audible Selection
Screen Settings
Haptic Feedback
Vibration Intensity
Brightness
Timeout
Mode
Auto-Rotate Screen
Animation
Power Saving Mode
Auto Adjust Screen Power
Location and Security
Horizontal Calibration
Lock Screen
PIN Select a PIN to use for unlocking the screen
Remote controls checked message displays Touch OK
Password field
Encryption
Find My Mobile
Passwords
Device Administration
Location and security Touch Device administrators
Credential Storage
Running Services
Applications Running services
Stop system service? pop-up displays
Manage Applications
Battery Use
Memory Usage
Unknown Sources
Development
General Sync Settings
Accounts and Sync
Samsung Apps
Applications Samsung Apps
Touch an account to display its settings
Manage Accounts
Accounts and sync Touch Add account
Touch one of the account types
Motion Settings
To view the account settings for an account
Motion settings
Firewall
Backup and Restore
Privacy
Manage your device’s use of personal information
Privacy
Storage
Language and Input
Select Language
Voice Input and Output
Keyboard Settings
Language and input Current input method
Language and input Input method selector
Preferences
Swype Advanced Settings
Tutorial View a tutorial for learning how to Swype
Language key
Help
Text correction
Accessibility
Accessibility
Accessibility Applications
Touch TalkBack to install TalkBack
Accessibility Scripts
Date and Time
Touch Screen Controls
Medium, or Long
Software Update
About device Touch Software update
About Device
About device
Software Update Options
Health and Safety Information
Exposure to Radio Frequency RF Signals
Information before using your Galaxy
Do cell phones pose a health hazard?
Interphone Study
158
Reducing Exposure Hands-Free Kits and Other Accessories
Reduce the amount of time spent using your cell phone
Cell Phone Industry Actions
Steps to Reduce Exposure to Radio Frequency Energy
Children and Cell Phones
Hands-Free Kits
160
Specific Absorption Rate SAR Certification Information
162
Battery Use and Safety
Smart Practices While Driving
Samsung Mobile Products and Recycling
164
Display / Touch-Screen
UL Certified Travel Charger
Your Location
Navigation
Emergency Communication
166
Care and Maintenance
Responsible Listening
American Academy of Audiology
168
Patriots Plaza Building Washington, DC
Email cdcinfo@cdc.gov
Operating Environment
Persons who have such devices
Restricting Childrens Access to Your Mobile Device
Other Medical Devices
Vehicles
Posted Facilities
Other Important Safety Information
FCC Notice and Cautions
FCC Notice
171
Warranty Information
Standard Limited Warranty
What is covered and for how long?
What is not covered?
What must you do to obtain warranty service?
What are SAMSUNG’s obligations?
What are the limits on SAMSUNG’s liability?
173
What is the procedure for resolving disputes?
174
175
Precautions for Transfer and Disposal
End User License Agreement for Software
Severability
Samsung Electronics America, Inc Challenger Road
177
Disclaimer of Warranty Regarding Third-Party Applications
178
179
180
Index
Firmware Update Gallery
Location and security settings
Kies Language and keyboard settings
Gmail
Navigation 17 command keys 21 Primary Shortcuts 21 screen
Pairing with Bluetooth Photo ID
Polaris Office Powering On and Off Privacy settings
Reset
Synchronization settings
System Recovery Text
Voice Search Volume
Wi-Fi

 New.
New.