4. ZONE SET
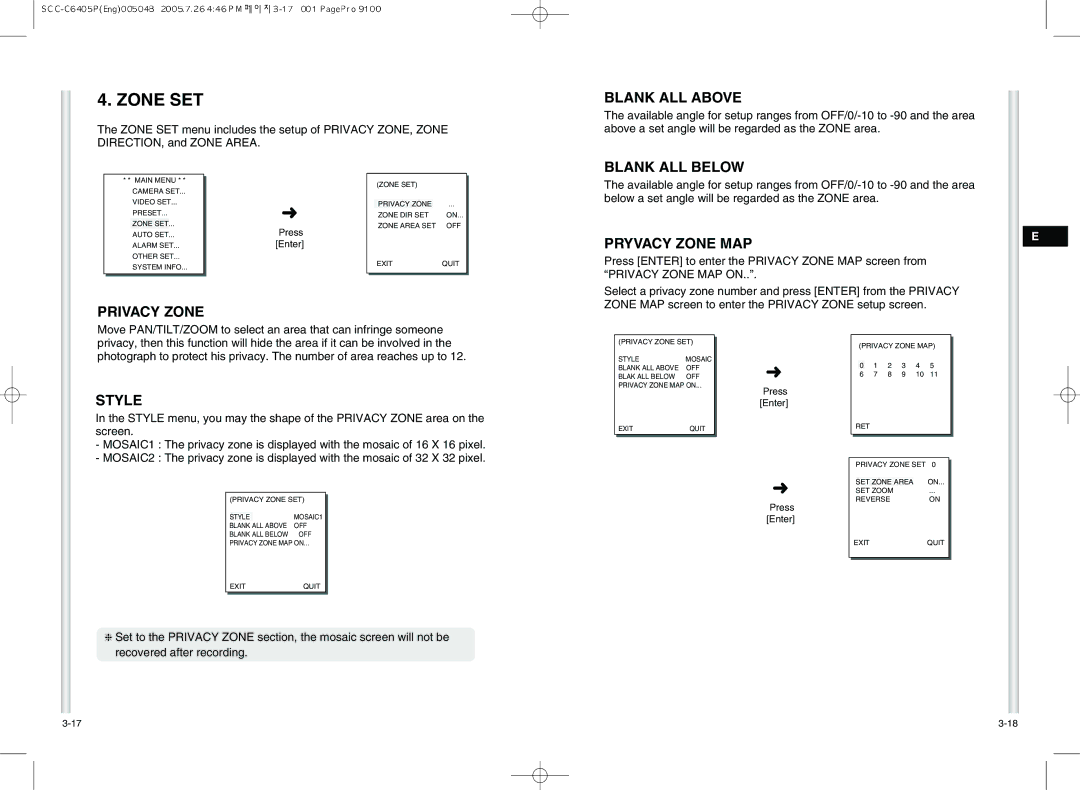
The ZONE SET menu includes the setup of PRIVACY ZONE, ZONE DIRECTION, and ZONE AREA.
BLANK ALL ABOVE
The available angle for setup ranges from
BLANK ALL BELOW
* * MAIN MENU * *
CAMERA SET...
VIDEO SET...
PRESET...
ZONE SET...
AUTO SET...
ALARM SET...
OTHER SET...
SYSTEM INFO...
➜
Press [Enter]
| (ZONE SET) |
|
| |
|
|
| ||
|
|
|
| |
| PRIVACY ZONE |
| ... |
|
| ZONE DIR SET | ON... |
| |
| ZONE AREA SET | OFF |
| |
| EXIT | QUIT |
| |
|
|
|
|
|
The available angle for setup ranges from
PRYVACY ZONE MAP
Press [ENTER] to enter the PRIVACY ZONE MAP screen from “PRIVACY ZONE MAP ON..”.
E
PRIVACY ZONE
Select a privacy zone number and press [ENTER] from the PRIVACY ZONE MAP screen to enter the PRIVACY ZONE setup screen.
Move PAN/TILT/ZOOM to select an area that can infringe someone privacy, then this function will hide the area if it can be involved in the photograph to protect his privacy. The number of area reaches up to 12.
STYLE
In the STYLE menu, you may the shape of the PRIVACY ZONE area on the screen.
-MOSAIC1 : The privacy zone is displayed with the mosaic of 16 X 16 pixel.
-MOSAIC2 : The privacy zone is displayed with the mosaic of 32 X 32 pixel.
(PRIVACY ZONE SET)
STYLE |
| MOSAIC1 |
BLANK ALL ABOVE | OFF | |
BLANK ALL BELOW | OFF | |
(PRIVACY ZONE SET)
STYLE | MOSAIC |
BLANK ALL ABOVE | OFF |
BLAK ALL BELOW | OFF |
PRIVACY ZONE MAP | ON... |
EXIT | QUIT |
➜
Press [Enter]
➜
Press [Enter]
(PRIVACY ZONE MAP)
0 | 1 | 2 | 3 | 4 | 5 |
6 | 7 | 8 | 9 | 10 | 11 |
RET
PRIVACY ZONE SET 0
SET ZONE AREA | ON... |
SET ZOOM | ... |
REVERSE | ON |
PRIVACY ZONE MAP ON... | |
EXIT | QUIT |
❈Set to the PRIVACY ZONE section, the mosaic screen will not be recovered after recording.
EXITQUIT