DVD-R130S
Reorient or relocate the receiving antenna
Getting Started
De la prise et pousser jusqu au fond
FCC Note for U.S.A
Handling Cautions
Precaution
Important Safety Instructions
Maintenance of Cabinet
Audio CD
Disc Specifications
Disc Storage
DVD-Video
DVD-RAM Disc Playback
DVD-RW VR mode
DVD-RW Video mode
DVD-RW Disc Playback and Recording
Contents
Playing Entries in the Playlist Renaming a Playlist Entry
Zooming-In Using Bookmarks Using Markers
Advanced Editing Playlist
Creating a Playlist G77
Started
Format the disc to start recording
Using a DVD-RW
Using a DVD-R
Before Reading
When using a DVD-RW disc in VR Mode
When using a DVD-RW disc in Video Mode
When using a DVD-R disc
Description
Front panel
Front Panel Display
Antenna connection does not pass
Check for the supplied accessories below
Unpacking
Rear Panel
Tour of the Remote Control
Quick Overview
Setting Up
DVD playback
Connecting the Antenna Cable
Antenna + DVD Recorder + TV No Cable box
VHF/UHF ANT RF OUT jack of this
English
English
See pages 21 ~
Connecting the Video Cable
Connecting to a Video input jack
You will enjoy normal quality images
Video or Component video outputs are
Connecting to an S-Video input jack
Video input mode
TV input selection settings
R jacks On your TV or AV amplifier
Connecting to Component video input jacks Y,PB,PR
Connect Component video cablesnot supplied
R jacks on
Connecting the Audio Cable
Connecting to your TV
This connection will use your TV’s speakers
Connecting to a stereo amplifier with analog input jacks
Connecting to an AV amplifier with a digital input jack
Manufactured under license from Dolby
DTS and DTS Digital Out are trademarks of DTS, Inc
Connecting External Devices
Connecting a Camcorder to the AV 2 in jacks
Connecting a Camcorder to the DV in jack
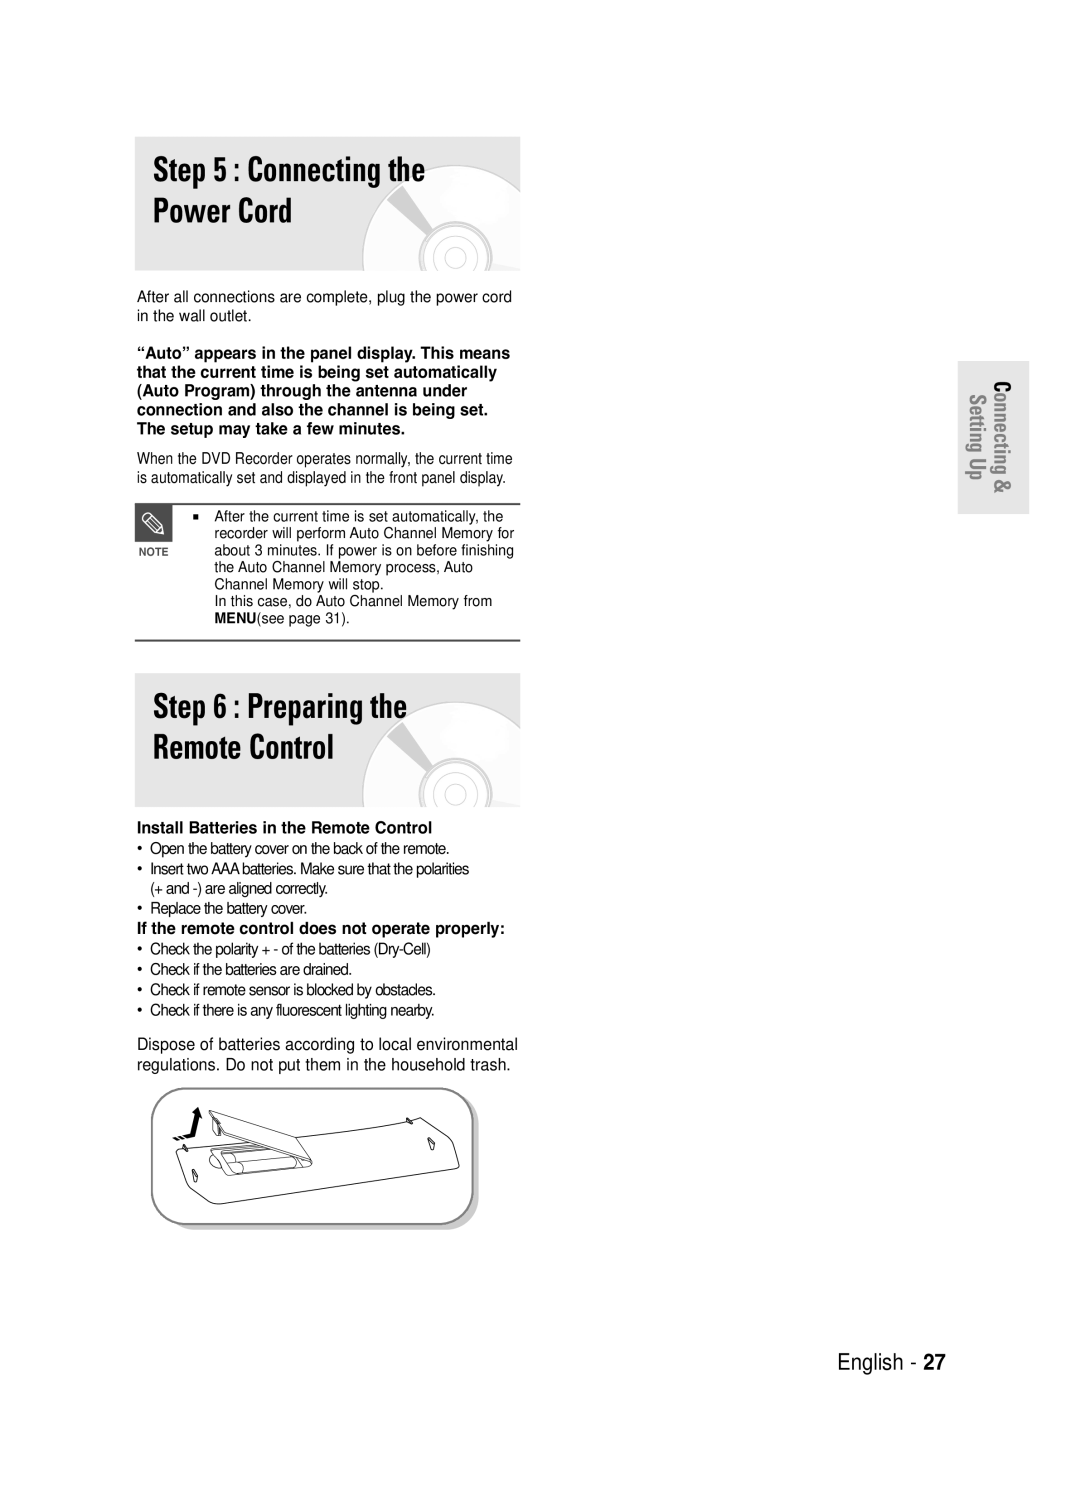
If the remote control does not operate properly
Connecting Power Cord
Preparing Remote Control
Install Batteries in the Remote Control
Enter or √ button
System Setup
Auto Clock Set
Initial Setup
OSD Language Setup
Clock Set
Daylight Saving
To setup, follow steps 1 to 3
Manual Clock Set
Clock Data CH
Channel Set
Auto Channel Memory
…† buttons
Select
Setting Up the Audio Options
Setup
Manual Channel Set
Digital Output
Dynamic Compression
Digital Output, DTS
Setting Up the TV Aspect
If you have a 43 standard TV
Will be cut off
System Setting
CM Skip Time Setting
…† buttons, then
Automatic Chapter Creation
EP Mode Time Setting
EP Mode Time will be displayed
You cant use the Setup functions while playing a disc
To display the created chapters, finalize
Quick Recording Setting
Quick Recording is set to Off as
Language setup menu will be displayed
Select the desired language using
Select On using …† buttons, then press
TV Aspect see
TV Aspect,Input Level
3D Noise Reduction motion adaptive noise reduction
Parental Control
Press the Return or œ button to return
To the previous menu Press the Menu button to exit the menu
Setting the Rating Level
Using …† buttons Parental Control screen appears
Select the desired Level you want using
Select Change Password using
Changing the Password
Recordable discs
Before Recording
Unrecordable video
Record Mode
Concerning Copy Control Signals
Recording Formats
Before you start
About the Info button
Checking the available disc space Disc Information
Recording
Up to 99 titles can be recorded onto a disc
SP LP EP XP
Appear
Press the REC button
Display If an unused DVD-RW disc is inserted, the message
Channel Number AV1 AV2 DV
Button to select the recording speedquality
When copying from a camcorder
To access on-screen controls during
Turned off automatically
Timer counter decreases to 000, then
Stops recording
After finishing recording, the DVD
Timer Rec.,
Mode Record mode
Enter or
Stop mode
Scheduled
Enter or √
‘No.01’?
Enter or √ button
Recording, recording will stop
Power on TV using the TV remote control
Playback
Region code DVD-Video only
Disc types that can be played
Discs that cannot be played
Disc tray
Disabled depending on the disc type
Do not move your DVD recorder while
Disc Do not push the disc tray while it is being
For DVD-RAM/-RW/-R discs
Using the Disc Menu & Title Menu
Using the Search Functions
For DVD-VIDEO discs
Step Motion Play
Searching Chapters or Tracks
About Anykey
Slow Motion Play
Time Search function does not
Using the Repeat Function
Using the Repeat button
Playing RepeatedlyRepeat Playback
Using the Anykey button
Using the Anykey button
Desired
Selecting the Subtitle
Audio button during playback
√ buttons to select the desired
Using the Angle button
Changing the Camera Angle
Zooming-In
PlayingSelectingBack atheBookmarkAudio language
Using Bookmarks
Clearing a Bookmark
Mode
Playing Back a Marker
Using Markers
VR mode
Scene Cancel button to delete the selected
Playing an Audio CDCD-DA
Playing an Audio CD CD-DA/MP3
Screen
Playing an MP3 Disc
Disc
Within three
Layback
Play Option Mode
Button
Cancel button
Playing a Picture CD
To Program Tracks
Or Zoom
Using the Title List button
Album
Rotation
To stop playing the title, press
Using the Menu button
Button
Rename, Delete, Edit, Protection See pages 72~75
Editing function
Title List Screen Elements
This may depend on the the disc type
DVD-R/DVD-RWVideo has limited
Editing
Title List
Playlist
Rename, and then
Using the Menu button
Characters using
Renaming Labeling a Title
Off
Using the Menu button
Locking Protecting a Title
Deleting a Title
Deleting a Section of a Title
On the disc
Enter or √button
√ buttons to select
Section deletion starting point window
Edit Title List Screen Elements
To select Return Length of the section to be deleted must
Advanced Editing Playlist
Creating a Playlist
Diting
Enter button Playlist entries will be played
Playing Entries in the Playlist
Follow these instructions to play the playlist entries
Button Edit Playlist screen is displayed
DitingE
Renaming a Playlist Entry
Follow these instructions to edit scenes for a playlist
VR mode
Editing a Scene for the Playlist
Playing a Selected Scene
Related buttons
To setup, follow steps 1 to 3
Press the Enter button at the start point of the scene
Press the Enter button at the end point of the scene
Press the Enter button at the starting point of the scene
Adding a Scene
Enter button
Selected scene is moved to the selected position
Press Play List button
Using the Play List button
Deleting a Scene
Copying a Playlist Entry to the Playlist
Using the Playlist button
Deleting a Playlist Entry from the Playlist
Playlist can contain up to 99 playlist
Menu button
Disc Manager
Editing the Disc Name
Diting E
Disc Format ,
Disc Protection
Formatting a Disc
Disc Manager,
Disc protection should be cleared first
Deleting All Title Lists
Enter button Disc is formatted
Recording format
Entries from the record list
Finalizing a Disc
Disc Manager,
Unfinalizing a Disc V/VR mode
Information Additional
Troubleshooting
Power
Recording
Playback
Timer Recording
Video
Sound
Remote Control Unit
Other
Additional Information
Error Message Solution / Explanation
Solutions to Error Message
You can’t use the disc because it contains errors from
Solution to Error Message
Picture Compression format
Specifications
Input
Output
Middle East & Africa
Region Country Customer Care Center Web Site
North America
Asia Pacific
AK68-01002G-00