PMF

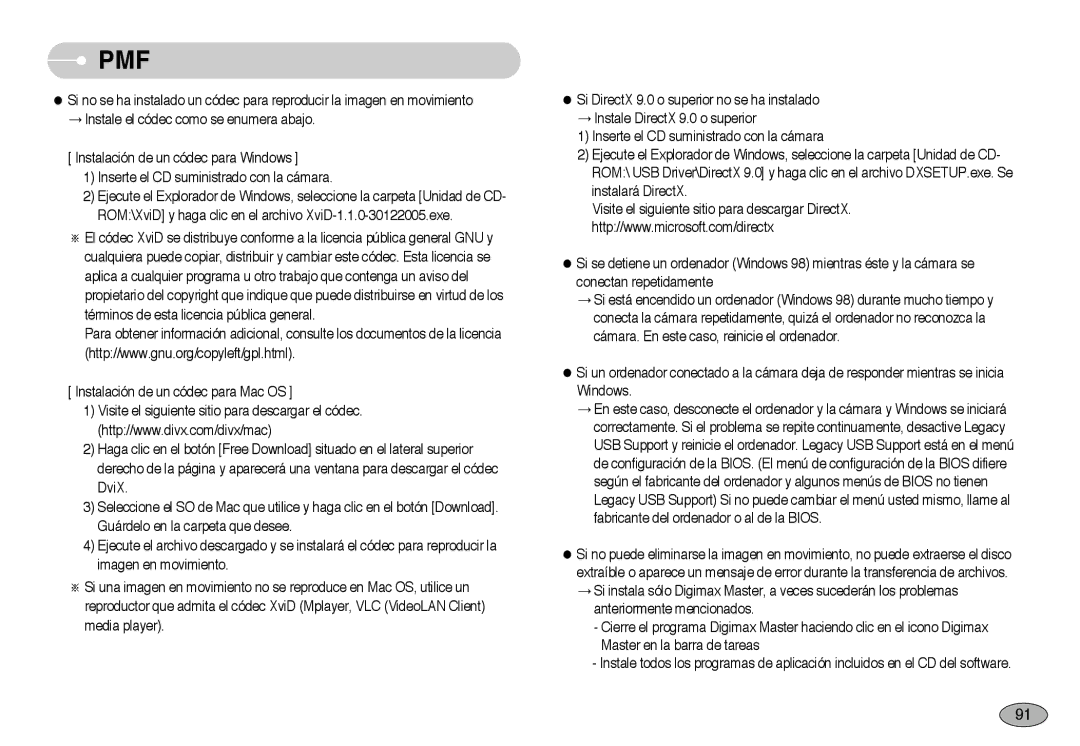
Si no se ha instalado un códec para reproducir la imagen en movimiento Instale el códec como se enumera abajo.

[ Instalación de un códec para Windows ]

1)Inserte el CD suministrado con la cámara.

2)Ejecute el Explorador de Windows, seleccione la carpeta [Unidad de CD- ROM:\XviD] y haga clic en el archivo XviD-1.1.0-30122005.exe.

El códec XviD se distribuye conforme a la licencia pública general GNU y cualquiera puede copiar, distribuir y cambiar este códec. Esta licencia se aplica a cualquier programa u otro trabajo que contenga un aviso del propietario del copyright que indique que puede distribuirse en virtud de los términos de esta licencia pública general.

Para obtener información adicional, consulte los documentos de la licencia (http://www.gnu.org/copyleft/gpl.html).

[ Instalación de un códec para Mac OS ]

1)Visite el siguiente sitio para descargar el códec. (http://www.divx.com/divx/mac)

2)Haga clic en el botón [Free Download] situado en el lateral superior derecho de la página y aparecerá una ventana para descargar el códec DviX.

3)Seleccione el SO de Mac que utilice y haga clic en el botón [Download]. Guárdelo en la carpeta que desee.

4)Ejecute el archivo descargado y se instalará el códec para reproducir la imagen en movimiento.

Si una imagen en movimiento no se reproduce en Mac OS, utilice un reproductor que admita el códec XviD (Mplayer, VLC (VideoLAN Client) media player).

Si DirectX 9.0 o superior no se ha instalado

Instale DirectX 9.0 o superior

1)Inserte el CD suministrado con la cámara

2)Ejecute el Explorador de Windows, seleccione la carpeta [Unidad de CD- ROM:\ USB Driver\DirectX 9.0] y haga clic en el archivo DXSETUP.exe. Se instalará DirectX.

Visite el siguiente sitio para descargar DirectX. http://www.microsoft.com/directx

Si se detiene un ordenador (Windows 98) mientras éste y la cámara se conectan repetidamente

Si está encendido un ordenador (Windows 98) durante mucho tiempo y conecta la cámara repetidamente, quizá el ordenador no reconozca la cámara. En este caso, reinicie el ordenador.

Si un ordenador conectado a la cámara deja de responder mientras se inicia Windows.

En este caso, desconecte el ordenador y la cámara y Windows se iniciará correctamente. Si el problema se repite continuamente, desactive Legacy USB Support y reinicie el ordenador. Legacy USB Support está en el menú de configuración de la BIOS. (El menú de configuración de la BIOS difiere según el fabricante del ordenador y algunos menús de BIOS no tienen Legacy USB Support) Si no puede cambiar el menú usted mismo, llame al fabricante del ordenador o al de la BIOS.

Si no puede eliminarse la imagen en movimiento, no puede extraerse el disco extraíble o aparece un mensaje de error durante la transferencia de archivos. Si instala sólo Digimax Master, a veces sucederán los problemas

anteriormente mencionados.

-Cierre el programa Digimax Master haciendo clic en el icono Digimax Master en la barra de tareas

-Instale todos los programas de aplicación incluidos en el CD del software.

91

Page 92
Image 92
Samsung EC-NV3ZZBBD/E1, EC-NV3ZZSBA/E1, EC-NV3ZZSBA/DE, EC-NV3ZZBBA/SP, EC-NV3ZZBBA/PT, EC-NV3ZZBBH/E1, EC-NV3ZZBBA/AS manual Pmf

EC-NV3ZZBBA/SP, EC-NV3ZZSBA/E1, EC-NV3ZZBBH/E1, EC-NV3ZZSBA/DE, EC-NV3ZZBBA/AS specifications

The Samsung EC-NV3 series represents a lineage of compact digital cameras that blend style with advanced technology, making them a popular choice for photography enthusiasts and casual users alike. Within this range, models such as EC-NV3ZZSBA/DE, EC-NV3ZZBBB/E2, EC-NV3ZZBBD/E2, EC-NV3ZZBBC/E2, and EC-NV3ZZSBA/E1 stand out due to their impressive features and specifications.

One of the main attractions of the Samsung EC-NV3 cameras is their sleek design, available in various colors. The compact size and light weight make it easy to carry around, ensuring you never miss a moment. The elegantly designed body houses a powerful performance engine, allowing users to capture high-quality images without the bulk of larger DSLRs.

A standout feature of the EC-NV3 series is the 14.2-megapixel CCD sensor, which offers exceptional image clarity and detail. Users can enjoy vibrant colors and sharp contrast, making every photograph pop. Additionally, the series includes a 3x optical zoom lens, allowing for versatile shooting options from wide-angle landscapes to close-up portraits.

The cameras boast Samsung’s impressive Smart Auto technology, which automatically selects the best settings based on the camera’s environment. This innovative feature enables users to take stunning photographs without needing extensive photography knowledge. The camera's scene recognition technology can intelligently identify up to 22 different scenes, ensuring optimal exposure and quality.

Furthermore, the EC-NV3 series offers 720p HD video recording capabilities. This allows users to seamlessly transition from still photos to capturing life in motion, making it an ideal choice for family events, vacations, and everyday moments alike.

In terms of usability, the Samsung EC-NV3 cameras feature a 2.7-inch LCD screen that provides a clear view, even in bright sunlight. The interface is user-friendly, allowing for easy navigation through settings and menus.

Battery life is another significant aspect of these models, with the ability to take hundreds of shots on a single charge, making them perfect for capturing the day’s adventures without the fear of running out of power.

In summary, the Samsung EC-NV3 series cameras are designed for users who value both style and functionality. With high-resolution imaging, intelligent shooting modes, and the convenience of compact design, they cater to a range of photography needs, making them a compelling choice for anyone looking to enhance their photographic experience.