DIGITAL HOME CINEMA SYSTEM
VOLUME OPEN/CLOSE FUNCTION
HT-Q20 HT-TQ22 HT-TQ25
STANDBY
Safety Warnings
Wiring the Main Power Supply PlugUK Only
Precautions
PREPARATION
Features
Power Saving Function
Optional Wireless receiver amplifier
Multi-DiscPlayback & FM Tuner
Contents
SETUP
PREPARATION
CONNECTIONS
Notes on Discs
Playable Discs
Do not use the following types of disc
Copy Protection
Disc Recording Format
CD-RDiscs
CD-RMP3 Discs
CD-RJPEG Discs
Description
FrontPanel
USB Connector
Standby indicator
Accessories
RearPanel
Video Output Connector
FM Antenna Connector
RemoteControl
TV button DVD RECEIVER button POWER button
VOLUME button MENU button
VIDEO.SEL button CANCEL button REPEAT button
Range of Operation of the Remote Control
Insert Remote Batteries
PREPARATION
Connecting the Speakers
Position of the DVD Player
Front Speakers L R
Center Speaker C
Connecting the Speakers
HT-Q20
CONNECTIONS
HT-TQ22
HT-TQ25
Connecting the Speakers
speakers to the wireless receiving
Plug the power cord of the wireless
switch the power switch ‘ON’
Connect the front, center and
Resetting Wireless Communication
Connecting the Video Out to TV
METHOD 2 Scart ............... Better Quality
VIDEO SELECT Function
What is Progressive or Non-InterlacedScanning?
P.SCANProgressive Scan Function
Press STOP button
Interlaced Scan 1 FRAME = 2 FIELDS
Connecting External Components
Connecting an External Analog Component
CONNECTIONS
Connecting the FM Antenna
Cooling Fan
Press the POWER
5 button to switch to
Press DVD RECEIVER
Press TV/VIDEO
Before Using Your Home Theater
Disc terminology
Titles and chapters DVD-VIDEO
Tracks Video and music CDs
Disc Playback
1 Press OPEN/CLOSE button to open the disc tray
2 Load a disc
To stop playback, press STOP during playback
MP3/WMA-CDPlayback
To play a file icon in the screen
To change the album use to
In Stop mode, use to select 2 the album, and then
Displaying Disc Information
Press INFO button
appears on the TV screen
OPERATION
JPEG File Playback JPEG
Slide Mode
Place the JPEG disc on the disc tray
Press the OPEN/CLOSE button
Digest Function
Rotate/Flip Function
Press DIGEST
Press Cursor , , , buttons during playback
DivX Playback
Skip Forward/Back
Fast playback
5 Minute Skip function
Subtitle Display
Audio Display
Press the SUBTITLE button
Press the AUDIO button
Checking the Remaining Time
Press the REMAIN button
Each time the REMAIN button is pressed
VCD CD
Fast/Slow Playback
Skipping Scenes/Songs
Fast Playback
Slow Playback
Repeat Playback
1 2
Press REPEAT button
Repeat Playback Options
A-BRepeat Playback
1 Press INFO button twice
Press ENTER
4 button at the end of the desired segment
Step Function DVD VCD
Angle Function DVD
Press STEP button
Press Cursor
EZ VIEW Function DVD
Zoom Screen Enlarge Function GB
Press EZ VIEW button
1 Press ZOOM button
Selecting Audio Language
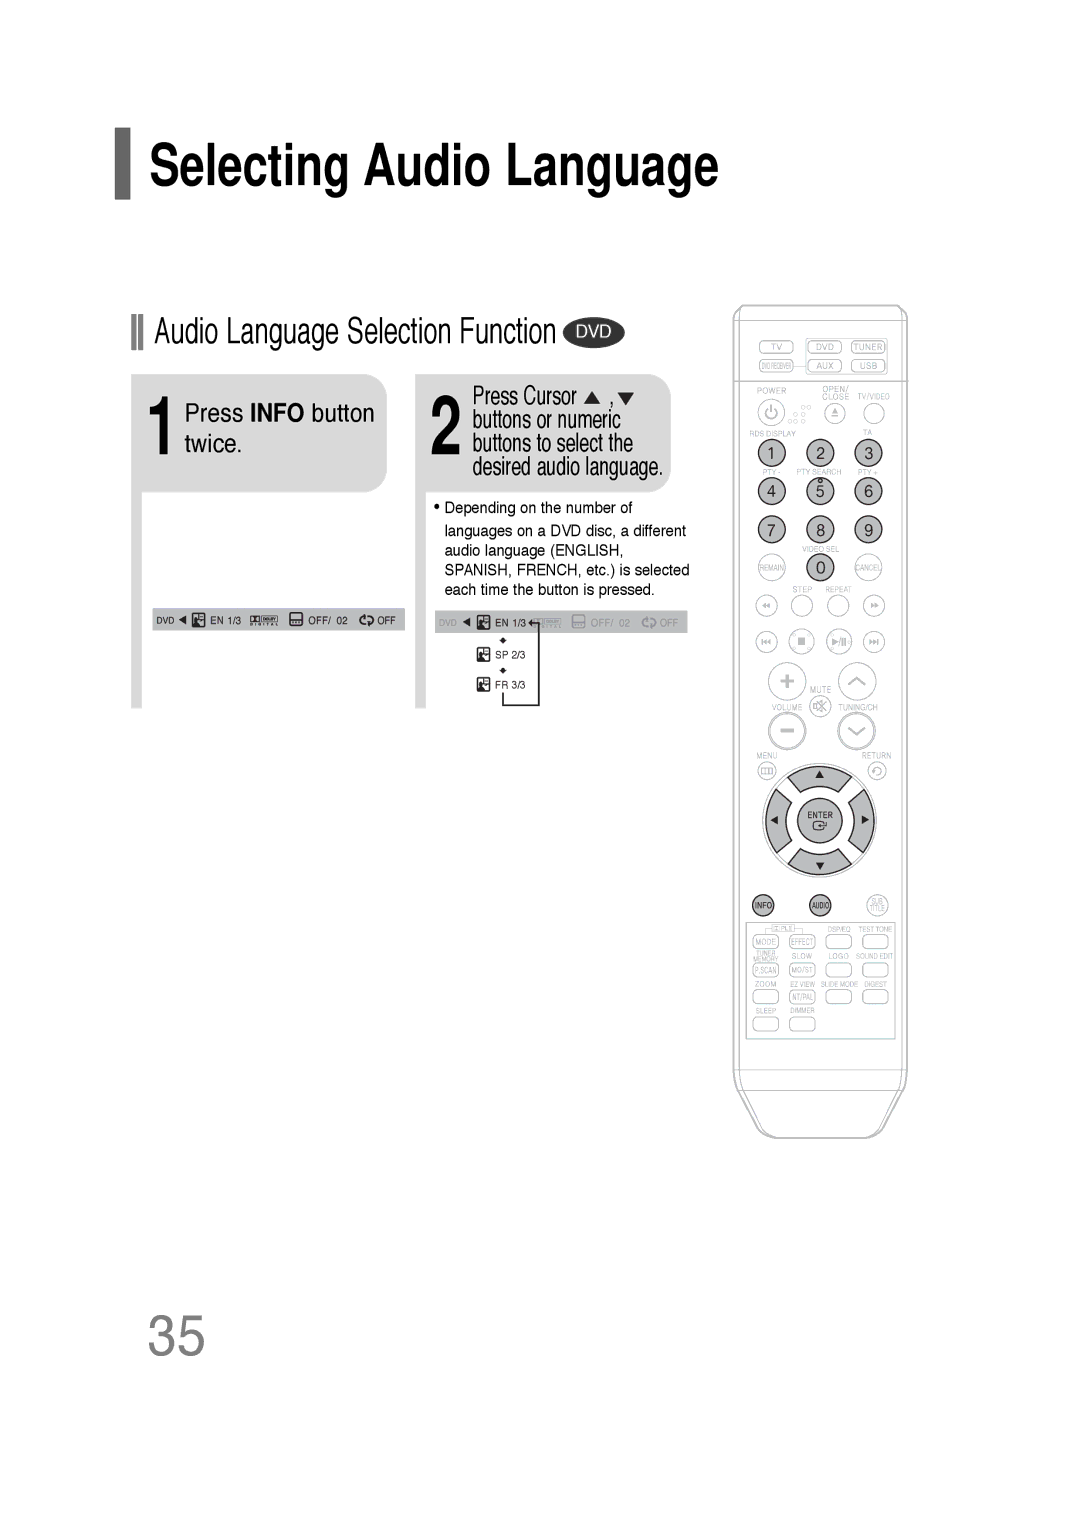
Audio Language Selection Function DVD
1Press INFO button twice
desired audio language
Selecting Subtitle Language
Subtitle Language Selection Function DVD
1Press INFO button 2 button to move to
twice.SUBTITLE display
Press the FUNCTION
To stop playback, press the STOP button
Safe USB Removal
Playing Media Files using the USB HOST feature
Compatible Devices
1Press INFO button
time display
Press the numeric
Moving Directly to a Scene/Song
Using the Title Menu DVD
Using Disc Menu
Stop mode
Setting the Language
‘Setup’ and then
Press Cursor
Select ‘Language’
and then press
3 ENTER button
Press MENU button to exit the setup screen
Setting TV Screen type
Press MENU button to exit the setup screen
In Stop mode
Press Cursor
Adjusting the TV Aspect Ratio Screen Size
SETUP
WIDE 4 3LB
4 3PS
Setting Parental Controls Rating Level
Enter the password
Press MENU button to exit the setup screen
Stop mode
Setting the Password
press ENTER button
4 button
move to ‘PASSWORD’
Setting the Wallpaper JPEG DVD VCD
Setting the Wallpaper
3 The power will turn off and then back on
1PLAY/PAUSE button when an image you like appears
ENTER
DivX R registration
Press the MENU
button while the
1 disc tray is open
Setting the Speaker Mode
In the Speaker
SETUP
3 Setup, press the ENTER button
Setting the Delay Time
Setting up the Speaker Delay Time
Press Cursor button
In Stop mode
5 Press Cursor , to set the Delay time
SETUP
Setting CENTER SPEAKER
Setting REAR SURROUND SPEAKERS
Setting the Test Tone
Setting the DRC Dynamic Range Compression GB
the ‘DRC’
Press MENU button to exit the setup screen
4 Press Cursor ,to adjust
Setting the Audio
ENTER button
Press MENU button to exit the setup screen
Stop mode
Press SOUND
SETUP
Adjusting Rear Speaker Level
Adjusting Center Speaker Level
AV SYNC Setup
Press Cursor ,buttons
Press MENU button to exit the setup screen
press ENTER button
Press DSP/EQ button
SETUP
Sound Field DSP/EQ Function
Dolby Pro Logic II Mode
Press PL II MODE button
PRO LOGIC
Dolby Pro Logic II Effect
mode
Press PL II EFFECT button
PL II MODE
Remote Control Unit
Listening to Radio
Main Unit
Press MO/ST button to listen in Mono/Stereo
Presetting Stations
again
6 To preset another station, repeat steps 2 to
Example Presetting FM 89.1 in the memory
What information can RDS signals provide?
About RDS broadcasting
Description on RDS function
To search for a program using the PTY codes
Before you start, remember
Sleep Timer Function
Convenient Functions
Adjusting Display Brightness
Mute Function
Press DIMMER button
Press MUTE button
When operating a TV with the remote control
Press POWER button to turn on the TV
Point the remote control toward the TV
Press TV button to select TV mode
TV Brand Code List
Brand
Code
Brand
Before Calling for Service
immediately when the
not all six
Dolby Digital 5.1 CH
picture is produced
picture is shaking
not work
Audio language and
Cautions on Handling and Storing Discs
Handling discs
Disc Storage
Handling and Storing Discs
Language Code List
Code
Language
Code
USB Host Feature Supported Products
Digital Camera
USB Flash Disk
MP3 Player
Specifications
MISCELLANEOUS
HT- TQ22
HT- TQ25
HT-Q20
Page
Page
Memo
THIS APPLIANCE IS MANUFACTURED BY
AH68-01850BREV