DivX (R) registration
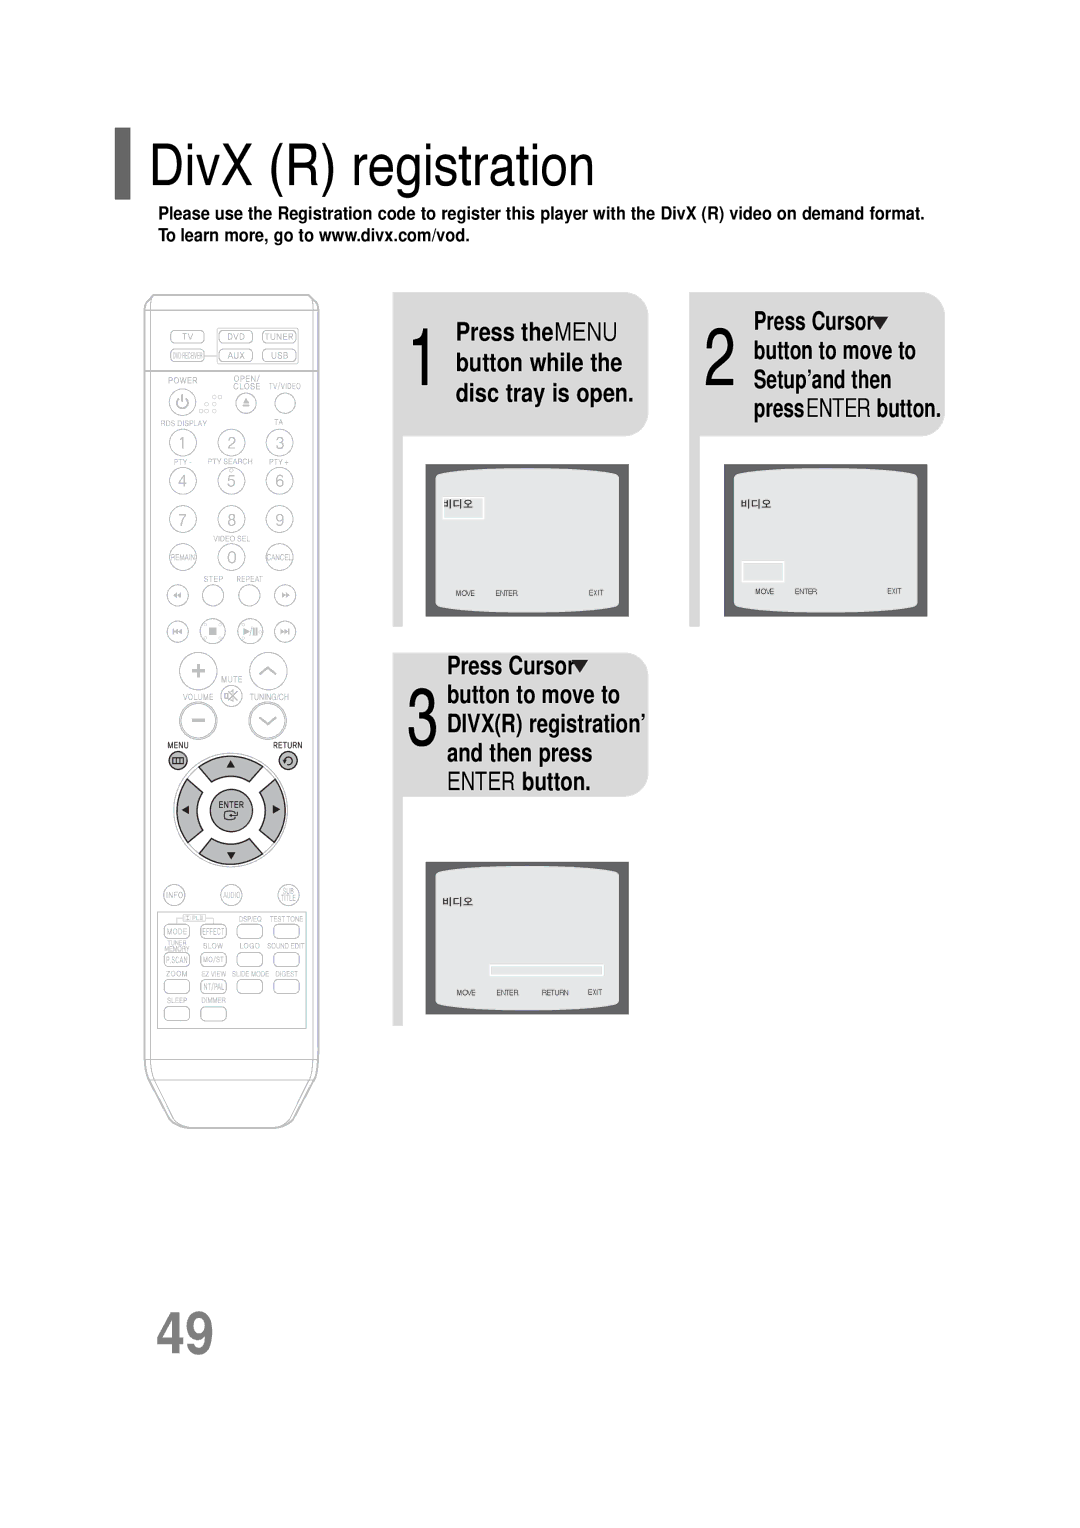
Please use the Registration code to register this player with the DivX (R) video on demand format. To learn more, go to www.divx.com/vod.
Press the MENU | Press Cursor | |
button to move to | ||
button while the | ||
2 ‘Setup’ and then | ||
1 disc tray is open. | ||
| press ENTER button. |
MOVE | ENTER | EXIT | MOVE | ENTER | EXIT |
Press Cursor ![]() 3button to move to
3button to move to
‘DIVX(R) registration’ and then press ENTER button.
MOVE ENTER RETURN EXIT
49