Changing the Colour Tone
![]() You can select the most comfortable colour tone to your eyes.
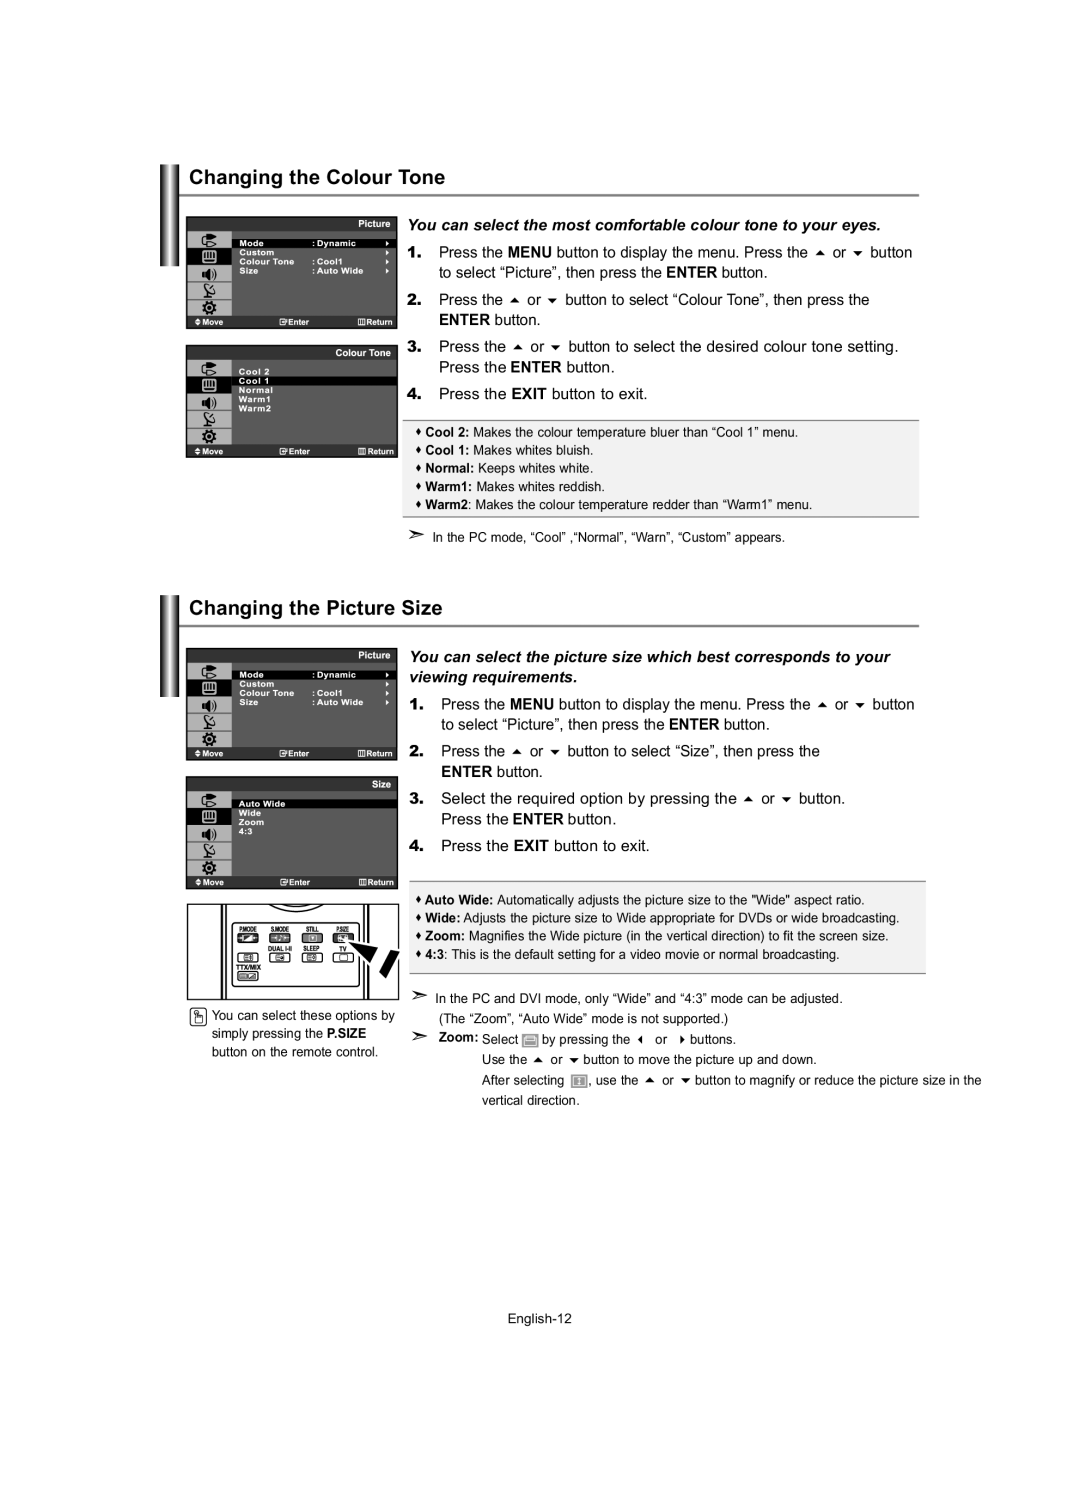
You can select the most comfortable colour tone to your eyes.
1. Press the MENU button to display the menu. Press the or button to select “Picture”, then press the ENTER button.
2. | Press the | or | button to select “Colour Tone”, then press the |
| ENTER button. |
| |
![]() 3. Press the or button to select the desired colour tone setting.
3. Press the or button to select the desired colour tone setting. ![]() Press the ENTER button.
Press the ENTER button.
4. Press the EXIT button to exit.
Cool 2: Makes the colour temperature bluer than “Cool 1” menu.
Cool 1: Makes whites bluish.
Normal: Keeps whites white.
Warm1: Makes whites reddish.
Warm2: Makes the colour temperature redder than “Warm1” menu.
![]() In the PC mode, “Cool” ,“Normal”, “Warn”, “Custom” appears.
In the PC mode, “Cool” ,“Normal”, “Warn”, “Custom” appears.
Changing the Picture Size
You can select the picture size which best corresponds to your viewing requirements.
1. | Press the MENU button to display the menu. Press the or button |
| to select “Picture”, then press the ENTER button. |
2. | Press the or button to select “Size”, then press the |
| ENTER button. |
3. | Select the required option by pressing the or button. |
| Press the ENTER button. |
4. Press the EXIT button to exit.
![]() You can select these options by simply pressing the P.SIZE button on the remote control.
You can select these options by simply pressing the P.SIZE button on the remote control.
Auto Wide: Automatically adjusts the picture size to the "Wide" aspect ratio.
Wide: Adjusts the picture size to Wide appropriate for DVDs or wide broadcasting.
Zoom: Magnifies the Wide picture (in the vertical direction) to fit the screen size.
4:3: This is the default setting for a video movie or normal broadcasting.
![]() In the PC and DVI mode, only “Wide” and “4:3” mode can be adjusted.
In the PC and DVI mode, only “Wide” and “4:3” mode can be adjusted.
(The “Zoom”, “Auto Wide” mode is not supported.)
Zoom: Select |
| by pressing the | or | buttons. | |
Use the | or | button to move the picture up and down. | |||
After selecting | , use the | or | button to magnify or reduce the picture size in the | ||
vertical direction. |
|
|
| ||