UE46D UE55D
Table of contents
Support
Copyright
Before Using the Product
Cleaning
Safety Precautions
Symbols
Power off the product and computer
Storage
Electricity and Safety
Installation
Samsung
Operation
Product failure, an electric shock or fire may result
Output ports, etc
Page
Preparations
Warranty card Batteries
Checking the Components
Components
Items sold separately
Panel Key
Parts
ButtonsDescription
Panel Key
Buttons Description
Return
Control menu
RJ45
Reverse Side
Port Description
To lock an anti-theft locking device
Anti-theft Lock
VOL
Remote Control
PC, DVI, HDMI, or DisplayPort
To place batteries in the remote control
Products 1
Connection Using an IR Stereo Cable Sold separately
Ventilation
Installation on a Perpendicular Wall
Tilting Angle and Rotation
Installation on an Indented Wall
Dimensions
Plane view
Model name
Using the COVER-JACK
Installing the Wall Mount Kit
Installing the Wall Mount
UE55D
Wall Mount Kit Specifications Vesa
Align the sets using the Holder-Align and Holder-Half Align
Preparations before installing a videowall
Installing a videowall
Pin Signal
Remote Control RS232C
Cable Connection
RS232C Cable
RS232C cable Connector 9-Pin D-Sub to Stereo Cable
Pin No Standard Colour Signal
LAN Cable
Female
Signal
Connector RJ45
Direct LAN cable PC to HUB
Cross LAN cable PC to PC
Connection
Connection
Controlling Set control command
Viewing control state Get control command
Command
Command type Value range
Volume control
Power control
Input Source An input source code to be set on a product
Setting the input source Set Input Source
Input source control
Screen mode control
PIP On/Off control
Auto adjustment control PC and BNC only
Full Natural
Video Wall Mode Control
Safety Lock
Set Video Wall On/Off
Video Wall On
WallOn Same as above Nak
Set Video Wall
Off
10x10 Video Wall Model
Set Number
10x10 Video Wall Model 1 ~
Before Connecting
Connecting and Using a Source Device
Connecting to a PC
Connection using the D-SUB cable Analogue type
Connection Using an HDMI-DVI Cable
Connection using a DVI cable Digital type
Precautions for using DP
Connection Using an Hdmi Cable
Connection Using an DP Cable
Connection Using the component Cable
Connecting to a Video Device
Connection Using the AV Cable
Using an Hdmi cable or Hdmi to DVI Cable up to 1080p
Connecting the LAN Cable
Connecting to an Audio System
MagicInfo
Connecting the network box Sold separately
Source
Changing the Input source
Edit Name
Information
Uninstallation
Using MDC
Monitor Computer
Connecting to MDC
Using MDC via RS-232C serial data communications standards
Connection using a direct LAN cable
Using MDC via Ethernet
Connection using a cross LAN cable
Player
Home feature
Player
Schedule Template
Approving a connected device from the server
To specify the group
Setting the current time
Local Channel
Network Channel
Deployed Folders
My Templates
Option Name Operations
Available features in the Player
Menu items in the Player
Settings
Player page Settings menu
Settings
Set Aspect Ratio to either Original or Full Full / Original
CH Name Name of the channel currently playing
When Content is Running
Viewing the details of the content that is running
Playlist
Picture Mode
Music
Repeat
Template files and LFD.lfd files
File Formats Compatible with Player
Network Schedule Multiframe
Contents
Image
Video Audio
Charts Vertical text
Flash Power Point
Masked Image, Tiled Image content not supported
Functions not supported
Creation/editing/playback are only available
Template files
Template Supported in Network Channel and Local
Compatible document file formats -- Extension .lfd
Video
File Formats Compatible with Video Wall
Only one video Videos file can be played per client
Restrictions
Available
Not available
Type
Available features in the Schedule
Schedule
Editing a channel schedule
Configuring channel schedules
Template
Available features in the Template
Home → Template → Enter E
Market
Select the Edit Text window to enter text
Configuring the background image/background music
Entering text
Preview
Save Cancel
Configure Template Name and Storage
Clone Product
Clone Product
Home → Clone Product → Enter E
Message appears
ID Settings
ID Settings
Device ID
PC Connection Cable
Apply to
Video Wall
Video Wall
Home → Video Wall → Enter E
Horizontal x Vertical
Video Wall
Screen Position
Format
Network Status
Network Status
Check the current network and Internet connection
Home → Network Status → Enter E
Picture Mode
Picture Mode
On Timer
On/Off Timer
On/Off Timer
Home → On/Off Timer → Enter E
Holiday Management
Off Timer
More settings
More settings
Home → More settings → Enter E
Ticker
Home → URL Launcher → Enter E
URL Launcher
URL Launcher
Picture
Screen Adjustment
MENUm→ Picture → Picture Mode → Entere
MENUm→ Picture → Entere
Picture Mode Adjustable options
Shops & Malls, Offices Videos/Images
Tint G/R
MENUm→ Picture → Colour Temperature → Entere
Colour Temperature
White Balance
Point
Calibrated value
Gamma
MENUm→ Picture → Gamma → Entere
MENUm→ Picture → Calibrated value → Entere
Advanced Settings
Advanced Settings
MENUm→ Picture → Advanced Settings → Entere
Text Dynamic Contrast / Black Tone / White Balance
Dynamic Contrast
RGB Only Mode
Black Tone
Flesh Tone
Picture Options
Input source Picture Mode Adjustable options
Picture Options
Dynamic Backlight
DVI, Hdmi
Colour Tone
Digital Clean View
Mpeg Noise Filter
Hdmi Black Level
Dynamic Backlight
Film Mode
Auto Motion Plus
Picture Size
· Position Resolution
Picture Size
Picture Size
Position
Resolution Off
Zoom/Position
Picture Size 169
Available resolutions Off / 1024x768 / 1280x768 / 1360x768
Resolution
PC Screen Adjustment
Auto Adjustment
MENUm → Picture → Reset Picture → Entere
Reset Picture
Picture Off
MENUm → Picture → Picture Off → Entere
MENUm → OnScreen Display → PIP → Entere
OnScreen Display
Main picture Sub picture
Display Orientation
Source Content Orientation
Onscreen Menu Orientation
Aspect Ratio
Auto Protection Time
Screen Protection
Screen Burn Protection
Screen Protection
Screen Burn Protection
Timer
Pixel Shift
Immediate display
Message Display
No Signal Message
Source Info
MDC Message
OnScreen Display
Menu Transparency
Menu Language
Menu m → OnScreen Display → Reset OnScreen Display → Enter E
Reset OnScreen Display
Sound
Sound Adjustment
Sound Mode
Virtual Surround
Sound Effect
Dialog Clarity
Equaliser
Sound on Video Call
Hdmi Sound
Menu m → Sound → Hdmi Sound → Enter E
Menu m → Sound → Sound on Video Call → Enter E
TV Sound Output
Speaker Settings
Auto Volume
Menu m → Sound → Reset Sound → Enter E
Reset Sound
Network Settings
Network Settings
Network
Network Type
Connecting to a Wired Network
Network Settings Wired
Set Network Type to Wired from the Network Settings
Automatic Network Settings Wired
Manual Network Settings Wired
Connecting to a Wireless Network
Network Setting Wireless
Automatic Network Setup Wireless
Set Network Type to Wireless from the Network Settings
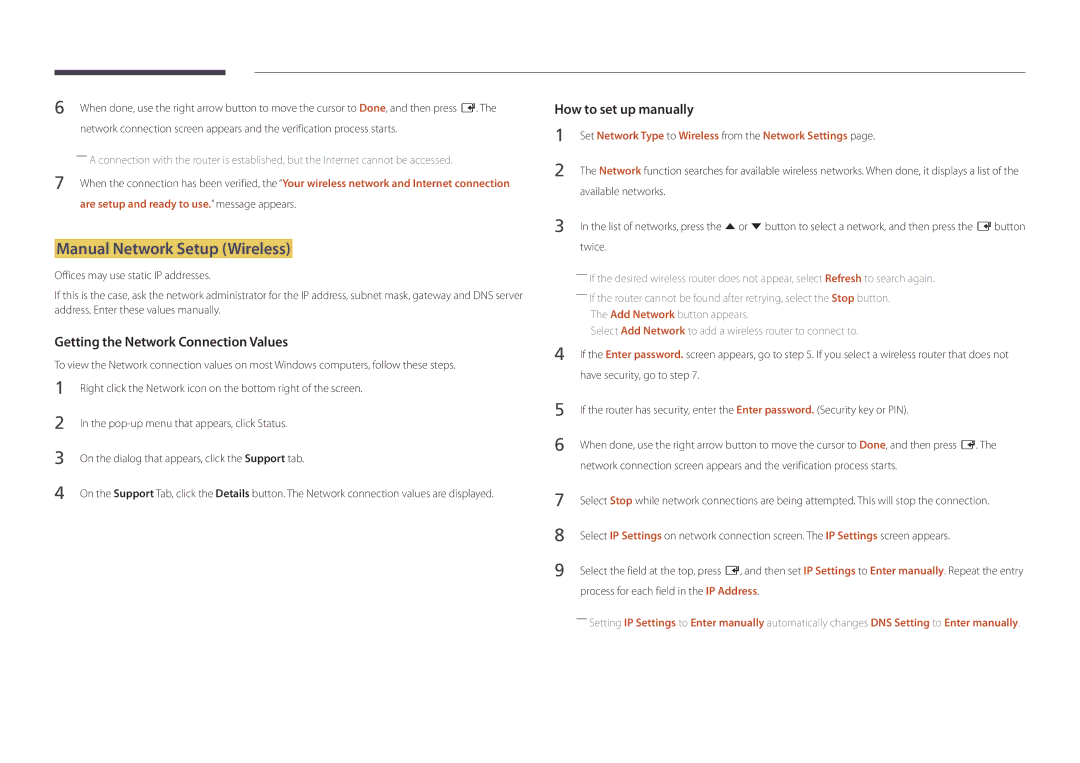
Manual Network Setup Wireless
Select WPSPBC, press E, and then press E again
How to set up using Wpspbc
If your router has a Wpspbc button, follow these steps
Multimedia Device Settings
Wi-Fi Direct
MENUm → Network → Wi-Fi Direct → Entere
MENUm → Network → Multimedia Device Settings → Entere
Screen Mirroring
Server Network Settings
MENUm → Network → Device Name → Entere
Device Name
Initial settings Setup
Setup
System
System
Configure touch control related features
Admin Menu Lock
Touch Control
Menu m → System → Touch Control → Enter E
Power On Delay
Sleep Timer
Time
Clock Set
Auto Source Switching
Auto Source Switching
Primary Source Recovery
Primary Source
Auto Power On
Power Control
PC module power
Max. Power Saving
Auto Power On Off PC module power Max. Power Saving
Power Button
Standby Control
Network Standby
No Signal Power Off
Eco Solution
Auto Power Off
Energy Saving
MENUm → System → Temperature Control → Entere
Temperature Control
Device Manager
Keyboard Settings
Device Manager
Select Keyboard
Keyboard Settings
Mouse Settings
Select Mouse
Mouse Options
Keyboard Settings Mouse Settings
Pointer Settings
Pointer Size
Pointer Speed
Change PIN
Play via
MENUm → System → Play via → Entere
MENUm → System → Change PIN → Entere
Security
General
BD Wise
General
Anynet+ HDMI-CEC
Hdmi Hot Plug DivX Video On Demand Game Mode
Anynet+ HDMI-CEC
Anynet+ Menu Description
Auto Turn Off
Anynet+ HDMI-CEC
Search for Devices
Search for Devices
Problem Possible Solution
Troubleshooting for Anynet+
Off and on again
Anynet+ device ... appears on
Possible Solution
Problem
DivX Video On Demand Game Mode
Game Mode
Hdmi Hot Plug
DivX Video On Demand
MENUm → System → Reset System → Entere
Reset System
Update now
Software Update
Auto update
Support
Go to Home
On/Off Timer
Picture Mode
More settings
Network Status
Support
Reset All
Menu m→ Support → Reset All → Enter E
USB HDD greater than 2TB is not supported
Playing photos, videos and music Media Play
File system and formats
Compatible devices with media play
Connecting a USB device
Using a USB device
Removing a USB device
Turn on your product
Approving a PC/mobile device connection
Playing media content from a PC/mobile device
When connected to a home network Dlna
Features provided in the media content list
Source → Source → USB
Filter
Option Name Operations Photos Videos Music
Menu items in the media content list
Available buttons and features during photo playback
Select Scene
Rewind / Fast Forward
Picture Size
Audio Language
Enable or disable shuffle playback mode
Available buttons and features during music playback
Change the Sound Mode
Shuffle
File Extension Type Resolution
Supported image resolutions
Supported Subtitle and Media play file formats
Subtitle
Supported Video Formats
Supported music file formats
File Extension Type Codec Comments
Video Decoder
DivX 3.11 / 4.x / 5.x 1920 x ~30
Avi
Mkv
Asf
Checking the Resolution and Frequency
Troubleshooting Guide
Testing the Product
Screen issue
Installation issue PC mode
Not Optimum Mode is displayed
Check the followings
Adjust Brightness and Contrast
Sharpness
Sound issue
Go to Sound and change Speaker Settings to Internal
Volume is too low
There is audible sound when the volume is muted
Video is available but there is no sound
Source device issue
Remote control issue
Other issue
Remote control does not work
PIP menu is not available
There is no sound in Hdmi mode
Sound input
Auto
How can I change the resolution?
Monitor Settings
Question Answer
How can I change the frequency?
Question
How do I set powersaving mode?
Specifications
Page
Power off
PowerSaver
Normal Operation
Rating
Vertical Frequency Pixel Clock Sync Polarity KHz MHz
Preset Timing Modes
Resolution
Appendix
Product damage caused by customers fault
Not a product defect
Others
Applicable in countries with separate collection systems
Correct disposal of batteries in this product
Optimum Picture Quality and Afterimage Burn-in Prevention
What is afterimage burn-in?
Optimum Picture Quality
Prevention of Afterimage Burn-in
On instruction guide
Preventing afterimage burn-in
Licence
480i / 480p / 720p
Terminology