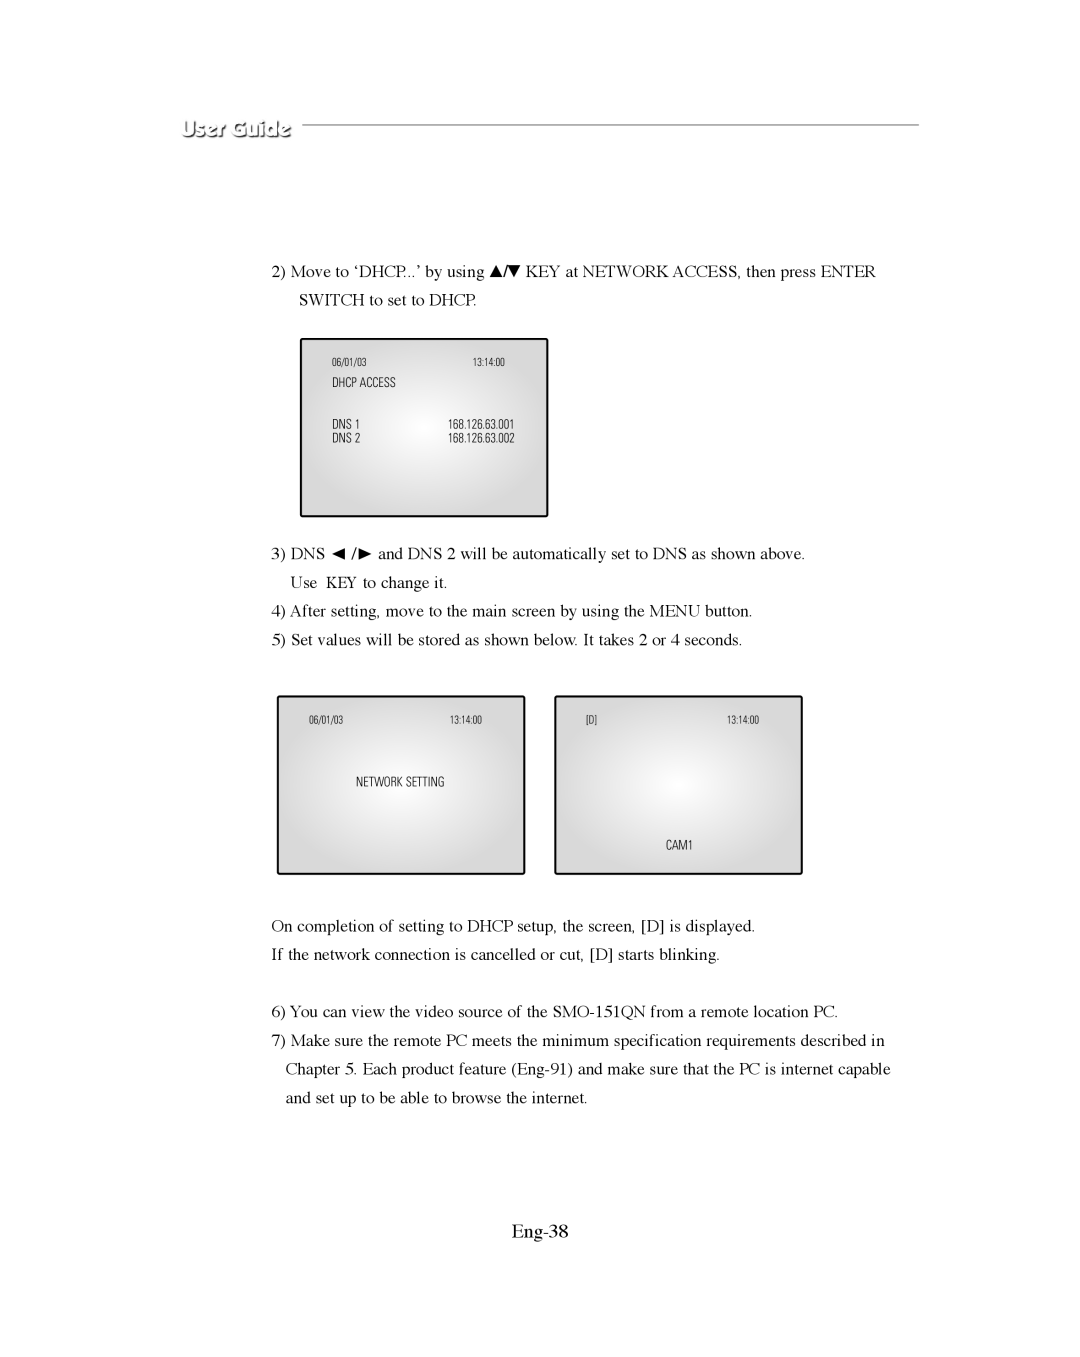
2)Move to ‘DHCP...’ by using ▲/▼ KEY at NETWORK ACCESS, then press ENTER SWITCH to set to DHCP.
06/01/0313:14:00
DHCP ACCESS
DNS 1 | 168.126.63.001 |
DNS 2 | 168.126.63.002 |
3) DNS | / and DNS 2 will be automatically set to DNS as shown above. |
Use | KEY to change it. |
4)After setting, move to the main screen by using the MENU button.
5)Set values will be stored as shown below. It takes 2 or 4 seconds.
06/01/03 | 13:14:00 | [D] | 13:14:00 |
NETWORK SETTING
CAM1
On completion of setting to DHCP setup, the screen, [D] is displayed. If the network connection is cancelled or cut, [D] starts blinking.
6)You can view the video source of the
7)Make sure the remote PC meets the minimum specification requirements described in Chapter 5. Each product feature