Manual
Contents
Current channel
Using the Info button Now & Next guide
Currently selected channel, press the Entere button
TV, Radio, Data/Other, Analogue or
Using Channel menu
OOMENUm → Support → Contents Home → Entere
Channel List
English
English
English
English
English
English
English
English
English
On a channel status
Guide
To the selected programme
Channel at the specified time
English
Watch / Schedule
Manager screen
Schedule Manager
If you select the View Guide, you can see the Guide screen
Schedule or Cancel schedule
Aerial Air / Cable t
Retuning Channels
Analogue Channel Change the country for analogue channels
Country
Depending on the country
OOMENUm → Channel → Country → Entere
OOMENUm → Channel → Auto Tuning → Entere
Auto Tuning
English
Cable Search Option
When selecting Aerial → Air Channel, Frequency, Bandwidth
Manual Tuning
OOMENUm → Channel → Manual Tuning → Entere
Has finished, a channel is updated in the channel list
English
OOMENUm → Channel → Transfer Channel List → Entere
Transfer Channel List
Analogue channels only
Fine Tune
OOMENUm → Channel → Fine Tune → Entere
OOMENUm → Channel → Edit Channel Number → Entere
Edit Channel Number Disable / Enable
Standard
Changing the Preset Picture Mode
Picture Mode t
OOMENUm → Picture → Picture Mode → Entere
OOMENUm → Picture → Samsung MagicAngle → Entere
Adjusting Picture Settings
Backlight Cell Light Contrast, Brightness
When connecting a PC, you can only make changes to
Sharpness
OOMENUm → Picture → Screen Adjustment → Entere
Screen Adjustment
Inputted
Zoom
Smart View 1 is enabled only in Hdmi mode
Smart View 2 is enabled only in DTV and Hdmi modes
Content is played using Videos under Media Play
NN Note
Country requires different picture size
Screen Size 169 / Wide Zoom / Zoom / 43 Available only when
NN It is available in PC mode
PC Screen Adjustment
OOMENUm → Picture → Auto Adjustment → Entere
Auto Adjustment t
Optimum Pixels
Correct size setting Screen resolution
Optimum
OOMENUm → Picture → Advanced Settings → Entere
Advanced Settings
Changing the Picture Options
Advanced Settings
Flesh Tone Adjust the flesh tone colour
Cell
NN Only available in Standard mode
Dynamic
Picture Options
OOMENUm → Picture → Picture Options → Entere
Colour Tone Cool / Standard / Warm1 / Warm2
English
Removes drag from fast scenes
Auto2 in Film Mode LED Motion Plus Off / On
OOMENUm → Picture → Reset Picture → Entere
Reset Picture Yes / No
Resets your current picture mode to its default settings
Sound Mode t
Changing the Preset Sound Mode
OOMENUm → Sound → Sound Mode → Entere
OOMENUm → Sound → Sound Effect → Entere
Adjusting Sound Settings
Standard sound mode only
Sound Effect
Equaliser
SRS TruDialog Off / On
Audio Format
Broadcast Audio Options
Audio Description
OOMENUm → Sound → Additional Settings → Entere
Additional Settings
Respectively
Spdif Output
English
Speaker
Speaker Settings
NN When Speaker Select is set to External Speaker
NN If there is no video signal, both speakers will be mute
Auto Volume Off / Normal / Night
OOMENUm → Sound → Reset Sound → Entere
Reset Sound Yes / No
Reset all sound settings to the factory defaults
Default
Selecting the Sound Mode t
You can attach your TV to your LAN using cable in three ways
Connecting to the Network
Modem Port on the Wall Modem Cable
TV Rear Panel Modem Port on the Wall
TV Rear Panel
Static IP addresses
Computer
Wireless Network Connection
NN Note
Not work with the TV
Failure
English
Cable supplied
Wi-Fi Direct
Position of port may differ depending on the model
Method Connect via an extension cable
OOMENUm → Network → Network Settings → Entere
Network Settings
OOMENUm → Network → Network Status → Entere
Network Status
You can check the current network and Internet status
Wired Network Setup Auto
Setting the Wired Network
Go to Network Settings screen
How to set up automatically
Wired Network Setup Manual
Set IP Mode to Manual
Issues Solutions and Explanations
Issues Solutions and Explanations
Wireless Network Setup Auto
Setting the Wireless Network
Go to Network Settings screen
English
Wireless Network Setup Manual
Set IP Mode to Manual
Select Start
If your router has a Wpspbc button, follow these steps
Issues Solutions and Explanations
Issues Solutions and Explanations
English
OOMENUm → Network → Wi-Fi Direct → Entere
Wi-Fi Direct
Managing the Network Connected Devices
Entere button to select Disconnect
OOMENUm → Network → AllShare Settings → Entere
AllShare Settings
OOMENUm → Network → Device Name → Entere
Device Name
Setup
Executing initial setup
Time
Setting the Time
Clock Set Set the Date and Time
NN Available only when Clock Mode is set to Manual
Manual Set the current time manually
Not be correct. In this case, set the time manually
OOMENUm → System → Time → Sleep Timer → Entere
Using the Sleep Timer
OOMENUm → System → Time → On Timer or Off Timer → Entere
Setting the On / Off Timer
Be made. You must set the clock first
English
English
English
OOMENUm → System → Security → Entere
NN Available only when the Source is set to TV
Locking Programme
Security
English
PIP t
Picture In Picture PIP
Position
PIP settings
Select a position for the sub-picture
Eco Solution
Economical Solutions
Eco
English
Broadcast
Other Features
Language
OOMENUm → System → Language → Entere
OOMENUm → System → Subtitle → Entere
Subtitle
UK only
Digital Text Disable / Enable
OOMENUm → System → Digital Text → Entere
Auto Protection Time for LCD, LED TV
OOMENUm → System → Screen Burn Protection → Entere
Screen Burn Protection for PDP TV
English
English
General
Game Mode is not available in TV mode
OOMENUm → System → DivX Video On Demand → Entere
DivX Video On Demand
OOMENUm → System → Common Interface → Entere
Common Interface
Manual
Support Menu
OOMENUm → Support → e-Manual → Entere
OOMENUm → Support → Self Diagnosis → Entere
Self Diagnosis
Sound menu
English
OOMENUm → Support → Software Upgrade → Entere
Software Upgrade
Can easily reset them after the upgrade
English
English
OOMENUm → Support → Contact Samsung → Entere
Contact Samsung
Contents Home
Using the 3D function
English
English
NN When watching 3D images, turn on 3D Active Glasses
3D Mode Select the 3D input format
3D viewing experience
NN NN
Hdmi
Support resolution 169 only
Components & DTV
English
English
Before using 3D function
Screen
3D Active Glasses
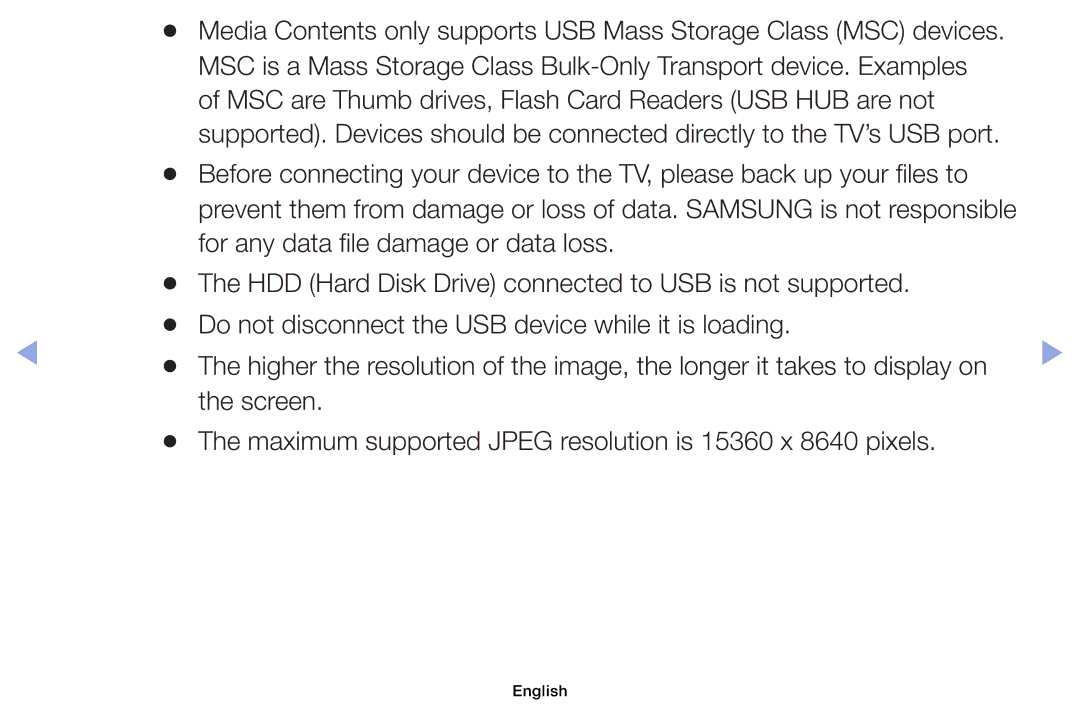
Using the Media Contents
Connecting a USB Device
English
Be supported
Contents, as well as managing billings and settlements
Videos
Or the files on the device may not be read
Folders may not be opened
English
USB Device function
123.456.789
Connecting to the PC through network
DivX DRM, Multi-audio, embedded caption does not supported
English
Screen Display
Videos
Internal
Supported Subtitle Formats External
Mbps Codec
Supported Video Formats
For PDP 490 series
Video decoder Audio decoder
Photos
Supported Photo Formats
Music
Sound Mode Standard / Music / Movie / Clear Voice / Amplify
Repeat Mode Off / One Song / All You can play music files
You can adjust the sound setting
File Extension Type Codec Remark
Supported Music Formats
Media Contents Additional Functions
Category Operation Videos Photos Music
Audio Language
Setting
TV via the network
Using the Dlna Functions
Setup, refer to the Network Settings instructions
Issue may occur during video playback
English
English
English
NN Note
Using the AllShare Settings function
Teletext Feature
English
English
Teletext pages are organized according to six categories
Part Contents
Anti-theft Kensington Lock
English
Connections Common Interface Slot
With your authorized dealer
Troubleshooting
Many HD channels are up scaled from SD Standard Definition
Picture is distorted
Colour / Brightness / Sharpness
Test
There is no sound Menu
Issues Solutions and Explanations
Issues Solutions and Explanations
Input on the TV
Issues Solutions and Explanations
Try Network Settings in Network menu
TV too high. Try setting the brightness lower
Mode Not
Information is
After 30 minutes or every
Scrambled Signal or
May not be playable
Licence
English