INSTALLING THE INDOOR UNIT
Installing and Connecting the Indoor Unit Assembly Piping
There are two refrigerant pipes of different diameters:
◆A smaller one for the liquid refrigerant
◆A larger one for the gas refrigerant
A short length of piping is already fitted to the air conditioner. You must extend this piping using assembly piping (optionally supplied).
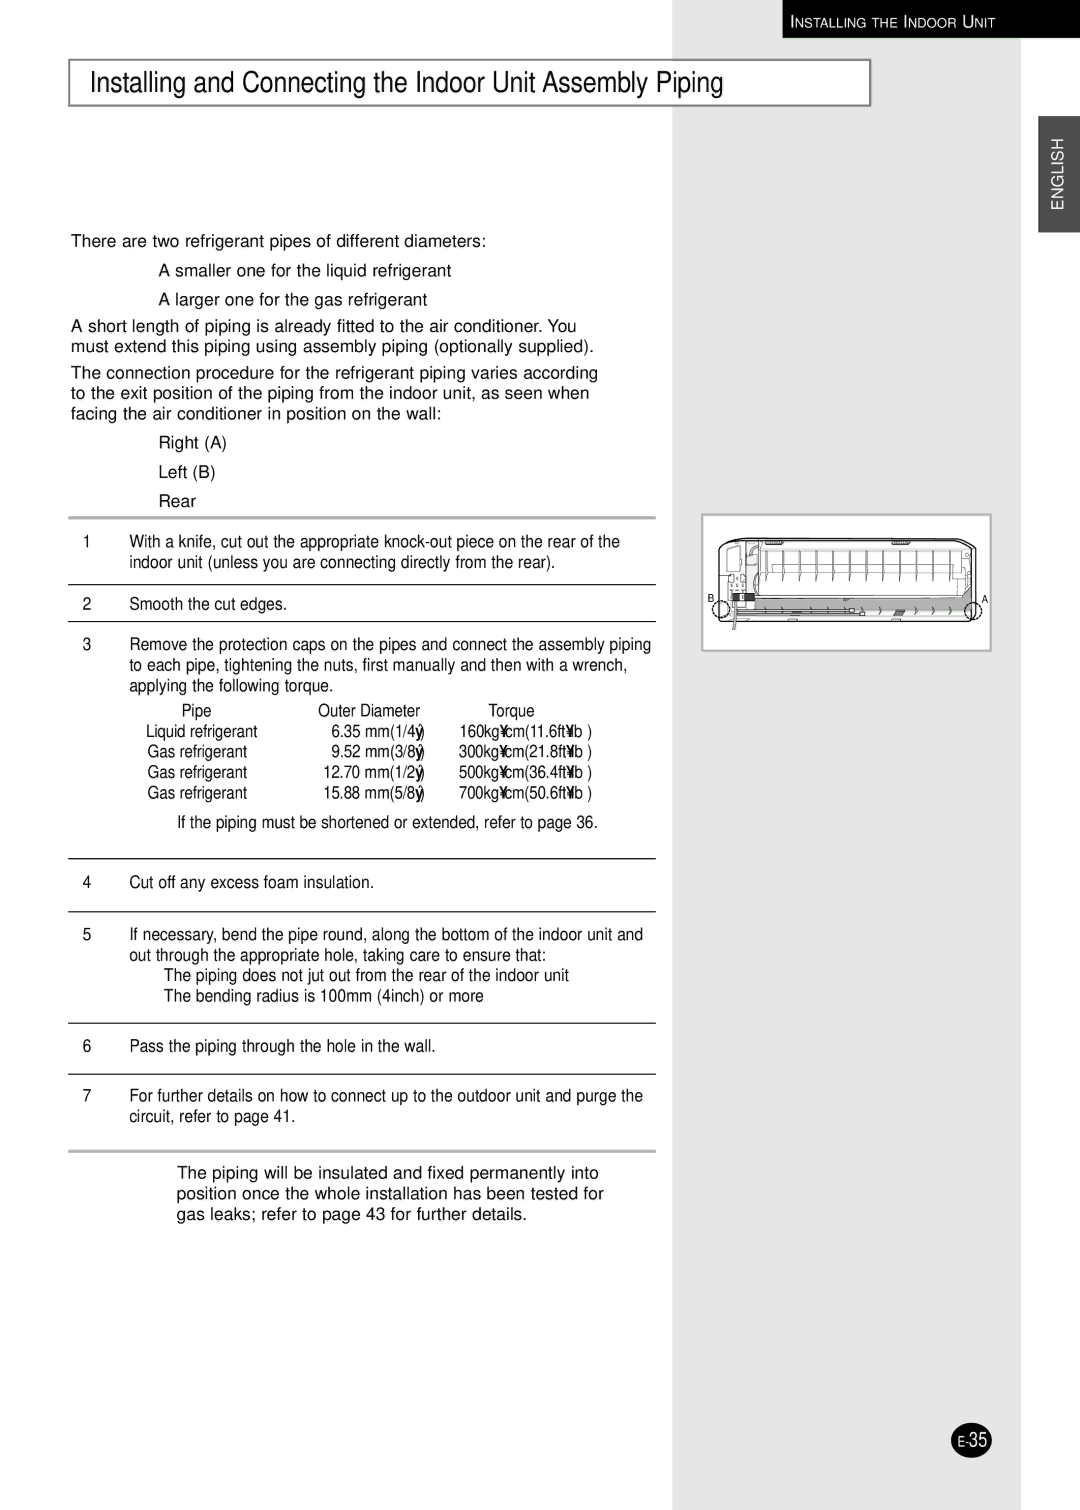
The connection procedure for the refrigerant piping varies according to the exit position of the piping from the indoor unit, as seen when facing the air conditioner in position on the wall:
◆Right (A)
◆Left (B)
◆Rear
1With a knife, cut out the appropriate
2Smooth the cut edges.
3Remove the protection caps on the pipes and connect the assembly piping to each pipe, tightening the nuts, first manually and then with a wrench, applying the following torque.
Pipe | Outer Diameter | Torque |
Liquid refrigerant | 6.35 mm(1/4˝) | 160kg•cm(11.6ft•lb ) |
Gas refrigerant | 9.52 mm(3/8˝) | 300kg•cm(21.8ft•lb ) |
Gas refrigerant | 12.70 mm(1/2˝) | 500kg•cm(36.4ft•lb ) |
Gas refrigerant | 15.88 mm(5/8˝) | 700kg•cm(50.6ft•lb ) |
➢If the piping must be shortened or extended, refer to page 36.
4Cut off any excess foam insulation.
5If necessary, bend the pipe round, along the bottom of the indoor unit and out through the appropriate hole, taking care to ensure that:
◆The piping does not jut out from the rear of the indoor unit
◆The bending radius is 100mm (4inch) or more
6Pass the piping through the hole in the wall.
7For further details on how to connect up to the outdoor unit and purge the circuit, refer to page 41.
➢The piping will be insulated and fixed permanently into position once the whole installation has been tested for gas leaks; refer to page 43 for further details.
ENGLISH
B | A |