VC240 specifications
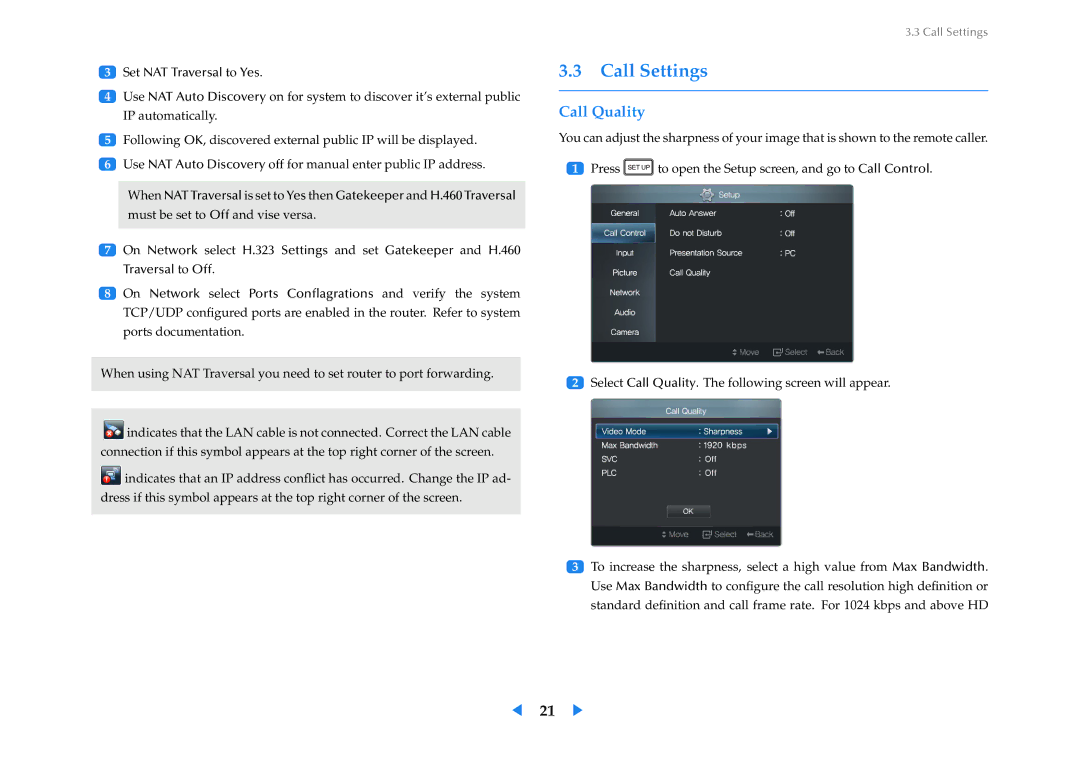
The Samsung VC240 is a versatile and innovative all-in-one display solution that merges professional-grade features with user-friendly technology. Aimed at enhancing various environments, particularly in educational institutions, business settings, and retail spaces, the VC240 is designed to deliver an exceptional visual experience.One of its main features is the high-resolution display, which boasts a 1920 x 1080 Full HD resolution. This clarity ensures sharp images and vibrant colors, making it ideal for presentations, video conferencing, and interactive sessions. The screen size, typically around 24 inches, strikes a balance between being large enough to capture attention while remaining compact for various setups.
The VC240 incorporates advanced LED backlighting technology, which not only improves the brightness and contrast of the display but also enhances energy efficiency. This technology contributes to lower operational costs while maintaining optimal visual performance, an essential trait for long-term use in busy environments.
Another standout characteristic of the Samsung VC240 is its touch capability, offering interactive engagement that allows users to navigate, annotate, and collaborate seamlessly. The multi-touch functionality supports several simultaneous touches, making it an excellent tool for group activities and brainstorming sessions.
Connectivity options are extensive, including HDMI, DisplayPort, and USB ports, facilitating easy integration with various devices such as laptops, tablets, and other peripherals. This flexibility ensures that the VC240 can adapt to a variety of use cases, from classrooms to boardrooms, enhancing productivity and collaboration.
In terms of durability, the VC240 is built with a robust design featuring a reinforced glass surface that minimizes glare and ensures longevity, even in high-traffic areas. The device is also compliant with various safety and environmental standards, making it a reliable choice for conscientious consumers.
Moreover, the Samsung VC240 supports advanced management and control features, allowing IT administrators to monitor performance and set configurations remotely. This capability is particularly beneficial in large deployments, enabling efficient maintenance and monitoring.
Overall, the Samsung VC240 stands out in the market for its blend of high-quality visual output, interactive features, and user-friendly design, making it an ideal solution for a wide range of professional applications. Whether used for educational purposes, corporate presentations, or retail displays, the VC240 proves to be a powerful tool that enhances communication and collaboration.

