
 Nested Wands
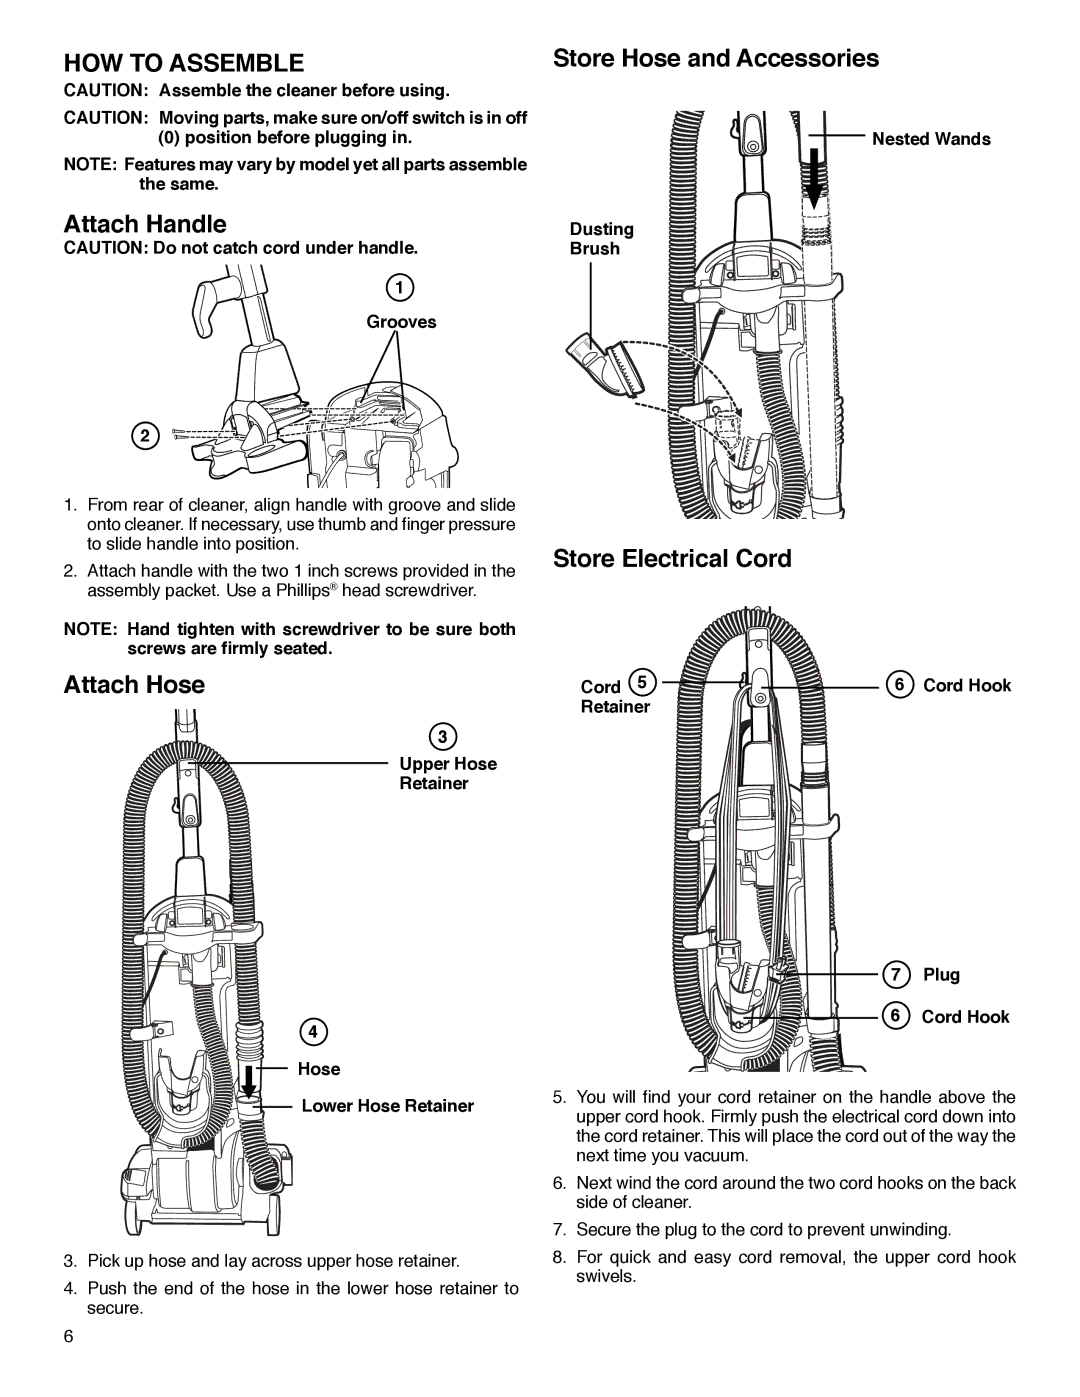
SC5700 Series specifications
The Sanitaire SC5700 Series is a powerful line of commercial upright vacuum cleaners designed to meet the rigorous demands of professional cleaning environments. With its robust construction and innovative features, the SC5700 series is tailored for both efficiency and user-friendliness, making it a popular choice among cleaning professionals in various industries.One of the standout features of the SC5700 Series is its lightweight design, which allows for easy maneuverability and reduced fatigue during extended cleaning sessions. Weighing significantly less than some of its competitors, the SC5700 ensures that users can move around effortlessly, even in challenging spaces. The vacuum is equipped with a 12-inch cleaning path, enabling quick and efficient cleaning across large areas, making it an ideal choice for schools, offices, and healthcare facilities.
The SC5700 Series is built with a powerful motor that delivers superior suction capabilities. This robust performance is critical in efficiently picking up dirt, dust, and debris from various floor types. Additionally, the vacuum features a HEPA filtration system that captures 99.97% of dust and allergens, ensuring a cleaner and healthier environment. This is especially important for businesses focused on maintaining high standards of cleanliness and hygiene.
Another notable characteristic of the SC5700 Series is its durable design. Constructed with high-quality materials, the vacuum is built to withstand the rigors of daily use. The series also incorporates a variety of convenient features such as a large-capacity dust bag, which minimizes the frequency of bag changes and increases productivity. The easy-to-replace bags enhance the overall user experience by reducing downtime.
In terms of technology, the SC5700 Series showcases a noise-reduction design, ensuring quieter operation without compromising on performance. This is particularly advantageous in noise-sensitive environments where disruption must be minimized. Furthermore, the vacuum's ergonomic handle is designed to provide comfort and stability, reducing strain on the user's wrist during operation.
Overall, the Sanitaire SC5700 Series combines power, efficiency, and durability, making it an exemplary choice for professionals seeking a reliable and effective cleaning solution for diverse settings. Its enhanced features and technologies elevate the standard of commercial cleaning equipment, ensuring that users achieve optimal results every time.