SETTING CLOCK
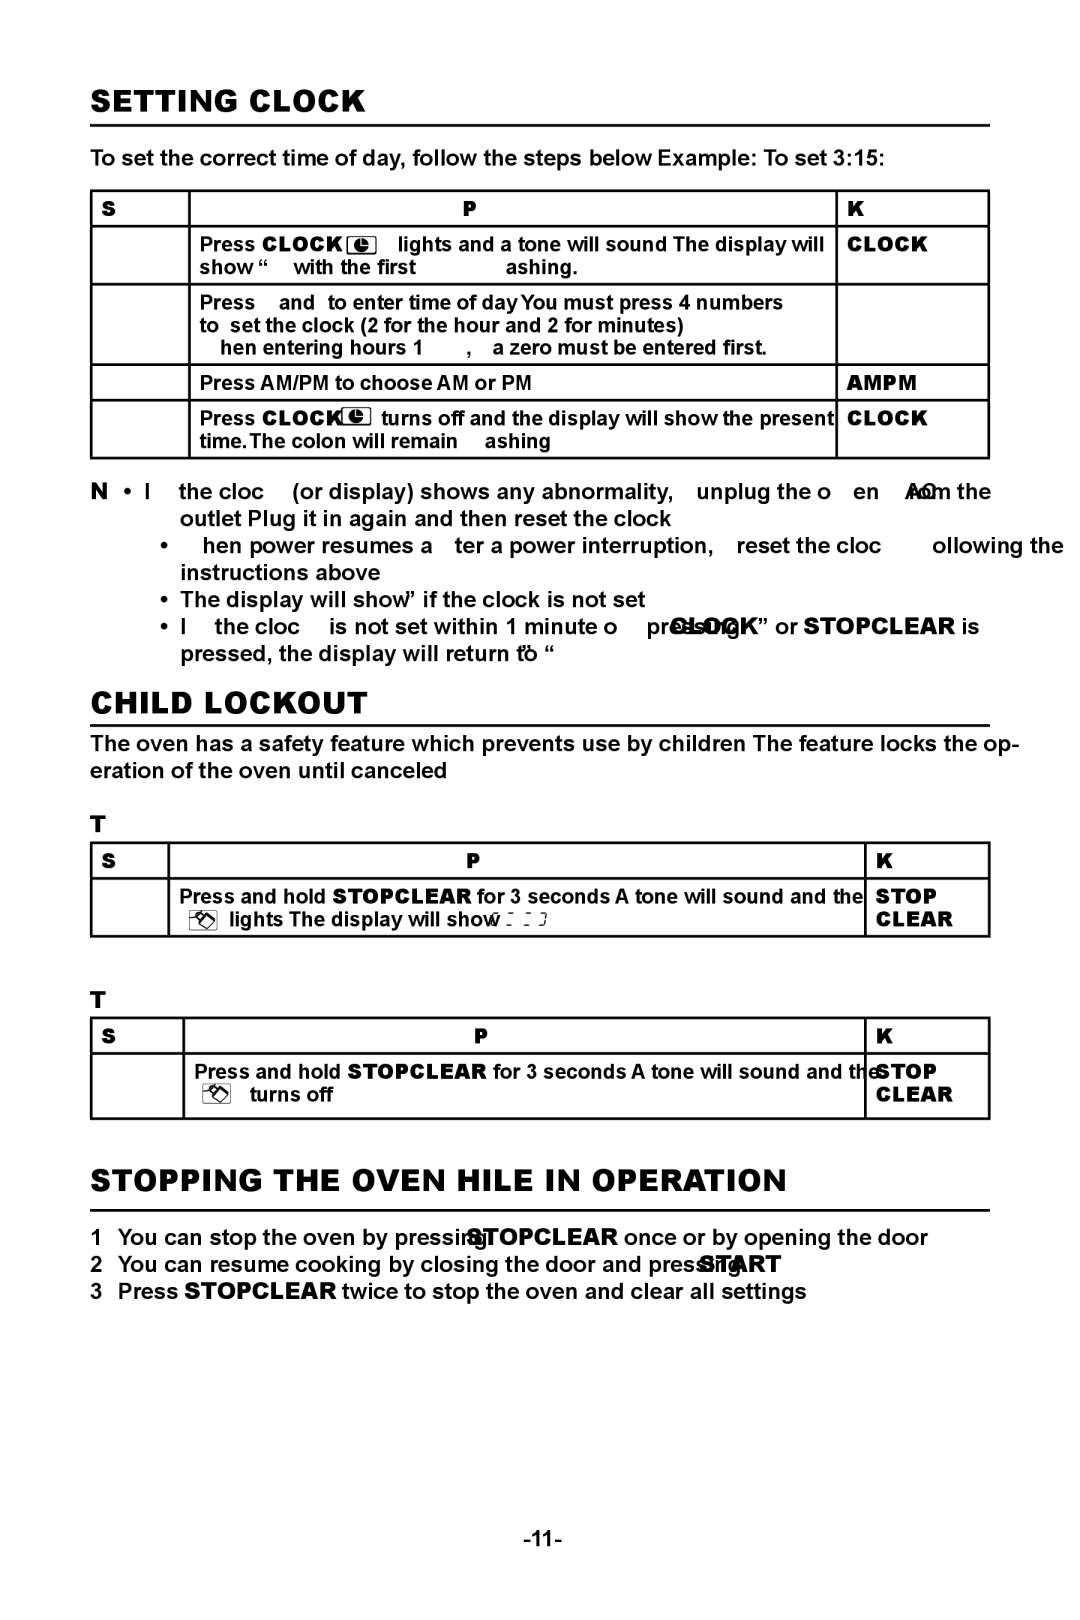
To set the correct time of day, follow the steps below. Example: To set 3:15:
Step |
| Procedure | Keypad |
|
|
|
|
1 | Press CLOCK. | lights and a tone will sound. The display will | CLOCK |
| show “00:00” with the first “0” flashing. |
| |
|
|
| |
2 | Press 0, 3, 1 and 5 to enter time of day. You must press 4 numbers | 03:15 | |
| to set the clock (2 for the hour and 2 for minutes). |
| |
| When entering hours |
| |
|
|
| |
3 | Press AM/PM to choose AM or PM. | AM/PM | |
|
|
|
|
4 | Press CLOCK. | turns off and the display will show the present | CLOCK |
| time. The colon will remain flashing |
| |
|
|
|
|
Note : • If the clock (or display) shows any abnormality, unplug the oven from the AC outlet. Plug it in again and then reset the clock.
•When power resumes after a power interruption, reset the clock following the instructions above.
•The display will show “0:00” if the clock is not set.
•If the clock is not set within 1 minute of pressing “CLOCK” or STOP/CLEAR is pressed, the display will return to “0:00”.
CHILD LOCK-OUT
The oven has a safety feature which prevents use by children. The feature locks the op- eration of the oven until canceled.
To set:
Step |
| Procedure | Keypad | |
|
|
|
| |
1 | Press and hold STOP/CLEAR for 3 seconds. A tone will sound and the | STOP/ | ||
|
| lights. The display will show | . | CLEAR |
|
|
|
|
|
To cancel: |
|
| ||
|
|
|
| |
Step |
| Procedure | Keypad | |
|
|
|
| |
1 |
| Press and hold STOP/CLEAR for 3 seconds. A tone will sound and the | STOP/ | |
|
| turns off. |
| CLEAR |
|
|
|
|
|
STOPPING THE OVEN WHILE IN OPERATION
1.You can stop the oven by pressing STOP/CLEAR once or by opening the door.
2.You can resume cooking by closing the door and pressing START.
3.Press STOP/CLEAR twice to stop the oven and clear all settings.
