
PDG-DHT8000L specifications
The Sanyo PDG-DHT8000L is a high-performance projector designed for a variety of professional environments, offering outstanding image quality, advanced technologies, and versatile connectivity options. Ideal for corporate presentations, educational settings, and large venue applications, this projector stands out for its combination of robust features and user-friendly design.At the heart of the PDG-DHT8000L is its advanced DLP (Digital Light Processing) technology. This ensures exceptional image clarity and brightness, with a remarkable resolution of 1920 x 1080 pixels, allowing for brilliant Full HD visuals. The projector achieves a brightness level of up to 8000 ANSI lumens, making it suitable for use in well-lit environments without sacrificing image quality. This high brightness is complemented by a high contrast ratio that enhances the depth and detail in images, ensuring that presentations are impactful and engaging.
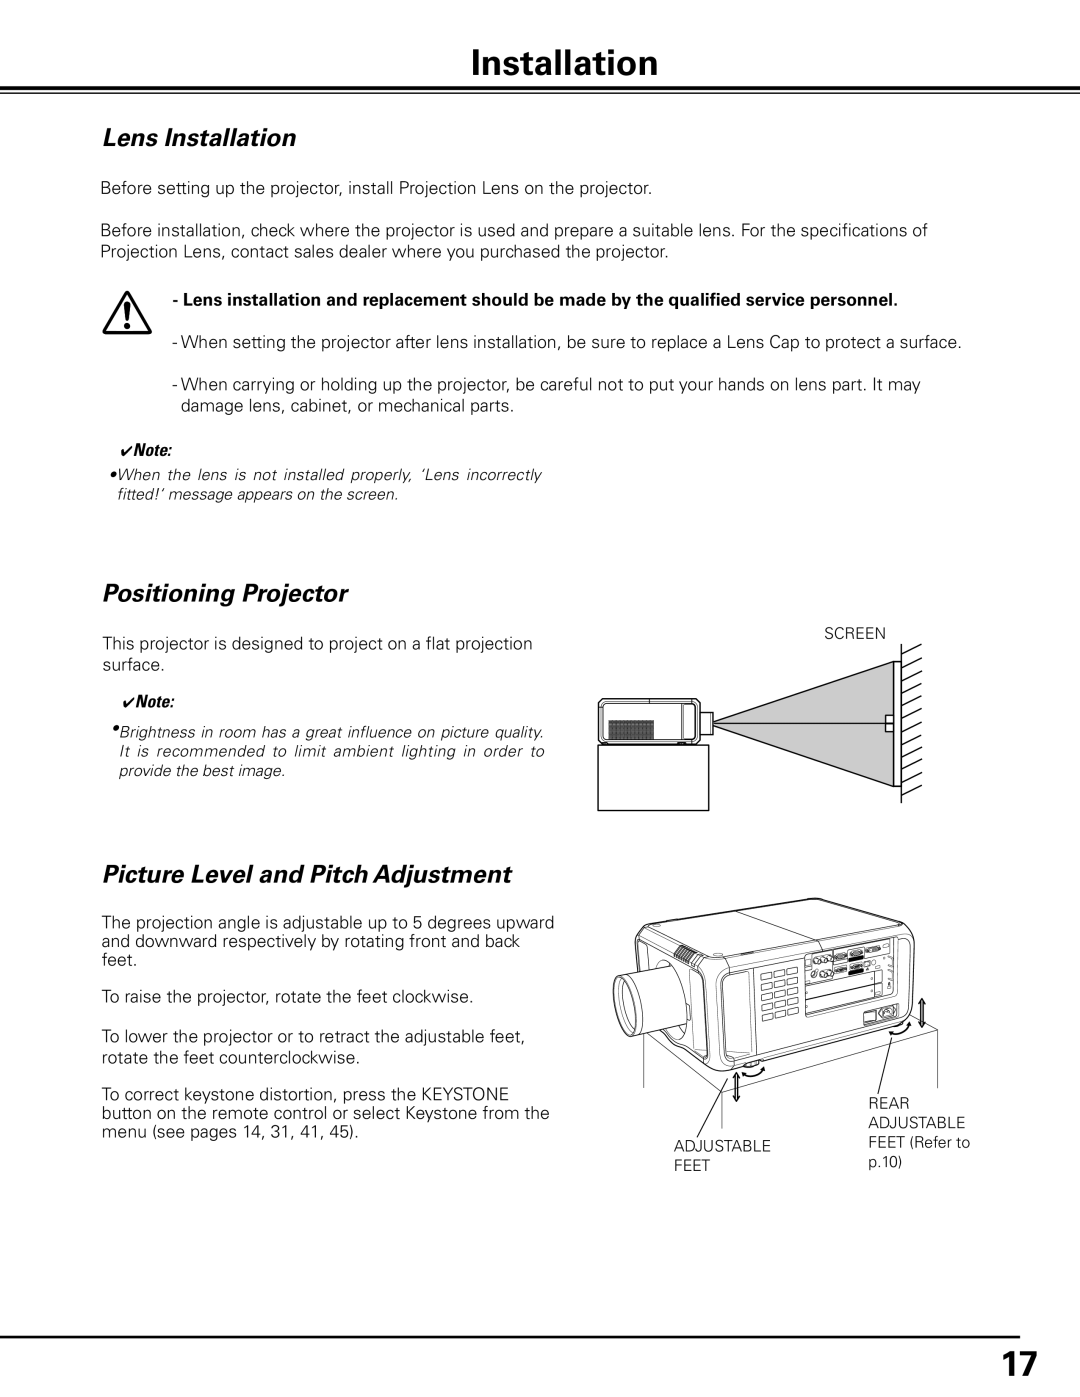
Another significant feature of the PDG-DHT8000L is its comprehensive lens options. The projector supports interchangeable lenses, which provide flexibility in installation and allows users to choose the ideal lens to match their specific projection needs. This capability makes it easy to adapt the projector to various room sizes and layouts, ensuring optimal performance in any setting.
The PDG-DHT8000L also incorporates advanced color technology, including a color wheel that enhances color reproduction. This results in rich, vibrant colors that create an immersive viewing experience. Additionally, the projector features various color adjustment settings, making it easier for users to calibrate the device according to their preferences or specific lighting conditions.
In terms of connectivity, the Sanyo PDG-DHT8000L excels with multiple input options, including HDMI, RGB, and composite video, enabling seamless integration with various devices such as laptops, Blu-ray players, and gaming consoles. The projector also supports network connectivity, allowing for easy remote control and management over a LAN connection, which is particularly useful in corporate and educational environments.
With a robust build quality and reliable performance, the Sanyo PDG-DHT8000L is designed for longevity and ease of use. Its user-friendly interface and intuitive control features make operation straightforward, while its robust cooling system ensures efficient performance even during long presentations. Overall, the Sanyo PDG-DHT8000L is a powerful tool that delivers exceptional visual quality and versatility, making it an excellent choice for professionals seeking a reliable projection solution.