EM4800 specifications
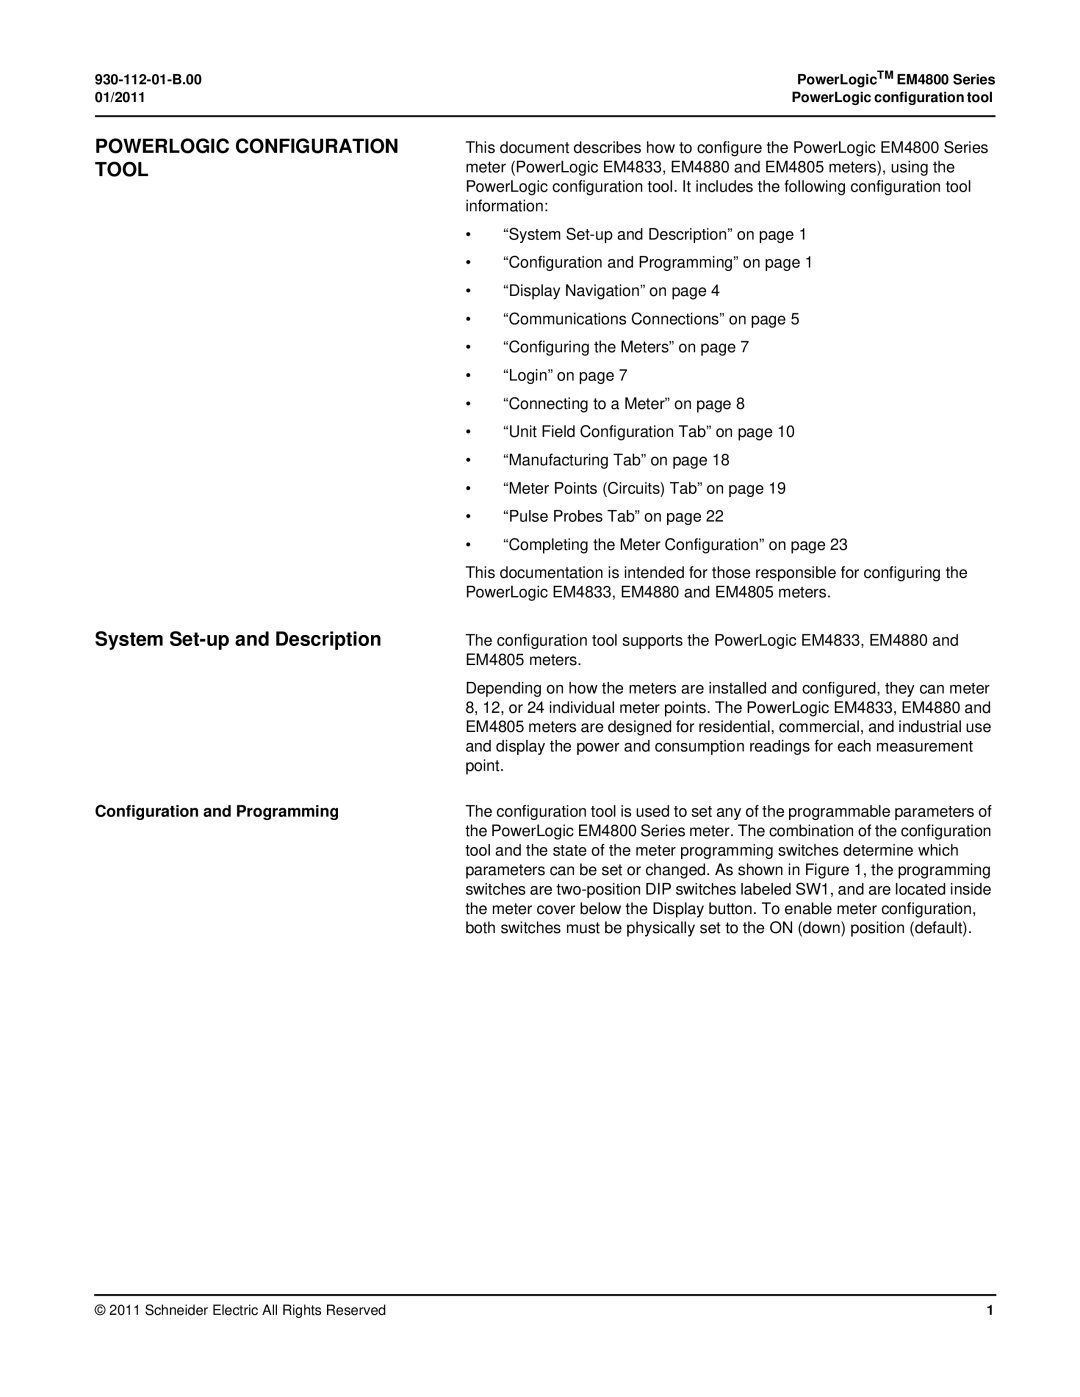
Schneider Electric, a global leader in energy management and automation, offers advanced power monitoring solutions that enhance energy efficiency and operational effectiveness. The EM4800 and EM400 series are prominent products in Schneider Electric’s energy monitoring line, designed specifically for efficient energy consumption management in various industrial and commercial applications.The EM4800 is a comprehensive energy meter that caters to larger facilities and energy-intensive operations. One of its main features is its ability to monitor multiple electrical parameters, including voltage, current, frequency, power factor, and total active/reactive energy. The device supports diverse communication protocols such as Modbus, Ethernet, and BACnet, allowing seamless integration into existing building management systems. This diversity in communication enhances visibility into energy usage and supports real-time monitoring, enabling facility managers to make informed decisions.
On the other hand, the EM400 series is designed for smaller applications while still delivering robust functionality. This series is tailored for monitoring power consumption in smaller commercial buildings or branch offices. EM400 meters focus on essential energy metrics but do so with a compact, easy-to-install design. With features like demand forecasting and peak load management, the EM400 provides valuable insights that help organizations optimize their energy usage.
Both models come equipped with advanced technologies such as harmonic analysis, which is crucial for understanding power quality and mitigating potential risks associated with harmonic distortion. The user-friendly interface of these devices facilitates quick access to energy data, making it simple for users to analyze consumption patterns and identify opportunities for energy savings.
In concurrence with Schneider Electric’s commitment to sustainability, both the EM4800 and EM400 series emphasize energy conservation by promoting efficient energy practices. Users can leverage the collected data to reduce energy costs, enhance equipment performance, and contribute to environmental sustainability efforts.
In summary, Schneider Electric’s EM4800 and EM400 energy meters combine innovative technology with practical features aimed at improving energy management. Their advanced monitoring capabilities, versatile communication options, and focus on power quality make them essential tools for organizations seeking to enhance operational efficiency while reducing their carbon footprint. By investing in these cutting-edge energy solutions, businesses can take significant strides towards sustainable energy management and operational excellence.
