9.Assembly instructions
9.1No assembly required.
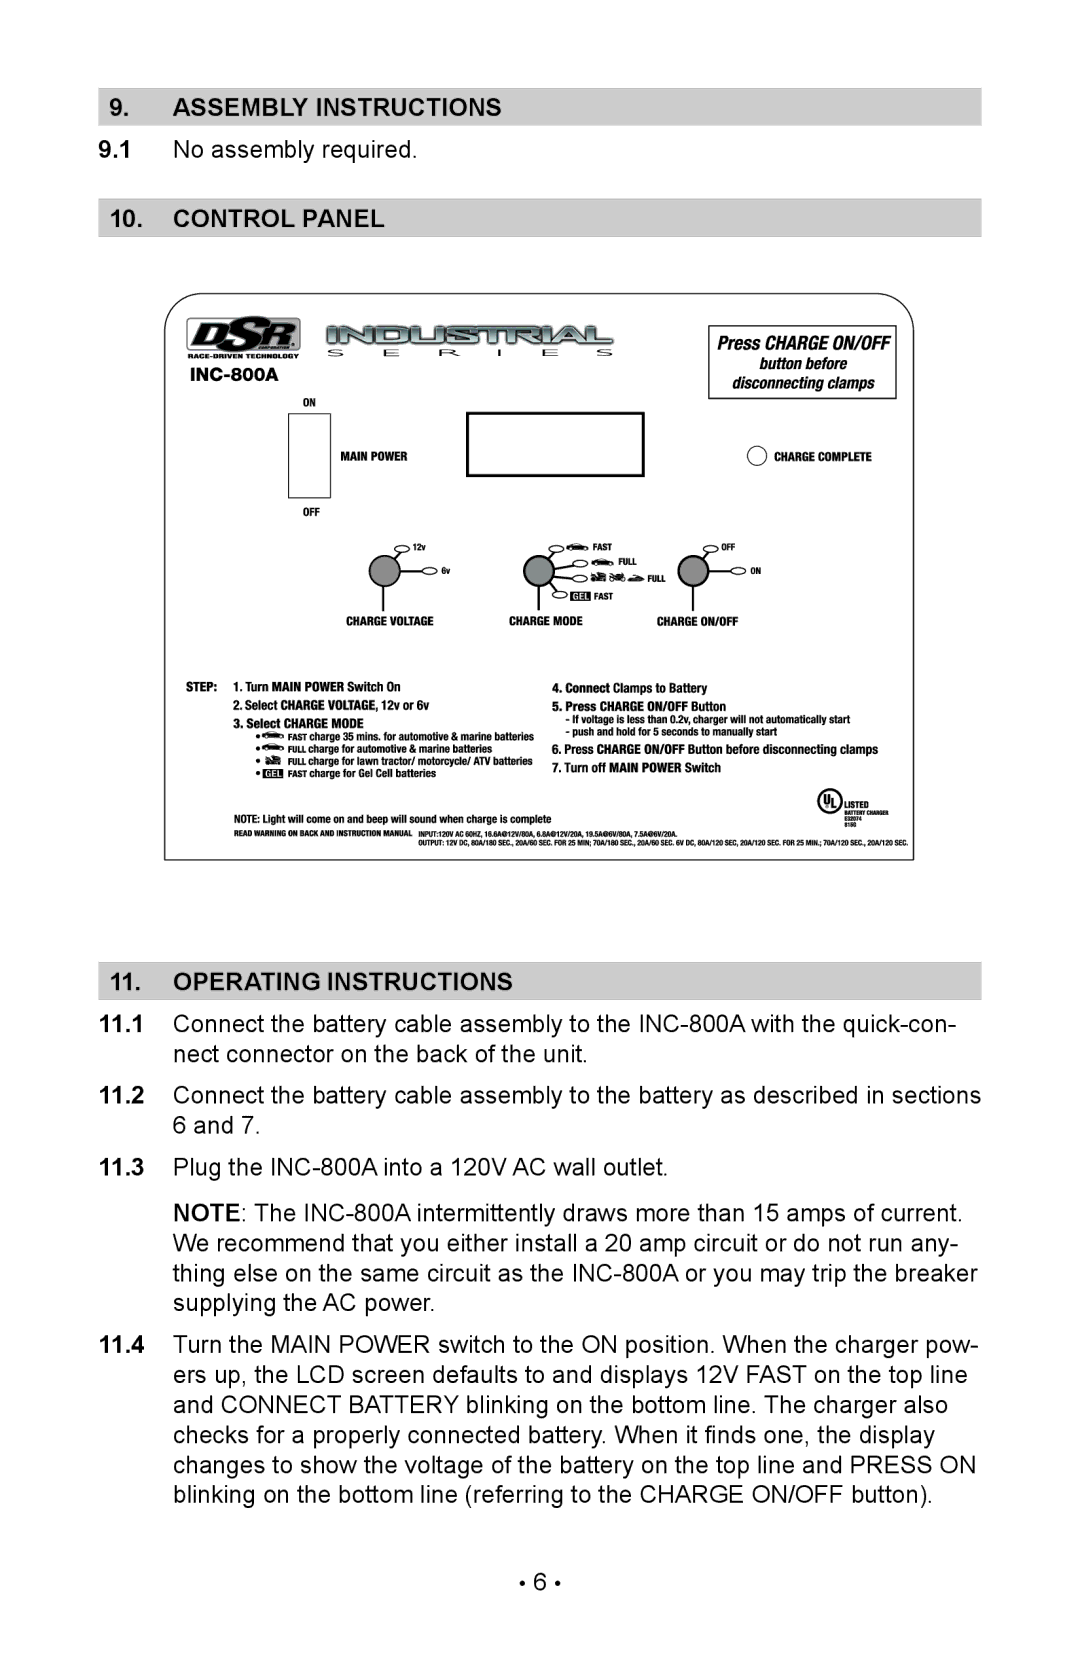
10.control panel
11.Operating instructions
11.1Connect the battery cable assembly to the
11.2Connect the battery cable assembly to the battery as described in sections 6 and 7.
11.3Plug the
Note: The
11.4Turn the Main Power switch to the ON position. When the charger pow- ers up, the LCD screen defaults to and displays 12V FAST on the top line and CONNECT BATTERY blinking on the bottom line. The charger also checks for a properly connected battery. When it finds one, the display changes to show the voltage of the battery on the top line and PRESS ON blinking on the bottom line (referring to the CHARGE ON/OFF button).
• 6 •
