F.OPERATING INSTRUCTIONS: CHARGING BATTERY IN VEHICLE

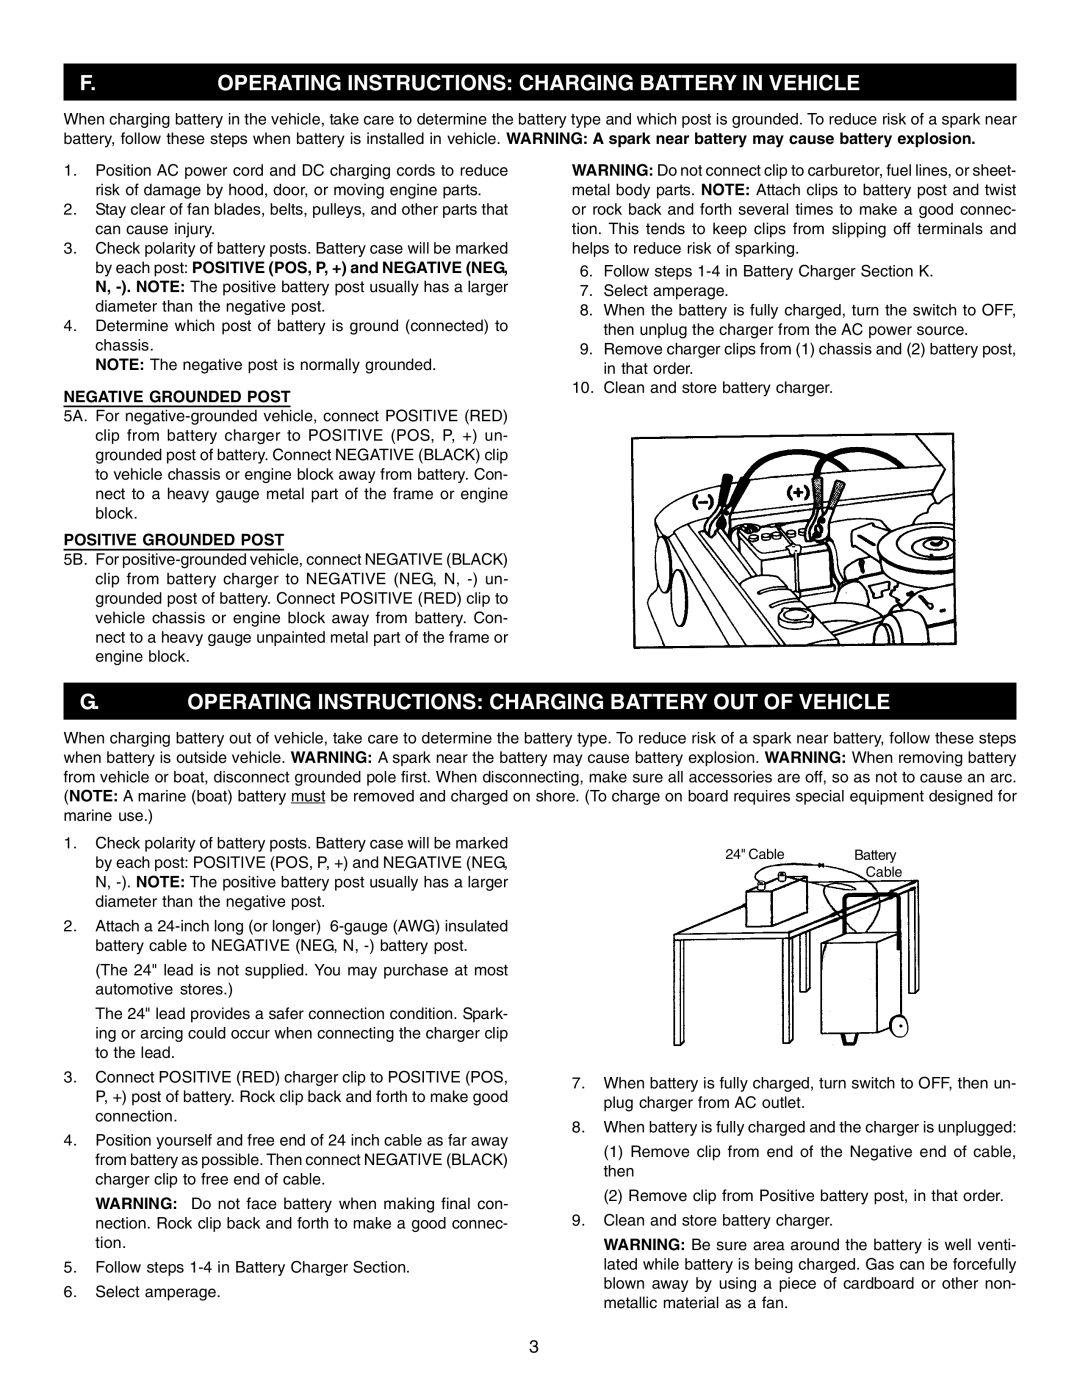
When charging battery in the vehicle, take care to determine the battery type and which post is grounded. To reduce risk of a spark near battery, follow these steps when battery is installed in vehicle. WARNING: A spark near battery may cause battery explosion.

1.Position AC power cord and DC charging cords to reduce risk of damage by hood, door, or moving engine parts.

2.Stay clear of fan blades, belts, pulleys, and other parts that can cause injury.

3.Check polarity of battery posts. Battery case will be marked by each post: POSITIVE (POS, P, +) and NEGATIVE (NEG, N, -). NOTE: The positive battery post usually has a larger diameter than the negative post.

4.Determine which post of battery is ground (connected) to chassis.

NOTE: The negative post is normally grounded.

NEGATIVE GROUNDED POST

5A. For negative-grounded vehicle, connect POSITIVE (RED) clip from battery charger to POSITIVE (POS, P, +) un- grounded post of battery. Connect NEGATIVE (BLACK) clip to vehicle chassis or engine block away from battery. Con- nect to a heavy gauge metal part of the frame or engine block.

POSITIVE GROUNDED POST

5B. For positive-grounded vehicle, connect NEGATIVE (BLACK) clip from battery charger to NEGATIVE (NEG, N, -) un- grounded post of battery. Connect POSITIVE (RED) clip to vehicle chassis or engine block away from battery. Con- nect to a heavy gauge unpainted metal part of the frame or engine block.

WARNING: Do not connect clip to carburetor, fuel lines, or sheet-

metal body parts. NOTE: Attach clips to battery post and twist or rock back and forth several times to make a good connec- tion. This tends to keep clips from slipping off terminals and helps to reduce risk of sparking.

6.Follow steps 1-4 in Battery Charger Section K.

7.Select amperage.

8.When the battery is fully charged, turn the switch to OFF, then unplug the charger from the AC power source.

9.Remove charger clips from (1) chassis and (2) battery post,

in that order.

10. Clean and store battery charger.

G.OPERATING INSTRUCTIONS: CHARGING BATTERY OUT OF VEHICLE

When charging battery out of vehicle, take care to determine the battery type. To reduce risk of a spark near battery, follow these steps when battery is outside vehicle. WARNING: A spark near the battery may cause battery explosion. WARNING: When removing battery from vehicle or boat, disconnect grounded pole first. When disconnecting, make sure all accessories are off, so as not to cause an arc. (NOTE: A marine (boat) battery must be removed and charged on shore. (To charge on board requires special equipment designed for marine use.)

1.Check polarity of battery posts. Battery case will be marked by each post: POSITIVE (POS, P, +) and NEGATIVE (NEG, N, -). NOTE: The positive battery post usually has a larger diameter than the negative post.

2.Attach a 24-inch long (or longer) 6-gauge (AWG) insulated battery cable to NEGATIVE (NEG, N, -) battery post.

(The 24" lead is not supplied. You may purchase at most automotive stores.)

The 24" lead provides a safer connection condition. Spark- ing or arcing could occur when connecting the charger clip to the lead.

3.Connect POSITIVE (RED) charger clip to POSITIVE (POS, P, +) post of battery. Rock clip back and forth to make good connection.

4.Position yourself and free end of 24 inch cable as far away from battery as possible. Then connect NEGATIVE (BLACK) charger clip to free end of cable.

WARNING: Do not face battery when making final con- nection. Rock clip back and forth to make a good connec- tion.

5.Follow steps 1-4 in Battery Charger Section.

6.Select amperage.

24" Cable

Battery


Cable

7.When battery is fully charged, turn switch to OFF, then un- plug charger from AC outlet.

8.When battery is fully charged and the charger is unplugged:

(1)Remove clip from end of the Negative end of cable, then

(2)Remove clip from Positive battery post, in that order.

9.Clean and store battery charger.

WARNING: Be sure area around the battery is well venti- lated while battery is being charged. Gas can be forcefully blown away by using a piece of cardboard or other non- metallic material as a fan.

3

Page 3
Image 3
Schumacher PS-8050 Operating Instructions Charging Battery in Vehicle, Negative Grounded Post, Positive Grounded Post

PS-8050, PS-5250, PS-2352, PS-3000 specifications

The Schumacher PS series stands out in the automotive equipment market, particularly for its advanced battery chargers and maintainers. Four notable models in this range are the PS-3000, PS-2352, PS-5250, and PS-8050, each offering distinct features and technologies tailored for a variety of user needs.

The Schumacher PS-3000 is designed for versatility and performance. It incorporates smart sensing technology that automatically detects voltage and adjusts the amperage to optimize charging. This model boasts a 3-amp automatic charger with a digital display that provides charging status and indicates the condition of the battery. Its compact design makes it highly portable, ideal for both home use and emergency situations.

Next, the PS-2352 model elevates functionality further. It's a fully automatic battery charger and maintainer specifically designed for both 6V and 12V lead-acid batteries. The PS-2352 utilizes microprocessor control to ensure precision in every charge cycle, which helps extend battery life. Moreover, it features an easy-to-read LED display that communicates battery status and charging progress, while its built-in safety protections guard against overcharging and reverse polarity.

The Schumacher PS-5250 model caters to higher capacity demands with its robust 6/12V charging capabilities. This model delivers a maximum of 5 amps of charging power and has a unique fast-charge feature for quickly restoring battery life. Its advanced float mode monitoring ensures that batteries remain charged without the risk of overcharge. The PS-5250's construction is durable and built to withstand the rigors of both professional and home use.

Lastly, the PS-8050 is the top of the line for heavy-duty applications. With a charging capability of up to 50 amps, this model is perfect for larger vehicles and industrial batteries. It features an onboard microprocessor for intelligent charging, which regulates the output to suit different battery types. Additionally, the PS-8050 is equipped with multiple safety features, including short-circuit protection and over-temperature prevention, ensuring safe usage even in demanding environments.

In summary, the Schumacher PS series effectively combines cutting-edge technology with user-friendly features across its lineup. From compact solutions like the PS-3000 to heavy-duty options such as the PS-8050, each model is designed to meet specific user requirements while ensuring the longevity and reliability of batteries. These models illustrate Schumacher's commitment to quality and innovation in automotive care.