Section 2 – Operation

*Table Saw (10") . . . . . . . . . . . . . . . . . . . . . . . . . . . . .1750 to 2000 Television . . . . . . . . . . . . . . . . . . . . . . . . . . . . . . . . . . . . .200 to 500 Toaster . . . . . . . . . . . . . . . . . . . . . . . . . . . . . . . . . . . . .1000 to 1650 Weed Trimmer . . . . . . . . . . . . . . . . . . . . . . . . . . . . . . . . . . . . . . 500 * Allow 3 times the listed watts for starting these devices.

2.7BEFORE STARTING THE

GENERATOR

Prior to operating the generator, engine oil and gasoline will need to be added, as follows:

2.7.1 ADDING ENGINE OIL

All oil should meet minimum American Petroleum Institute (API) Service Class SJ, SL or better. Use no special additives. Select the oil's viscosity grade according to the expected operating temperature (also see chart).

Above 40° F, use SAE 30

Below 40° F and down to 10° F, use 10W-30

Below 10° F, use synthetic 5W-30

Any attempt to crank or start the engine before it has been properly serviced with the recommended oil may result in an engine failure.

SAE 30

10W-30

Synthetic 5W-30

Place generator on a level surface.

Clean area around oil fill and remove oil fill cap and dipstick.

Wipe dipstick clean.

Slowly fill engine with oil through the oil fill opening until it reaches the full mark. Stop filling occasionally to check oil level. (Engine oil is full when level is up to the threads of the oil fill plug.) Do not overfill.

Install oil fill cap and finger tighten securely.

Check engine oil level before starting each time thereafter.

2.7.2 ADDING GASOLINE

Never fill fuel tank indoors. Never fill fuel tank when engine is running or hot. Allow unit/engine to cool entirely before adding fuel. DO NOT light a cigarette or smoke when filling the fuel tank.

10

Do not overfill the fuel tank. Always leave room for fuel expansion.

To reduce lead and carbon deposits use high quality UNLEADED gasoline with the generator engine. Leaded REGULAR grade gasoline is an acceptable substitute. Do not use premium gasoline. Do not mix oil with gasoline.

Clean area around fuel fill cap, remove cap.

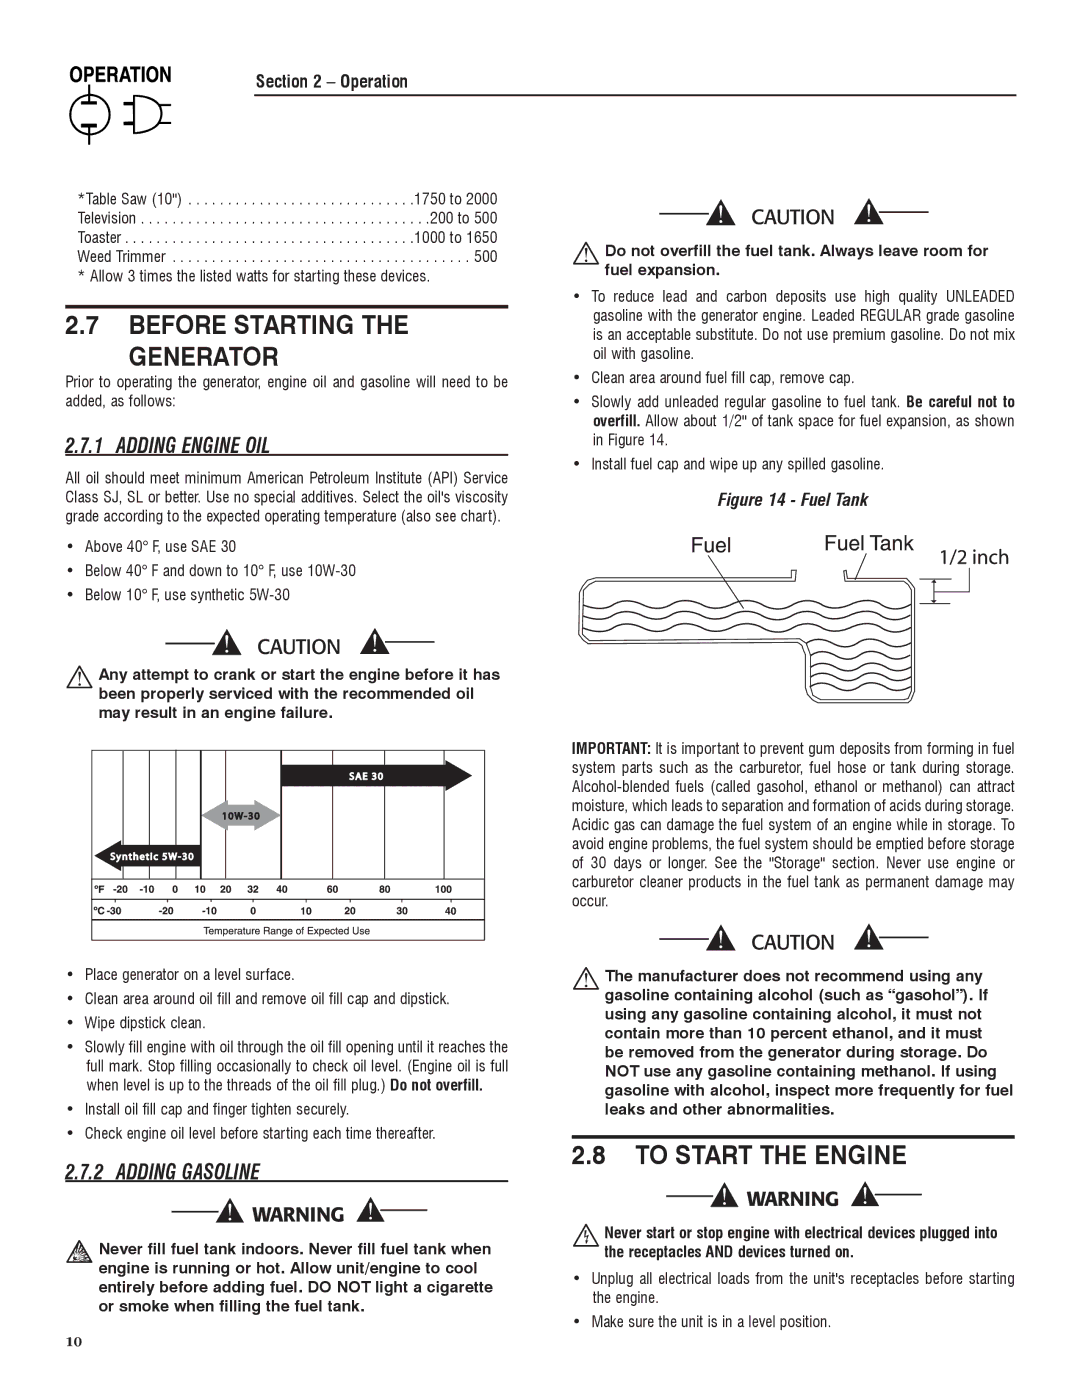
Slowly add unleaded regular gasoline to fuel tank. Be careful not to overfill. Allow about 1/2" of tank space for fuel expansion, as shown in Figure 14.

Install fuel cap and wipe up any spilled gasoline.

Figure 14 - Fuel Tank

IMPORTANT: It is important to prevent gum deposits from forming in fuel system parts such as the carburetor, fuel hose or tank during storage. Alcohol-blended fuels (called gasohol, ethanol or methanol) can attract moisture, which leads to separation and formation of acids during storage. Acidic gas can damage the fuel system of an engine while in storage. To avoid engine problems, the fuel system should be emptied before storage of 30 days or longer. See the "Storage" section. Never use engine or carburetor cleaner products in the fuel tank as permanent damage may occur.

The manufacturer does not recommend using any gasoline containing alcohol (such as “gasohol”). If using any gasoline containing alcohol, it must not contain more than 10 percent ethanol, and it must be removed from the generator during storage. Do NOT use any gasoline containing methanol. If using gasoline with alcohol, inspect more frequently for fuel leaks and other abnormalities.

2.8TO START THE ENGINE

Never start or stop engine with electrical devices plugged into the receptacles AND devices turned on.

Unplug all electrical loads from the unit's receptacles before starting the engine.

Make sure the unit is in a level position.

Page 12
Image 12
Sears 005735-0, 005734-0 manual Before Starting Generator, To Start the Engine, Adding Engine OIL, Adding Gasoline

005734-0, 005735-0 specifications

Sears has long been a household name, known for offering a diverse range of products that cater to various consumer needs. Among its extensive catalog, the models 005735-0 and 005734-0 stand out due to their functional designs, reliable performance, and user-friendly features.

The Sears 005735-0 model is designed with practicality in mind. This appliance typically focuses on efficiency and ease of use, making it suitable for households that value both performance and convenience. One of the main features of this model includes its durable construction, ensuring longevity and reliability even in demanding environments. The intuitive controls allow users to operate the device with minimal effort, making it accessible for individuals of all ages.

On the other hand, the Sears 005734-0 model brings versatility to the table. This unit often incorporates advanced technologies that elevate its utility. One notable characteristic is its energy-efficient performance, which not only helps users save on utility bills but also reduces the environmental footprint. This model is usually equipped with smart features that allow for programmable settings, making it easier to customize operations based on individual needs.

Both models are designed to handle a variety of household tasks effectively. Whether it’s cleaning, organizing, or preparing materials for special projects, users can rely on these appliances to deliver consistent results. The design often includes ample storage solutions and portability features, enabling seamless transitions from one task to another.

When it comes to customer satisfaction, both 005735-0 and 005734-0 reflect Sears' commitment to quality. Users appreciate the reliability of these products, often noting how they exceed expectations in performance and versatility. The availability of customer support and warranty options further enhances consumer confidence, making these models a worthwhile investment.

Overall, Sears 005735-0 and 005734-0 exemplify what consumers expect from a brand with a legacy of excellence. With a focus on innovation and user-centric design, these models serve as perfect examples of how Sears continues to meet the evolving demands of its customers. Whether purchasing for personal use or as a gift, these models represent practicality and performance that any household would benefit from.