Assembly (continued)
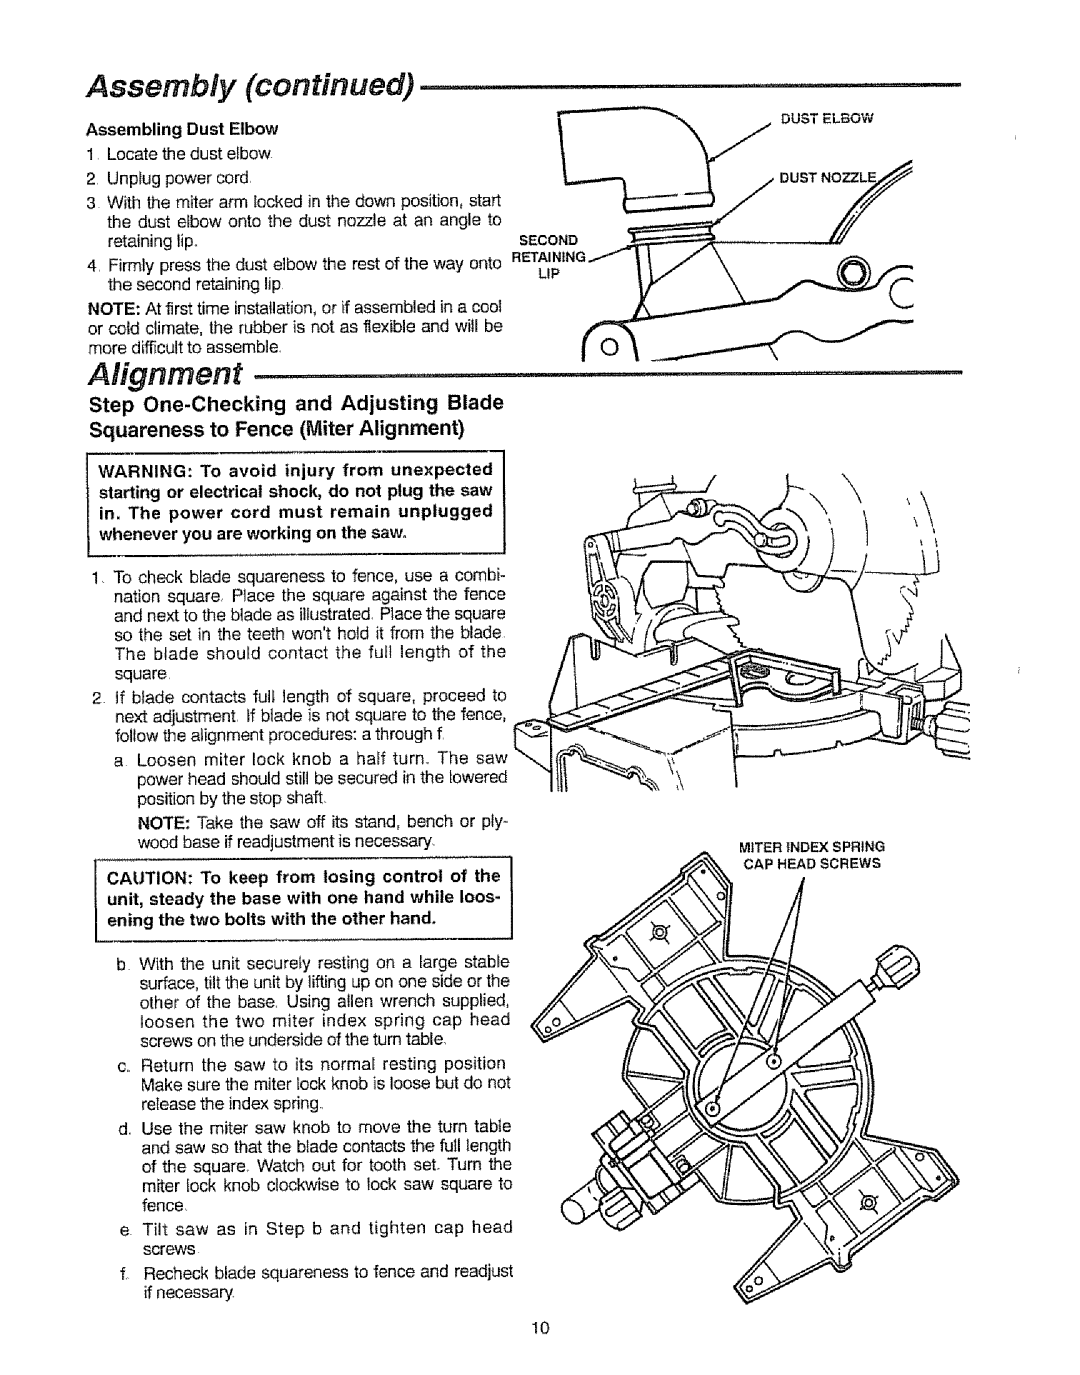
Assembling Dust Elbow
1Locate the dust elbow
2Unplug power cord.
3With the miter arm locked in the down position, start the dust elbow onto the dust nozzle at an angle to
retaining lip.SECOND
4. Firmly press the dust elbow the rest of the way onto RETAINING
the second retaining lipLIP
NOTE: At first time installation, or if assembled in a cool or cold climate, the rubber is not as flexible and will be more difficult to assemble.
Alignment.........
Step
Squareness to Fence (Miter Alignment)
WARNING: To avoid injury from unexpected starting or electrical shock, do not plug the saw in. The power cord must remain unplugged whenever you are working on the saw.
1To check blade squareness to fence, use a combi- nation square, Place the square against the fence and next to the blade as illustrated. Place the square so the set in the teeth won'thold it from the blade The blade should contact the full length of the square
2.If blade contacts fult length of square, proceed to next adjustment, tf blade is not square to the fence, follow the alignment procedures: a through f.
a Loosen miter lock knob a haft turn. The saw
power head should still be secured in the lowered position by the stop shaft_
NOTE: Take the saw off its stand, bench or ply- wood base if readjustment is necessary.
unit, steady the base with one hand while Ioos- ] I CAUTION: To keep from losing control of the
ening the two bolts with the other hand.
bWith the unit securely resting on a large stable surface, tilt the unit by lifting up on one side or the
other of the base. Using allen wrench supplied, loosen the two miter index spring cap head screws on the underside of the turn table.
Co Return the saw to its normal resting position Make sure the miter lock knob is loose but do not
release the index spring.
d. Use the miter saw knob to move the turn table and saw so that the blade contacts the full length
of the square. Watch out for tooth seL Turn the miter lock knob clockwise to lock saw square to
fence
e Tilt saw as in Step b and tighten cap head screws
fRecheck blade squareness to fence and readjust if necessary.
,, i,i ,,,,i,,
DUST ELBOW
\
MITER INDEX SPRING CAP HEAD SCREWS
10