The DC power outlet is wired directly to the internal battery. Extended operation of a 12V DC device may result in excessive battery drain. Recharge immediately after unplugging the 12V DC device.
Appliance Type | Estimated Wattage | Estimated Usage Time |
Cell Phone | 4 watts | 66 hours |
Fluorescent Light | 4 watts | 66 hours |
Radio, Fan | 9 watts | 29.3 hours |
Depth Finder | 9 watts | 29.3 hours |
Camcorder, VCR | 15 watts | 17.6 hours |
Electrical Tool | 24 watts | 11 hours |
Electrical Cooler | 48 watts | 5.5 hours |
Car Vacuum, Air Compressor | 80 watts | 3.3 hours |
NOTE: Estimated
8.4Using the USB Port
The USB port provides up to 500mA at 5V DC.
NOTE: When using the USB port, the clips on the jump starter are live and will produce arcing or sparking if they come in contact with each other. To prevent accidental arcing, always keep the clips on the storage holders when not using them to jump start a vehicle.
1.Ensure that the battery clips are securely clipped on the storage holders.
2.Plug the device into the USB port on the front panel.
3.Turn the Jump Starter On/Off switch to the ON position.
4.Turn the USB device on.
5.Reverse these steps when finished using the USB port.
6.Charge the jump starter as soon as possible after using the USB port.
8.5Using the Built-In Light
1.Position the jump starter on a flat, stable surface near the intended work area.
2.Ensure the battery clips are securely clipped on the storage holders.
3.Press the Light Switch to the ON position.
4.The jump starter light will turn on and illuminate your work area.
5.Press the Light Switch to the OFF position.
6.Charge the jump starter as soon as possible after using the
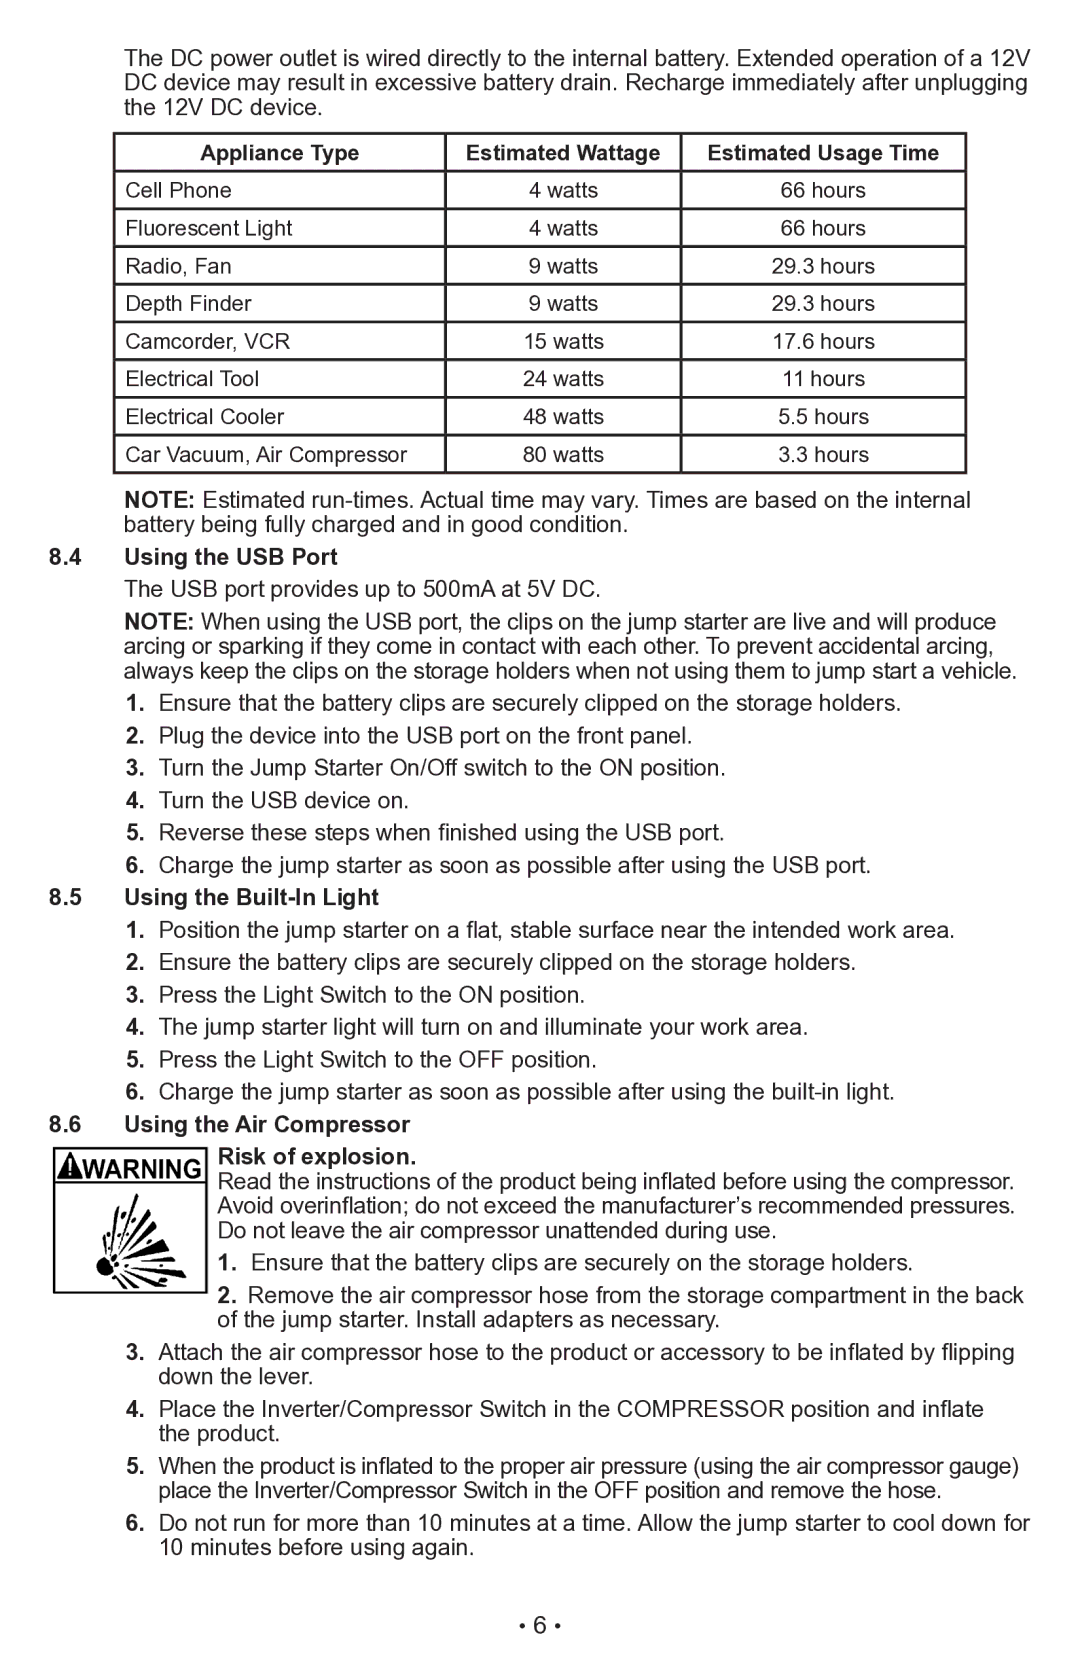
8.6Using the Air Compressor
Risk of explosion.
Read the instructions of the product being inflated before using the compressor. Avoid overinflation; do not exceed the manufacturer’s recommended pressures. Do not leave the air compressor unattended during use.
1.Ensure that the battery clips are securely on the storage holders.
2.Remove the air compressor hose from the storage compartment in the back of the jump starter. Install adapters as necessary.
3.Attach the air compressor hose to the product or accessory to be inflated by flipping down the lever.
4.Place the Inverter/Compressor Switch in the COMPRESSOR position and inflate the product.
5.When the product is inflated to the proper air pressure (using the air compressor gauge) place the Inverter/Compressor Switch in the OFF position and remove the hose.
6.Do not run for more than 10 minutes at a time. Allow the jump starter to cool down for 10 minutes before using again.
• 6 •