385. 564180 specifications
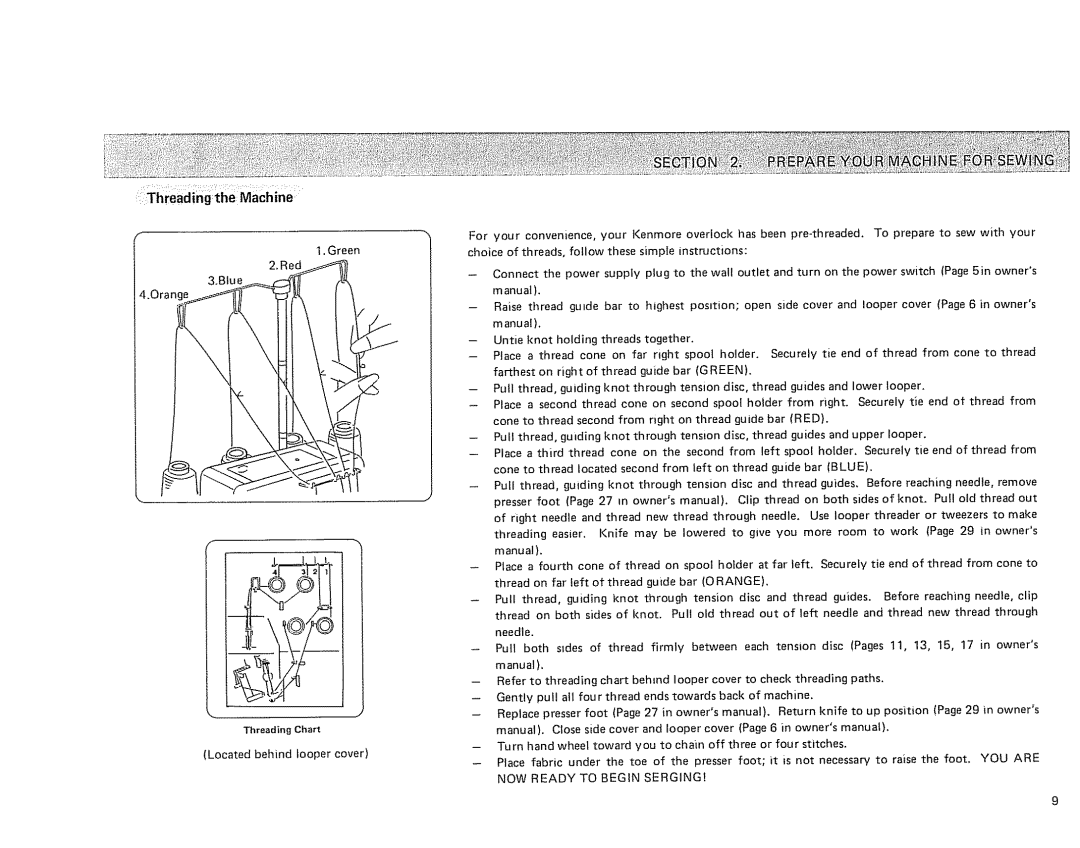
The Sears 385.564180 is a versatile sewing machine that has become a popular choice for both novice and experienced sewers. Known for its reliability and user-friendly design, this model seamlessly blends functionality with advanced technology, making it a valuable addition to any sewing room.One of the standout features of the Sears 385.564180 is its variety of stitch options. With over 50 different built-in stitches, users can craft anything from basic hems to intricate decorative patterns. The machine includes utility stitches, stretch stitches, and even specialty stitches for quilting and embroidery, providing ample creative opportunities for users to explore. This variety allows sewers to tailor their projects to specific needs, whether they are making garments, home décor items, or crafting gifts.
The machine also incorporates an automatic buttonhole feature, simplifying the process of creating professional-looking buttonholes. This is particularly beneficial for beginners who may find this task challenging. The buttonhole foot automatically sizes the buttonhole to match the chosen button, ensuring accurate and consistent results every time.
One of the technological highlights of the Sears 385.564180 is its computerized functionalities. With an LCD display and easy-to-use navigation, users can quickly select stitches and adjust settings, such as stitch length and width, at the touch of a button. This advanced interface enhances the sewing experience, allowing for greater precision and control over each project.
The machine features a drop-in bobbin system, which is easy to thread and monitor. This design reduces the chances of thread jams and misalignment, allowing users to focus on their creative endeavors rather than troubleshooting common sewing issues. Additionally, the machine boasts an adjustable presser foot, making it easier to handle various fabric thicknesses, from lightweight cotton to heavier canvas or denim.
Another notable characteristic of the Sears 385.564180 is its portability. Weighing in at a manageable size, this sewing machine is easy to transport, whether for sewing classes or quilting retreats. This feature, combined with its sturdy construction, ensures that it can withstand regular use while maintaining performance.
In summary, the Sears 385.564180 sewing machine combines an array of features, innovative technologies, and user-friendly characteristics. With a blend of traditional sewing capability and modern technological advancements, it stands as an ideal choice for anyone looking to expand their crafting skills and produce high-quality, professional results in their sewing projects.

