CLEANING TIPS

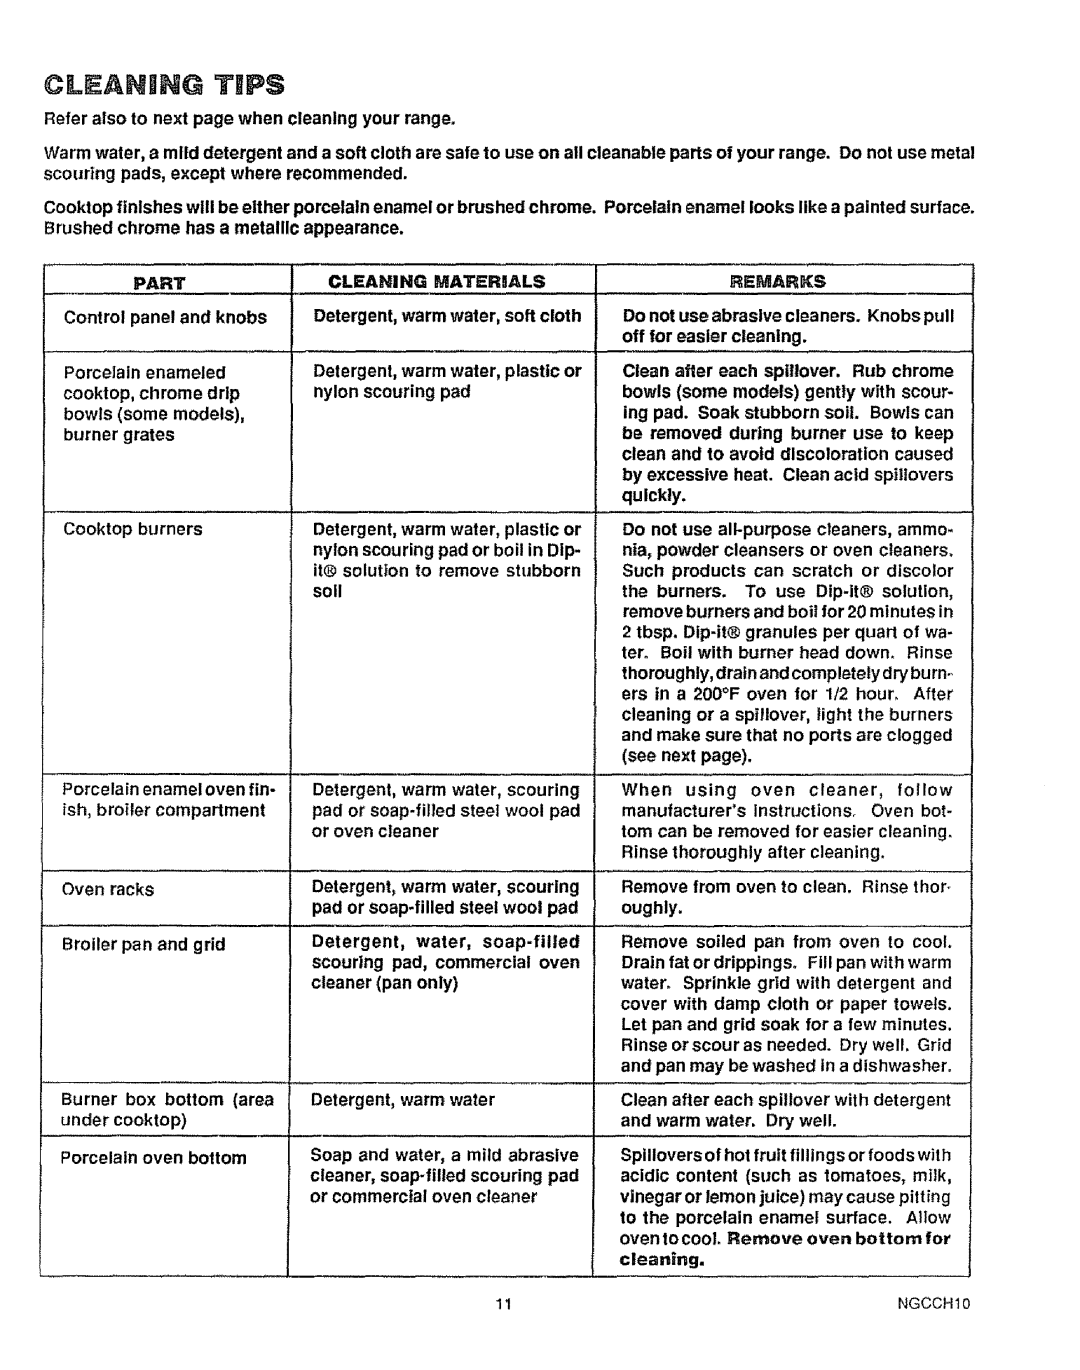
Refer also to next page when cleaning your range.

Warm water, a mild detergent and a soft cloth are safe to use on all cleanable parts of your range. Do not use metal scouring pads, except where recommended.

Cooktop finishes will be either porcelain enamel or brushed chrome. Porcelain enamel looks like a painted surface. Brushed chrome has a metallic appearance.

PART

Control panel and knobs

Porcelain enameled cooktop, chrome drip bowls (some models), burner grates

Cooktop burners

Porcelain enamel oven fin- ish, broiler compartment

Oven racks

Broiler pan and grid

Burner box bottom (area

under cooktop)

Porcelain oven bottom

CLEANING MATERnALS

Detergent, warm water, soft cloth

Detergent, warm water, plastic or nylon scouring pad

Detergent, warm water, plastic or nylon scouring pad or boil in Dip- it® solution to remove stubborn soil

Detergent, warm water, scouring pad or soap-filled steel wool pad or oven cleaner

Detergent, warm water, scouring pad or soap-filled steel wool pad

Detergent, water, soap-filled scouring pad, commercial oven cleaner (pan only)

Detergent, warm water

Soap and water, a mild abrasive

cleaner, soap-filled scouring pad or commercial oven cleaner

REMARKS

Do not use abrasive cleaners. Knobs pull off for easier cleaning.

Clean after each sptllover. Rub chrome bowls (some models) gently with scour- ing pad. Soak stubborn soil. Bowls can be removed during burner use to keep clean and to avoid discoloration caused by excessive heat. Clean acid spiliovers quickly.

Do not use all-purpose cleaners, ammo- nia, powder cleansers or oven cleaners, Such products can scratch or discolor

the burners. To use Dip-it® solution, remove burners and boil for 20 minutes in

2 tbsp. Dip-it® granules per quart of wa- ter. Boil with burner head down. Rinse

thoroughly, drain and completely dry burn.. ers in a 200°F oven for 1/2 hour. After

cleaning or a spillover, light the burners and make sure that no ports are clogged (see next page).

When using oven cleaner, follow manufacturer's instructions, Oven bot-

tom can be removed for easier cleaning, Rinse thoroughly after cleaning.

Remove from oven to clean. Rinse thor- oughly.

Remove soiled pan from oven to cool. Drain fat or drippings. Fill pan with warm water. Sprinkle grid with detergent and cover with damp cloth or paper towels. Let pan and grid soak for a few minutes.

Rinse orscouras needed. Dry well, Grid and pan may be washed in a dishwasher.

Clean after each spiliover with detergent and warm water. Dry well.

Spillovers of hot fruit fillings or foods with acidic content (such as tomatoes, milk, vinegar or lemon juice) may cause pitting to the porcelain enamel surface. Allow oven to cool Remove oven bottom for cleaning.

11

NGCCH t 0

Page 12
Image 12
Sears 911.363209 warranty Part, Remarks

911.363209 specifications

Sears 911.363209 is a compact, versatile, and reliable tool designed primarily for home improvement and DIY enthusiasts. This multi-functional device integrates innovative technologies and features that make it a practical addition to any toolkit. At its core, the Sears 911.363209 combines the utility of several tools into one compact design, which promotes ease of use and portability.

One of the standout features of the Sears 911.363209 is its ergonomic design. Designed for comfortable handling, this tool minimizes user fatigue during extended use. The textured grip ensures a secure hold, allowing for precise operation even in challenging working conditions. This focus on ergonomics reflects Sears’ commitment to making tools that cater to the needs of the user, enhancing overall efficiency.

The tool is equipped with a powerful motor that delivers superior performance. This motor provides the necessary torque for various tasks, from drilling and driving screws to cutting through a range of materials. The Sears 911.363209 is engineered to handle both light and heavy-duty applications, making it suitable for numerous projects around the home or on the job site.

Moreover, the Sears 911.363209 features an adjustable speed setting, giving users the flexibility to choose the appropriate speed for their specific tasks. This functionality is vital for achieving clean and accurate results, especially when working with delicate materials. Whether you are assembling furniture, installing fixtures, or completing craft projects, the adjustable speed adds a layer of versatility that enhances usability.

In addition to its power and adaptability, the Sears 911.363209 is built with durability in mind. The materials used in its construction resist wear and tear, ensuring that the tool remains functional over time. This durability is essential for those who rely on their tools for regular use, as it translates to a longer lifespan and better value for money.

Finally, the Sears 911.363209 incorporates safety features such as a built-in safety lock to prevent accidental starts and a protective casing that minimizes the risk of injury. These characteristics demonstrate Sears’ dedication to producing tools that not only perform well but also prioritize user safety.

In summary, the Sears 911.363209 is a multifunctional tool that combines power, versatility, and safety in a compact design. With its ergonomic grip, adjustable speed settings, and durable construction, it serves as an essential tool for anyone looking to tackle various tasks efficiently and safely. Whether you’re a seasoned professional or a casual DIYer, the Sears 911.363209 is designed to meet your needs with performance and reliability.