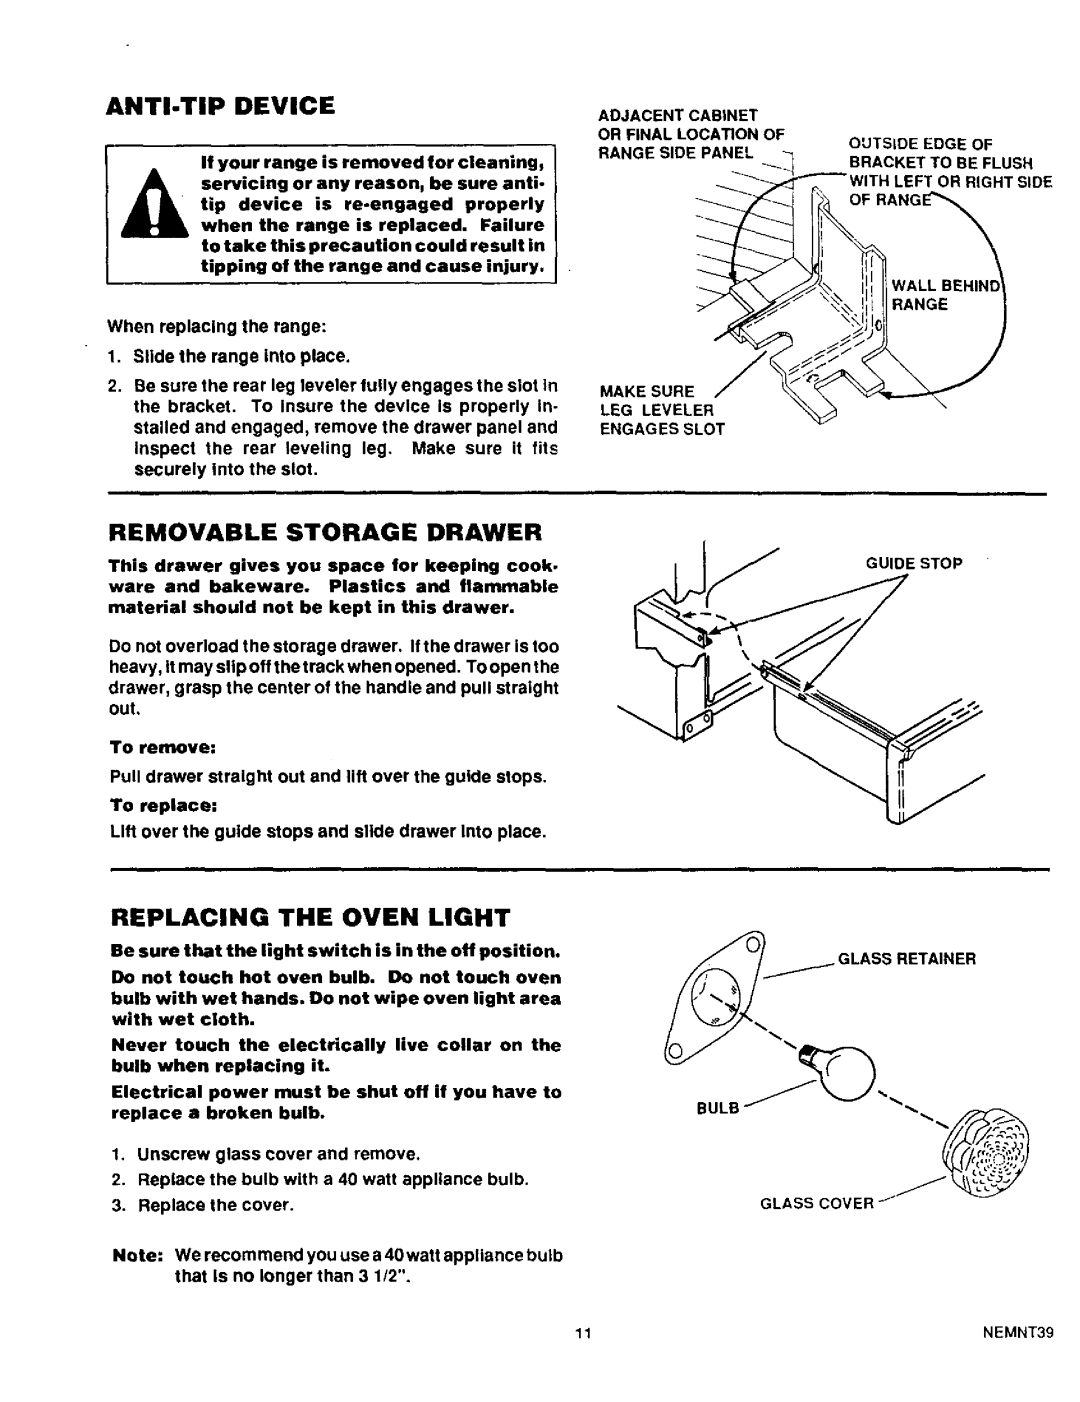
ANTI-TIP DEVICE
ADJACENT CABINET
OR FINAL LOCATION OF
If your range is removed for cleaning, servicing or any reason, be sure anti.
tip device is
when the range is replaced. Failure to take this precaution could result in tipping of the range and cause injury.
When replacing the range:
1.Slide the range into place.
2.Be sure the rear leg leveler tully engages the slot in the bracket. To Insure the device Is properly In- stalled and engaged, remove the drawer panel and Inspect the rear leveling leg. Make sure it fits securely Into the slot.
RANGE SIDE PANEL
MAKESURE LEG LEVELER
ENGAGES SLOT
OUTSIDE EDGE OF
BRACKET TO BE FLUSH
LEFT OR RIGHT SIDE
REMOVABLE | STORAGE | DRAWER |
|
This drawer gives | you space | for keeping cook. |
|
ware and bakeware. | Plastics | and flammable | GUIDE STOP |
|
| __(_ |
material should not be kept in this drawer.
Do not overload the storage drawer. If the drawer is too heavy, it may slip off the track when opened. To open the
drawer, grasp the center of the handle and pull straight out,
To remove:
Pull drawer straight out and lift over the guide stops.
To replace:
Lift over the guide stops and slide drawer Into place.
REPLACING THE OVEN LIGHT
Be sure that the light switch is in the off position.
Do not touch hot oven bulb. Do not touch oven bulb with wet hands. Do not wipe oven light area with wet cloth.
Never touch the electrically live collar on the bulb when replacing it.
Electrical power must be shut off if you have to replace a broken bulb.
1.Unscrew glass cover and remove.
2.Replace the bulb with a 40 watt appliance bulb.
3. Replace the cover. | GLASS COVEI |
Note: We recommend you use a 40 waft appliance bulb that Is no longer than 3 1/2".
11 | NEMN_9 |