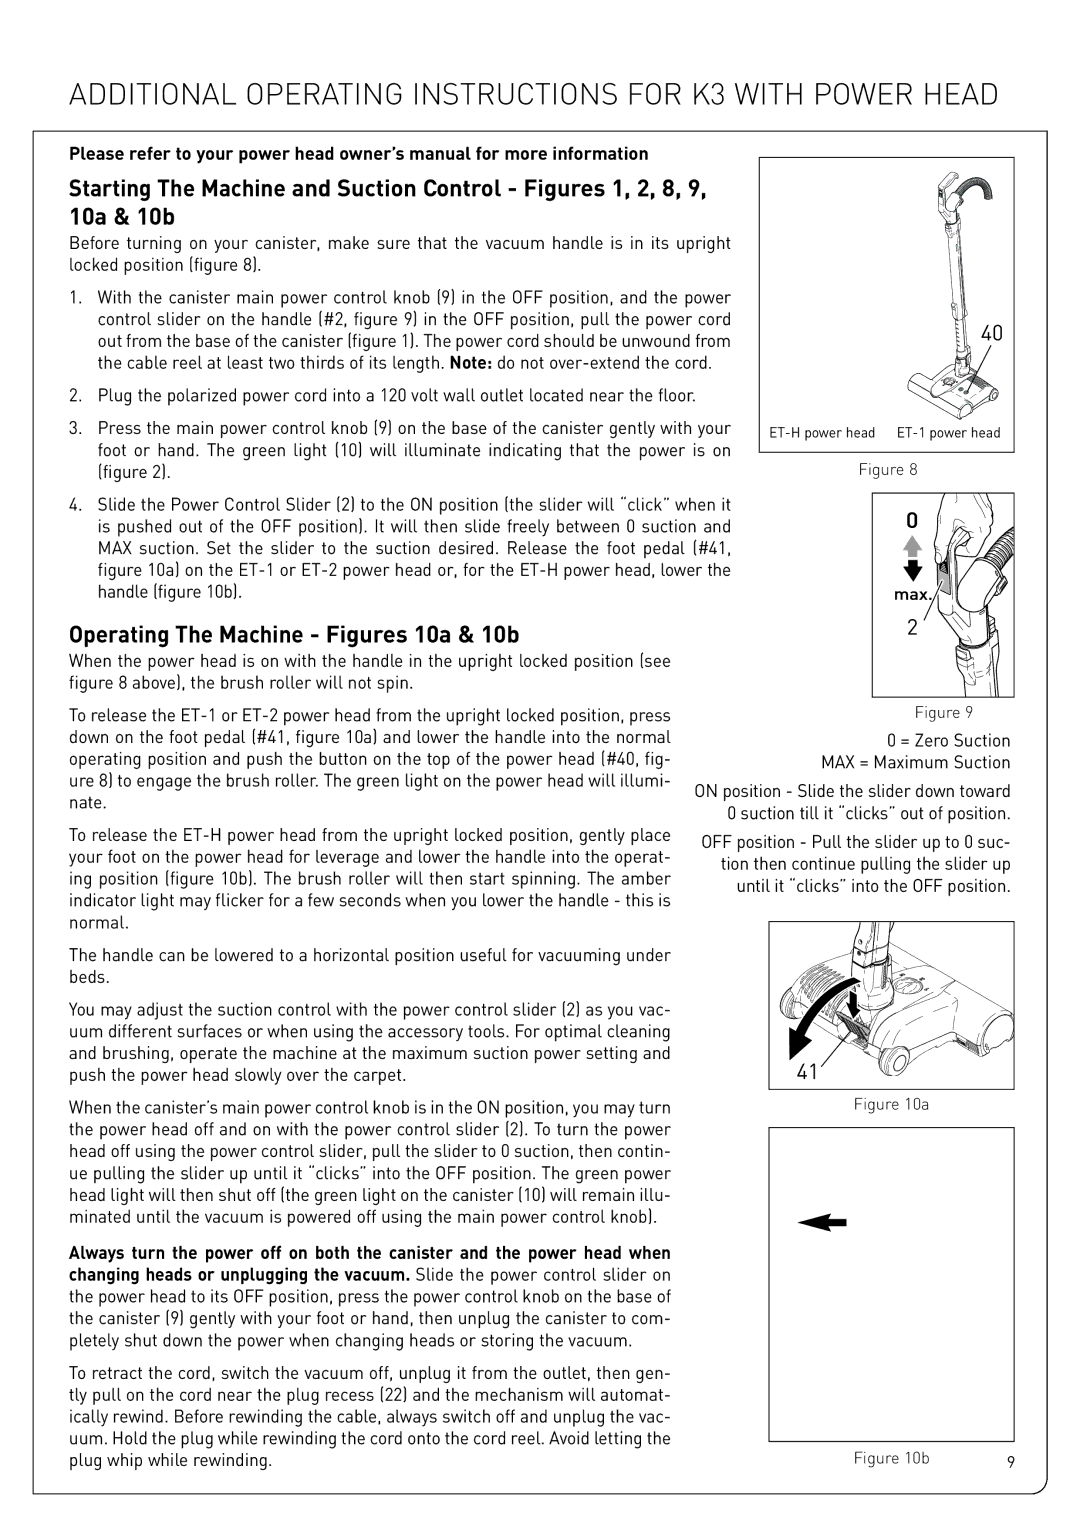
ADDITIONAL OPERATING INSTRUCTIONS FOR K3 WITH POWER HEAD
Please refer to your power head owner’s manual for more information
Starting The Machine and Suction Control - Figures 1, 2, 8, 9, 10a & 10b
Before turning on your canister, make sure that the vacuum handle is in its upright locked position (figure 8).
1.With the canister main power control knob (9) in the OFF position, and the power control slider on the handle (#2, figure 9) in the OFF position, pull the power cord out from the base of the canister (figure 1). The power cord should be unwound from the cable reel at least two thirds of its length. Note: do not
2.Plug the polarized power cord into a 120 volt wall outlet located near the floor.
3.Press the main power control knob (9) on the base of the canister gently with your foot or hand. The green light (10) will illuminate indicating that the power is on (figure 2).
| 40 |
Figure 8
4.Slide the Power Control Slider (2) to the ON position (the slider will “click” when it is pushed out of the OFF position). It will then slide freely between 0 suction and MAX suction. Set the slider to the suction desired. Release the foot pedal (#41, figure 10a) on the
Operating The Machine - Figures 10a & 10b
When the power head is on with the handle in the upright locked position (see figure 8 above), the brush roller will not spin.
2 |
To release the
Figure 9
0 = Zero Suction MAX = Maximum Suction
ON position - Slide the slider down toward 0 suction till it “clicks” out of position.
To release the
The handle can be lowered to a horizontal position useful for vacuuming under beds.
You may adjust the suction control with the power control slider (2) as you vac- uum different surfaces or when using the accessory tools. For optimal cleaning and brushing, operate the machine at the maximum suction power setting and push the power head slowly over the carpet.
When the canister’s main power control knob is in the ON position, you may turn the power head off and on with the power control slider (2). To turn the power head off using the power control slider, pull the slider to 0 suction, then contin- ue pulling the slider up until it “clicks” into the OFF position. The green power head light will then shut off (the green light on the canister (10) will remain illu- minated until the vacuum is powered off using the main power control knob).
Always turn the power off on both the canister and the power head when changing heads or unplugging the vacuum. Slide the power control slider on the power head to its OFF position, press the power control knob on the base of the canister (9) gently with your foot or hand, then unplug the canister to com- pletely shut down the power when changing heads or storing the vacuum.
To retract the cord, switch the vacuum off, unplug it from the outlet, then gen- tly pull on the cord near the plug recess (22) and the mechanism will automat- ically rewind. Before rewinding the cable, always switch off and unplug the vac- uum. Hold the plug while rewinding the cord onto the cord reel. Avoid letting the plug whip while rewinding.
OFF position - Pull the slider up to 0 suc- tion then continue pulling the slider up until it “clicks” into the OFF position.
41 |
Figure 10a
Figure 10b | 9 |
