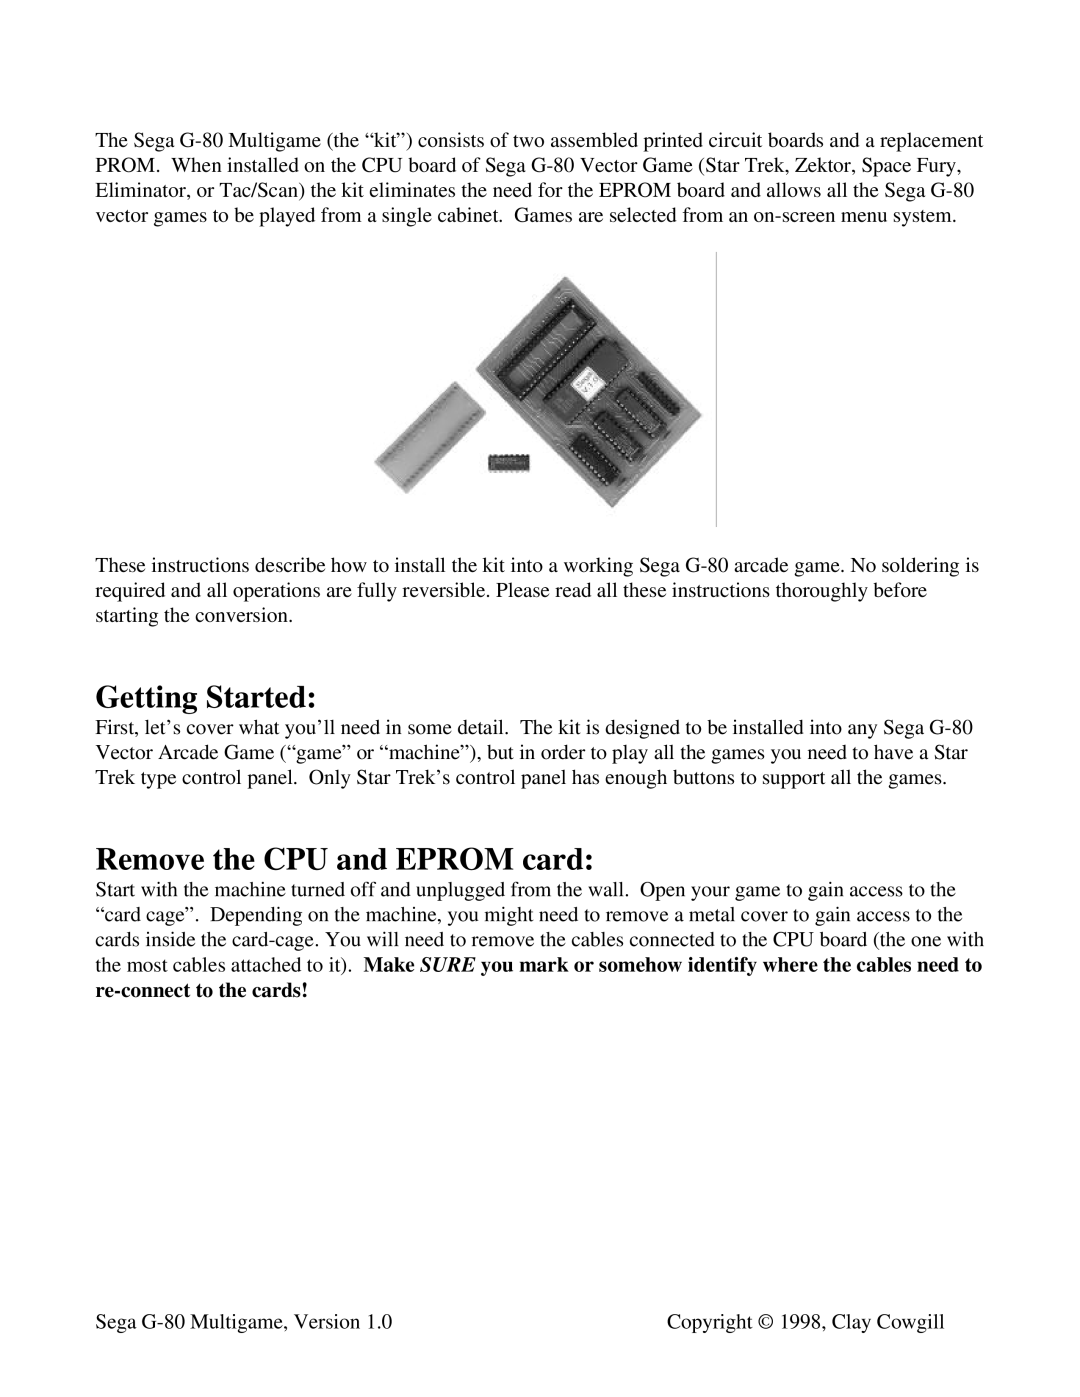
The Sega G-80 Multigame (the “kit”) consists of two assembled printed circuit boards and a replacement PROM. When installed on the CPU board of Sega G-80 Vector Game (Star Trek, Zektor, Space Fury, Eliminator, or Tac/Scan) the kit eliminates the need for the EPROM board and allows all the Sega G-80 vector games to be played from a single cabinet. Games are selected from an on-screen menu system.
These instructions describe how to install the kit into a working Sega G-80 arcade game. No soldering is required and all operations are fully reversible. Please read all these instructions thoroughly before starting the conversion.
Getting Started:
First, let’s cover what you’ll need in some detail. The kit is designed to be installed into any Sega G-80 Vector Arcade Game (“game” or “machine”), but in order to play all the games you need to have a Star Trek type control panel. Only Star Trek’s control panel has enough buttons to support all the games.
Remove the CPU and EPROM card:
Start with the machine turned off and unplugged from the wall. Open your game to gain access to the “card cage”. Depending on the machine, you might need to remove a metal cover to gain access to the cards inside the card-cage. You will need to remove the cables connected to the CPU board (the one with the most cables attached to it). Make SURE you mark or somehow identify where the cables need to re-connect to the cards!
Sega G-80 Multigame, Version 1.0 | Copyright © 1998, Clay Cowgill |

