Basic Calibration Procedure
Gearbox Setting Lever
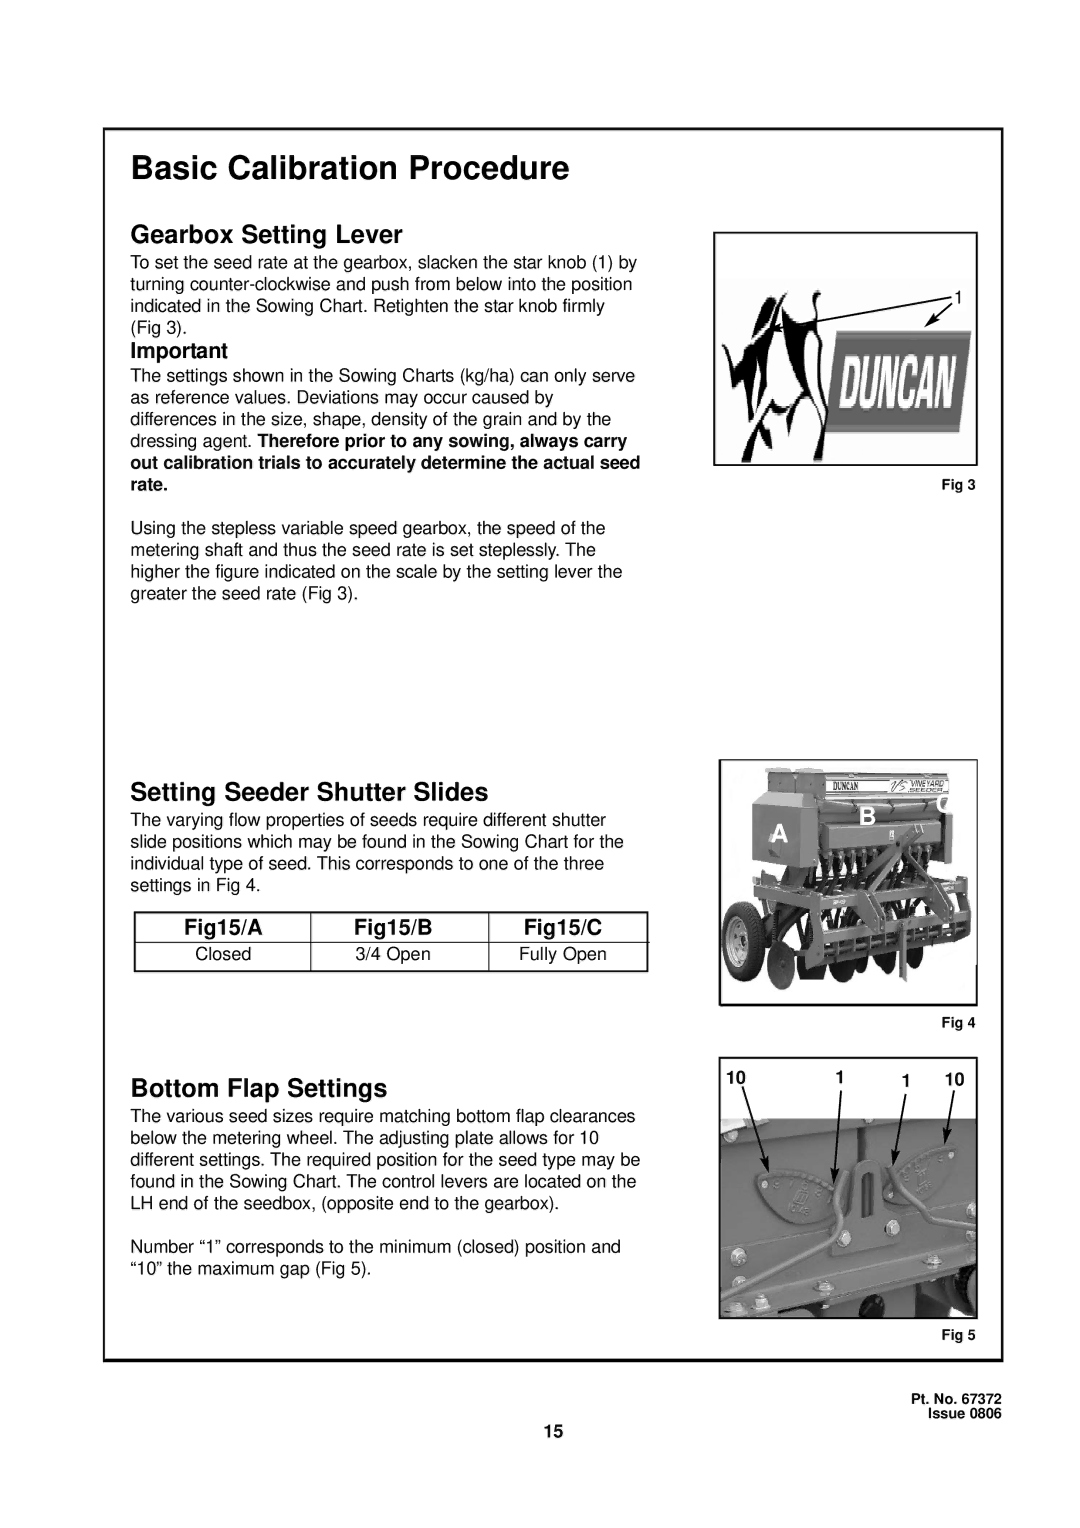
To set the seed rate at the gearbox, slacken the star knob (1) by turning
Important
The settings shown in the Sowing Charts (kg/ha) can only serve as reference values. Deviations may occur caused by differences in the size, shape, density of the grain and by the dressing agent. Therefore prior to any sowing, always carry out calibration trials to accurately determine the actual seed rate.
Using the stepless variable speed gearbox, the speed of the metering shaft and thus the seed rate is set steplessly. The higher the figure indicated on the scale by the setting lever the greater the seed rate (Fig 3).
1
Fig 3
Setting Seeder Shutter Slides
The varying flow properties of seeds require different shutter slide positions which may be found in the Sowing Chart for the individual type of seed. This corresponds to one of the three settings in Fig 4.
Fig15/A | Fig15/B | Fig15/C |
Closed | 3/4 Open | Fully Open |
|
|
|
A
B C
Fig 4
Bottom Flap Settings
The various seed sizes require matching bottom flap clearances below the metering wheel. The adjusting plate allows for 10 different settings. The required position for the seed type may be found in the Sowing Chart. The control levers are located on the LH end of the seedbox, (opposite end to the gearbox).
Number “1” corresponds to the minimum (closed) position and “10” the maximum gap (Fig 5).
10 | 1 | 1 | 10 |
Fig 5
Pt. No. 67372 Issue 0806
15
