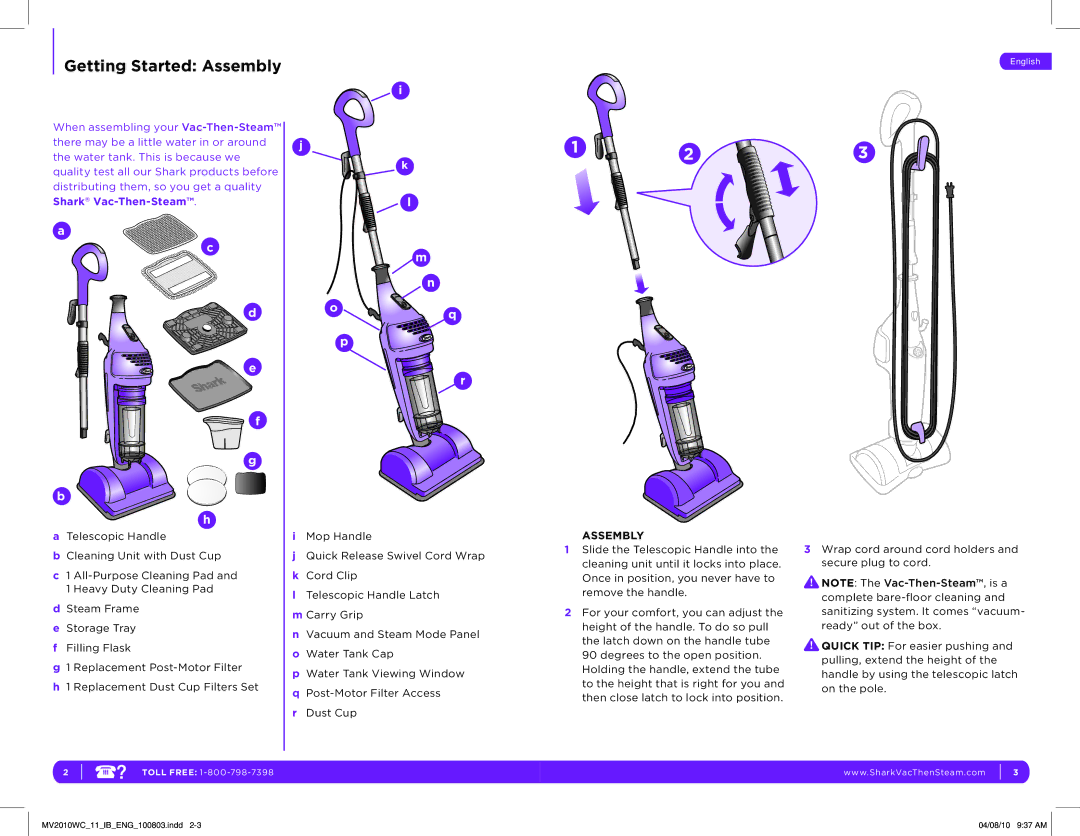
MV2010WC specifications
The Shark MV2010WC is an innovative and versatile vacuum cleaner that combines advanced technology with practical features to deliver exceptional cleaning performance. Designed for both home and professional use, the MV2010WC stands out with its powerful suction capability and a range of smart functionalities that cater to various cleaning needs.One of the key features of the Shark MV2010WC is its robust motor, which generates strong suction power. This allows it to pick up debris, dirt, and allergens from a wide variety of surfaces including carpets, hardwood floors, and tiles. This versatility makes it an ideal choice for households with multiple flooring types, ensuring a thorough clean every time.
The MV2010WC also boasts a unique filtration system that captures 99.9% of dust and allergens, making it a fantastic option for allergy sufferers. Its HEPA filter effectively traps microscopic particles, ensuring that the air in your home remains clean and fresh. Additionally, the filters are washable, allowing for easy maintenance and long-term use without the need for costly replacements.
Another remarkable characteristic of the Shark MV2010WC is its lightweight design. Weighing significantly less than traditional vacuum cleaners, it is easy to maneuver around the house and carry from room to room. This makes vacuuming less of a chore and more of a manageable task, especially for those who may have limited strength or mobility.
The MV2010WC features a variety of attachments and tools, including a pet power brush, crevice tool, and upholstery brush. These accessories enhance the vacuum's functionality, enabling users to effectively clean furniture, tight spaces, and delicate surfaces. The pet power brush is particularly useful for households with furry companions, as it efficiently removes pet hair from carpets and upholstery.
Additionally, the Shark MV2010WC incorporates advanced technologies like noise reduction, ensuring a quieter cleaning experience. This feature is particularly beneficial for cleaning during the early morning or late evening hours without disturbing others in the household.
Overall, the Shark MV2010WC is a powerful and efficient cleaning solution that combines performance, versatility, and user-friendly features. Its advanced suction, effective filtration, lightweight design, and extensive range of attachments make it a comprehensive tool for tackling any cleaning challenge. Whether you're managing everyday messes or deep cleaning your home, the Shark MV2010WC is equipped to deliver stellar results, making it a worthwhile investment for any cleaning arsenal.

