
NV350UKMS specifications
The Shark NV350UKMS is a versatile upright vacuum cleaner designed to provide powerful cleaning capabilities for various surfaces. One of its standout features is the Shark anti-hair wrap technology, which is engineered to remove hair from the brush roll as you clean. This is particularly beneficial for homes with pets or long-haired individuals, as it reduces the annoying tangles that can decrease cleaning performance over time.The NV350UKMS also incorporates the DuoClean technology, featuring two brush rolls that work together to clean carpets and hard floors seamlessly. The soft brush roll captures large debris, while the bristle brush roll removes embedded dirt. This dual-action cleaning system ensures that every corner of your home, from carpets to laminate floors, receives the attention it requires.
Additionally, the vacuum boasts a lightweight and flexible design, making it easy to maneuver around furniture and reach into tight spaces. The EZ Clean Dust Cup allows for easy emptying and cleaning, enabling users to maintain hygiene without getting their hands dirty. With a capacity of 1.1 liters, the dust cup minimizes the need for frequent emptying.
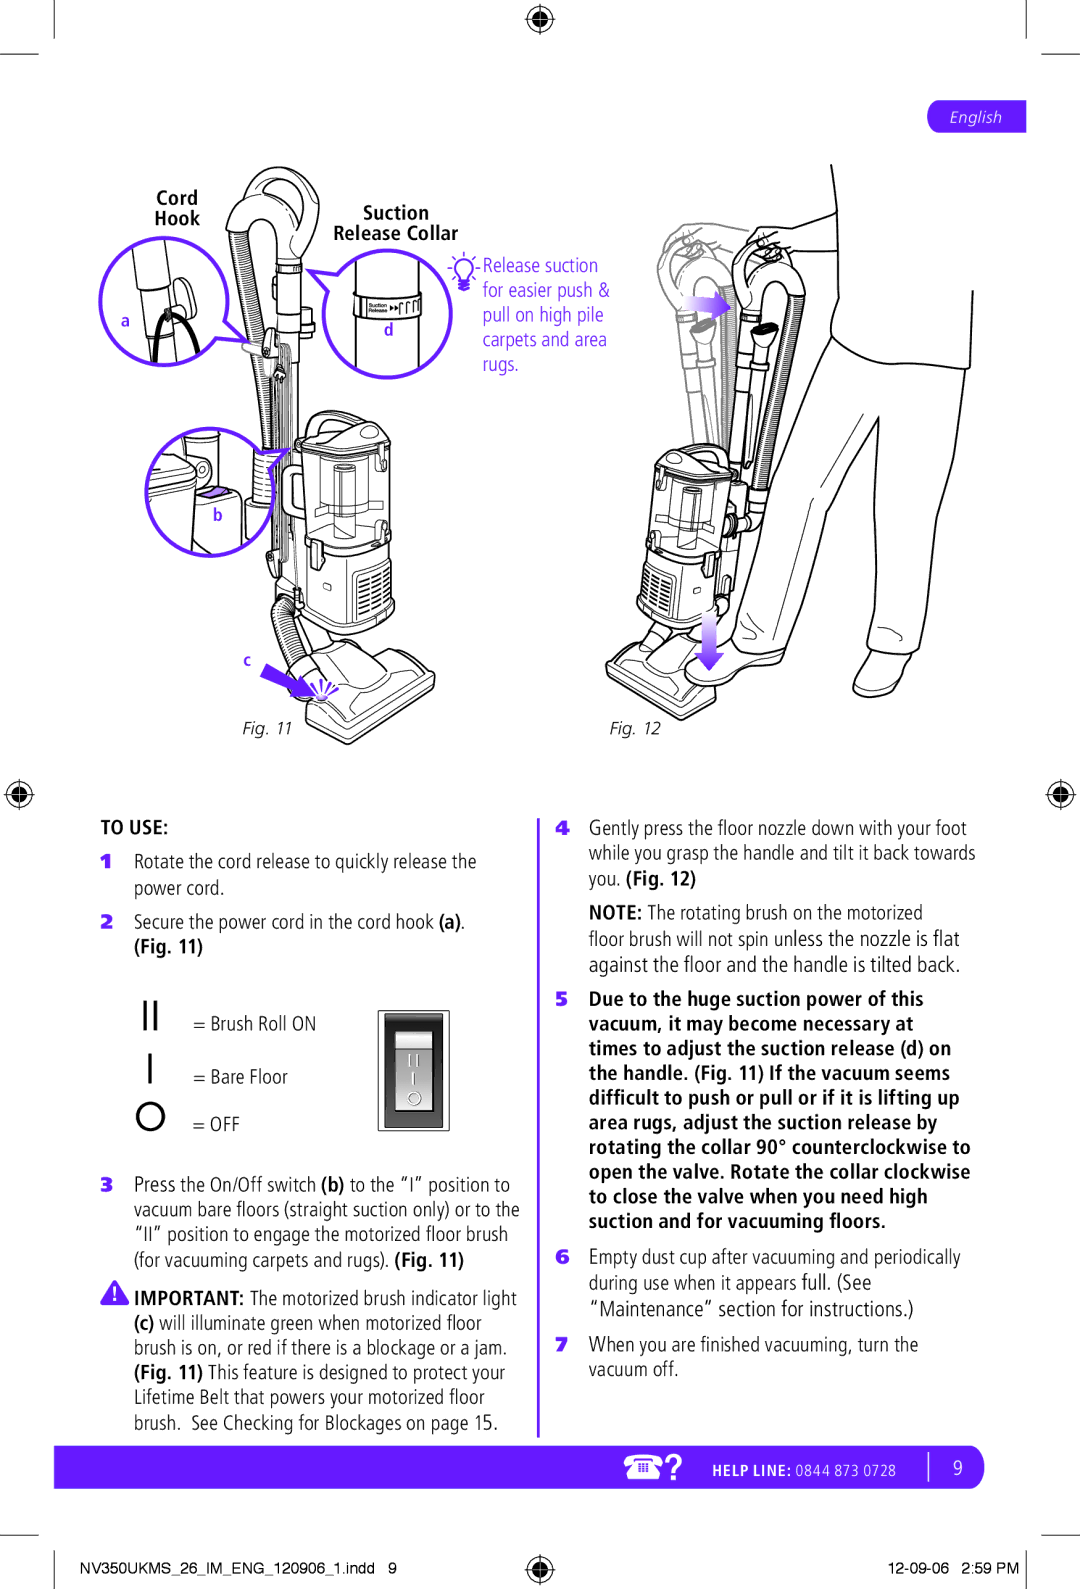
The Shark NV350UKMS is equipped with a range of accessories, including a crevice tool, dusting brush, and upholstery tool. These attachments enhance the cleaning versatility, allowing users to tackle various tasks such as cleaning stairs, curtains, and furniture. The vacuum also features a long power cord, providing an extended reach that reduces the need for frequently switching power outlets.
The vacuum cleaner's HEPA filtration system captures allergens and dust particles, making it an ideal choice for allergy sufferers. The washable filters contribute to its longevity and efficiency, ensuring that the vacuum maintains optimal performance over time.
In summary, the Shark NV350UKMS combines advanced technologies with user-friendly features to deliver a robust cleaning experience. Its anti-hair wrap technology, DuoClean system, and accessories cater to a variety of cleaning needs, ensuring a thorough clean on multiple surfaces, while its ergonomic design and easy maintenance make it a convenient choice for any household.