Manuals
/
Sharp
/
Home Audio
/
Stereo System
Sharp
CD-DH790NH
operation manual
Setting the clock Remote control only, Listening to the iPod
Models:
CD-DH790NH
1
8
28
28
Download
28 pages
26.83 Kb
5
6
7
8
9
10
11
12
Page 8
Image 8
Page 7
Page 9
Page 8
Image 8
Page 7
Page 9
Contents
CD-DH790NH
MINI COMPONENT SYSTEM
OPERATION MANUAL
Special Note
Accessories
Special Notes
Precautions
CONTENTS
Volume control
General
Display
Controls and indicators
Front panel
Speaker system
Controls and indicators continued
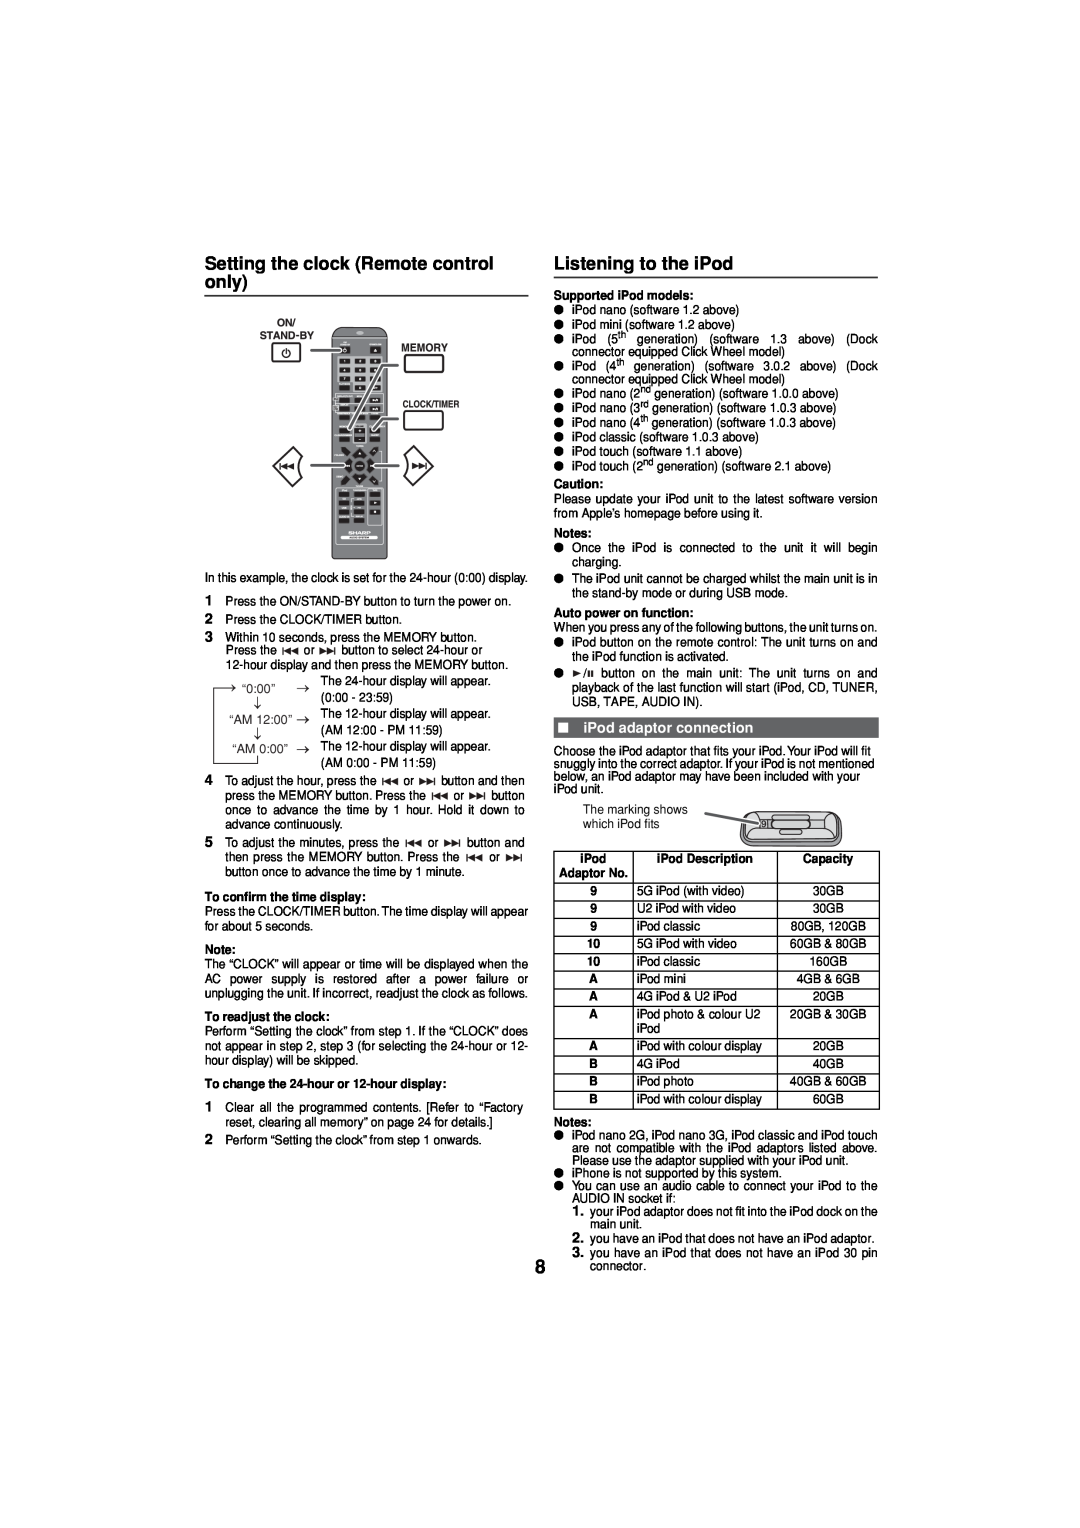
Remote control
System connections
Connecting iPod to a TV
AC power connection
Aerial connection
Remote control
General control
Battery installation
Test of the remote control
iPod adaptor connection
Setting the clock Remote control only
Listening to the iPod
Listening to the iPod continued
To insert iPod adaptor
To remove iPod adaptor
iPod playback
Listening to a CD or MP3/WMA disc
Listening to the iPod continued
Watching videos on a TV connected to iPod
Various iPod functions
Listening to a CD or MP3/WMA disc continued
Advanced CD or MP3/WMA disc playback
Disc playback
Various disc functions
Advanced CD or MP3/WMA disc playback continued
Random play
Programmed play CD
Programmed play MP3/WMA
MP3/WMA folder mode only for MP3/WMA files
About folder playback order
Listening to USB mass storage device/MP3 player
To play back USB/MP3 player with folder mode off
To play back USB/MP3 player with folder mode on
To remove USB memory device
Auto power on function
Advanced USB playback
Advanced USB playback continued
Various tape functions
Listening to a cassette tape
Tape playback
Listening to the radio
Tuning
To scan the preset stations
To erase entire preset memory
Information provided by RDS
Using the Radio Data System RDS
Using the Auto Station Programme Memory ASPM
To recall stations in memory
Using the Radio Data System RDS continued
Notes for RDS operation
Using the Radio Data System RDS continued
NEWS
Timer and sleep operation Remote control only
Timer playback
To use timer and sleep operation together
Sleep operation
Troubleshooting chart
Enhancing your system
Headphones
Remote control
Troubleshooting chart continued
Maintenance
Factory reset, clearing all memory
If problem occurs
Specifications
General
Amplifier
CD player
MEMO
SHARP APPROVED SERVICE CENTRE
SHARP CUSTOMER SERVICES
SHARP APPROVED SERVICE CENTRE
1300
SHARP CORPORATION
TINSEA313AWZZ
09H R MW
Top
Page
Image
Contents