General control (continued)
■■ Auto power off function
The main unit will enter the
iPod: | Not docked. |
Audio In: No detection of input signal. | |
CD: | In the stop mode or no disc. |
USB: | In the stop mode or no media. |
Bluetooth In the pause mode on not connected condition.
Note:
However, if iPod or iPhone is docked, the unit will begin charging.
“Charge Mode” will be displayed.
■■ Muting
The volume is muted temporarily when pressing the MUTE button on the remote control. Press again to restore the volume.
■■ X-Bass control
When the power is first turned on, the unit will enter the extra bass mode which emphasises the bass frequencies, and
■■ Bass control
1Press the BASS/TREBLE button to select “Bass”.
2Within 5 seconds, press the VOLUME (+ or
- 5 ↔ - 4........↔ + 4 ↔ + 5
■■ Treble control
1Press the BASS/TREBLE button to select “Treble”.
2Within 5 seconds, press the VOLUME (+ or
- 5 ↔ - 4 | ........ |
↔ + 4 ↔ + 5 |
■■ Function
When the FUNCTION button on main unit is pressed, the current function will change to different mode. Press the FUNCTION button repeatedly to select desired function.
CD ![]() FM STEREO
FM STEREO ![]() FM MONO
FM MONO
Bluetooth |
| AM | ||||
|
| Audio In | iPod | USB |
|
|
|
|
| ||||
Note:
The backup function will protect the memorised function mode for a few hours should there be a power failure or the AC power lead becomes disconnected.
Setting the clock (Remote control only)
BLUETOOTH ![]()
![]()
![]()
![]()
![]()
![]()
PAIRING
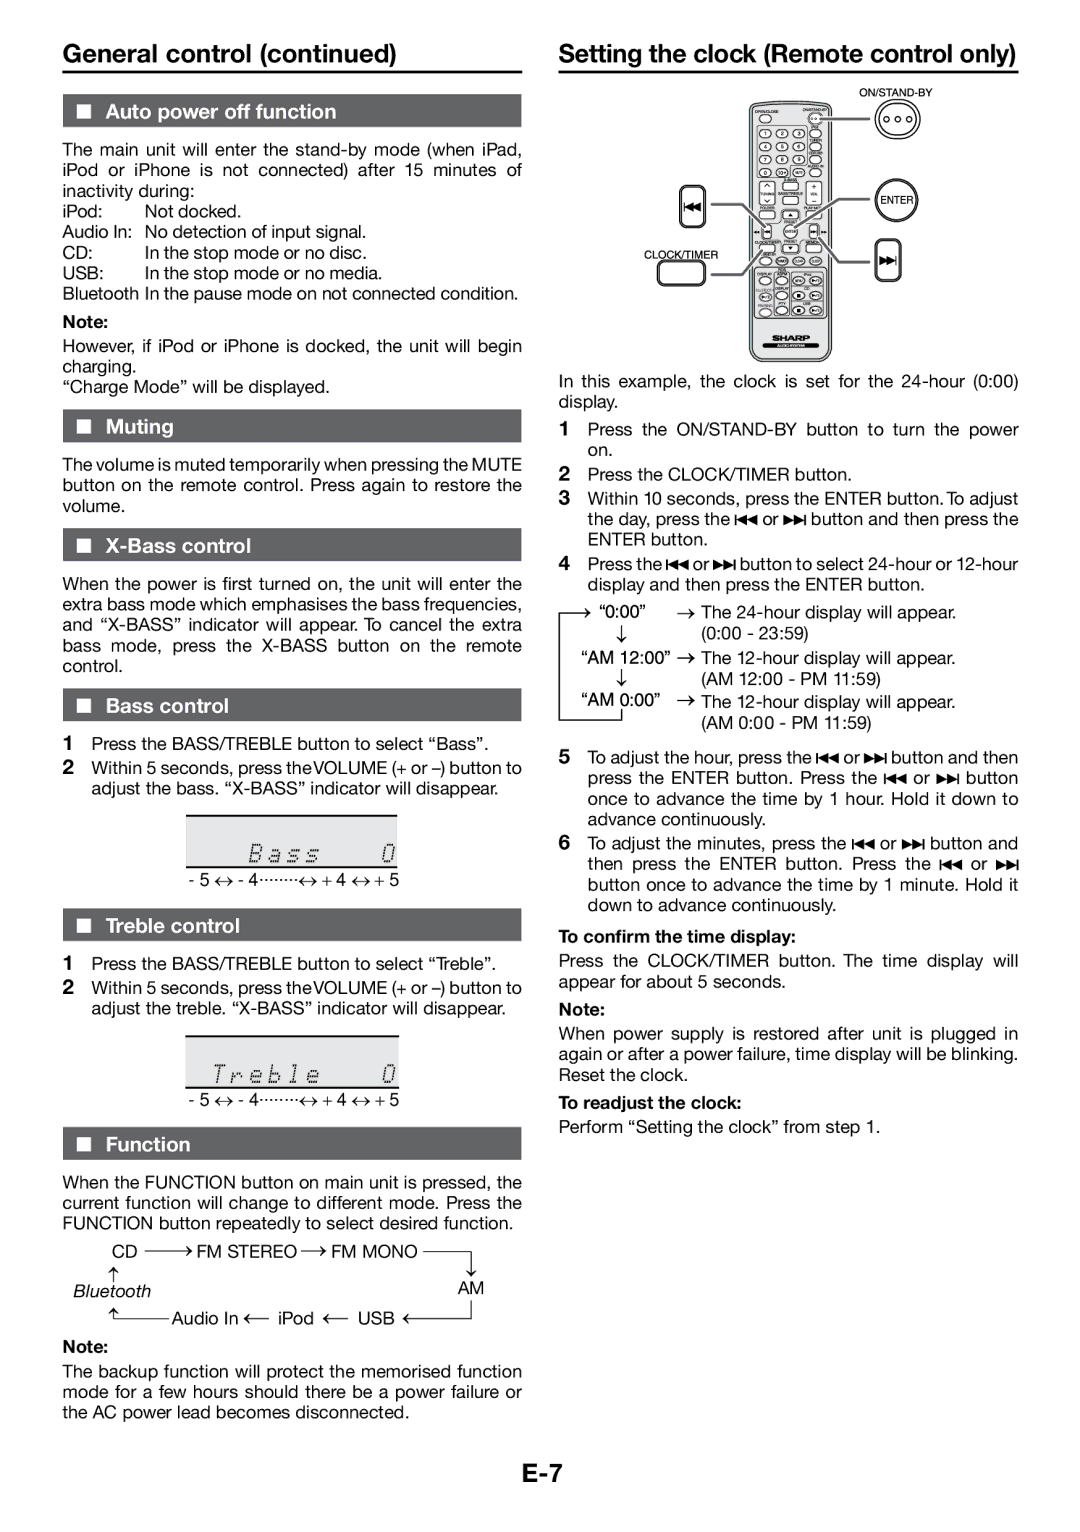
In this example, the clock is set for the
1Press the
2Press the CLOCK/TIMER button.
3Within 10 seconds, press the ENTER button. To adjust the day, press the ![]() or
or ![]() button and then press the ENTER button.
button and then press the ENTER button.
4Press the ![]() or
or ![]() button to select
button to select
The |
(0:00 - 23:59) |
The |
(AM 12:00 - PM 11:59) |
The |
(AM 0:00 - PM 11:59) |
5To adjust the hour, press the ![]() or
or ![]() button and then
button and then
press the ENTER button. Press the ![]() or
or ![]() button once to advance the time by 1 hour. Hold it down to advance continuously.
button once to advance the time by 1 hour. Hold it down to advance continuously.
6To adjust the minutes, press the ![]() or
or ![]() button and
button and
then press the ENTER button. Press the ![]() or
or ![]() button once to advance the time by 1 minute. Hold it down to advance continuously.
button once to advance the time by 1 minute. Hold it down to advance continuously.
To confirm the time display:
Press the CLOCK/TIMER button. The time display will appear for about 5 seconds.
Note:
When power supply is restored after unit is plugged in again or after a power failure, time display will be blinking. Reset the clock.
To readjust the clock:
Perform “Setting the clock” from step 1.