Supplied Accessories
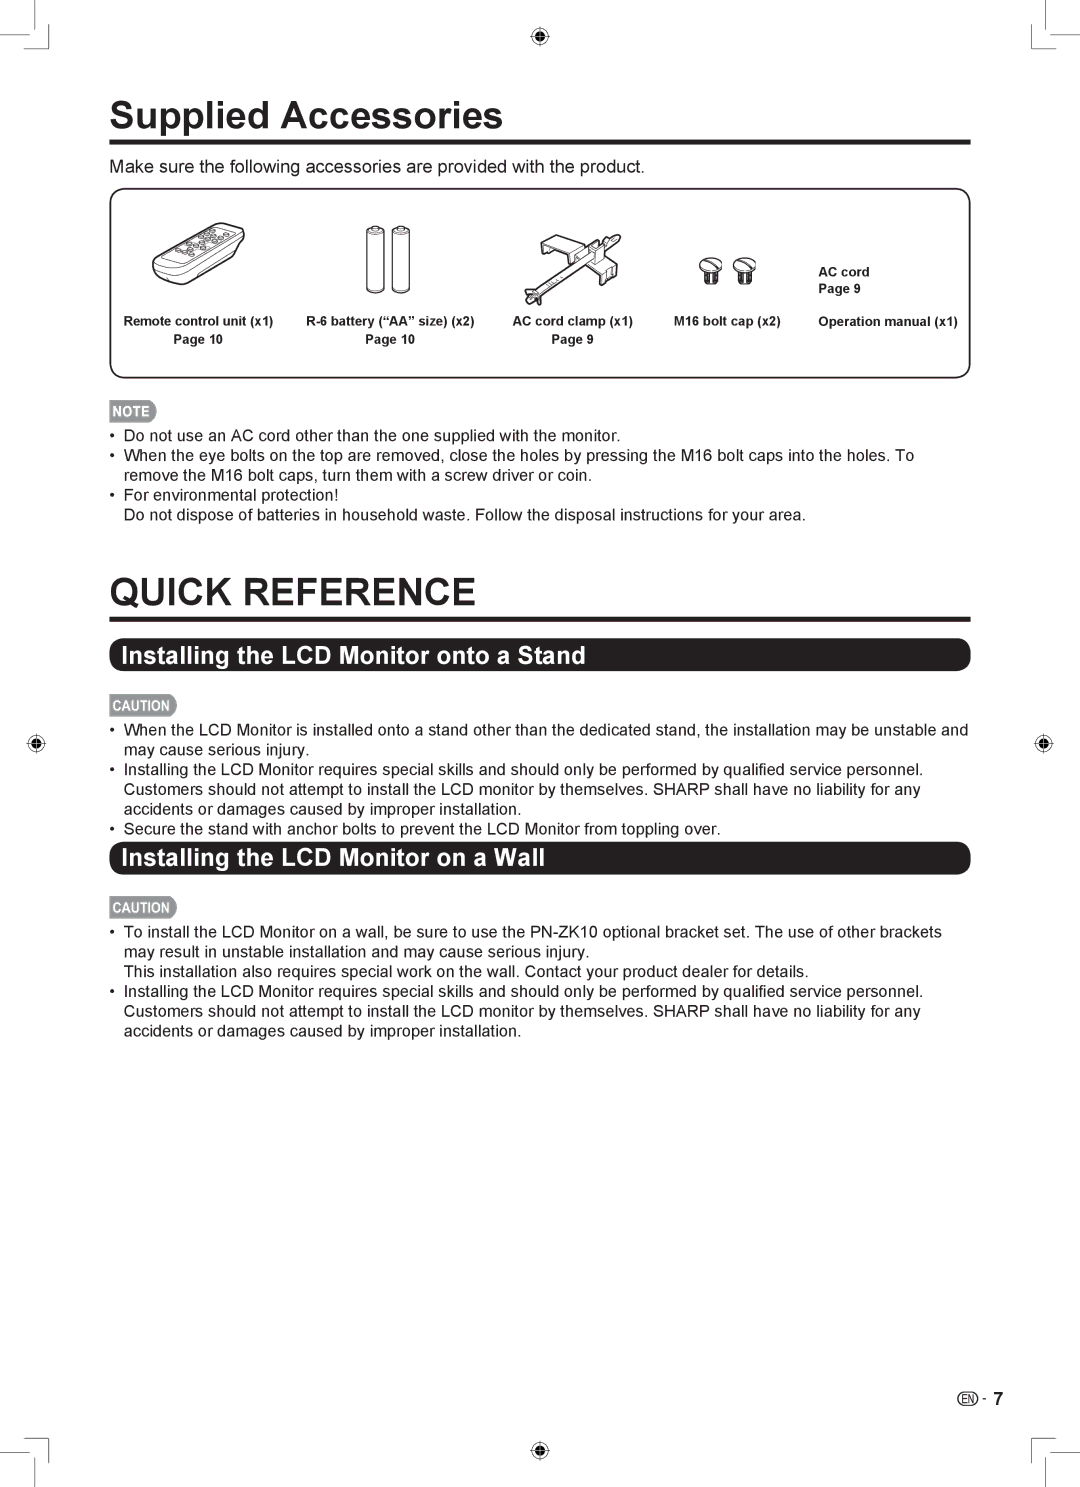
Make sure the following accessories are provided with the product.
|
|
|
| AC cord |
|
|
|
| Page 9 |
Remote control unit (x1) | AC cord clamp (x1) | M16 bolt cap (x2) | Operation manual (x1) | |
Page 10 | Page 10 | Page 9 |
|
|
•• Do not use an AC cord other than the one supplied with the monitor.
•• When the eye bolts on the top are removed, close the holes by pressing the M16 bolt caps into the holes. To remove the M16 bolt caps, turn them with a screw driver or coin.
•• For environmental protection!
Do not dispose of batteries in household waste. Follow the disposal instructions for your area.
QUICK REFERENCE
Installing the LCD Monitor onto a Stand
CAUTION
•• When the LCD Monitor is installed onto a stand other than the dedicated stand, the installation may be unstable and may cause serious injury.
•• Installing the LCD Monitor requires special skills and should only be performed by qualifed service personnel. Customers should not attempt to install the LCD monitor by themselves. SHARP shall have no liability for any accidents or damages caused by improper installation.
•• Secure the stand with anchor bolts to prevent the LCD Monitor from toppling over.
Installing the LCD Monitor on a Wall
CAUTION
•• To install the LCD Monitor on a wall, be sure to use the
This installation also requires special work on the wall. Contact your product dealer for details.
•• Installing the LCD Monitor requires special skills and should only be performed by qualifed service personnel. Customers should not attempt to install the LCD monitor by themselves. SHARP shall have no liability for any accidents or damages caused by improper installation.
![]()
![]() 7
7