Turning On/Off the Power
|
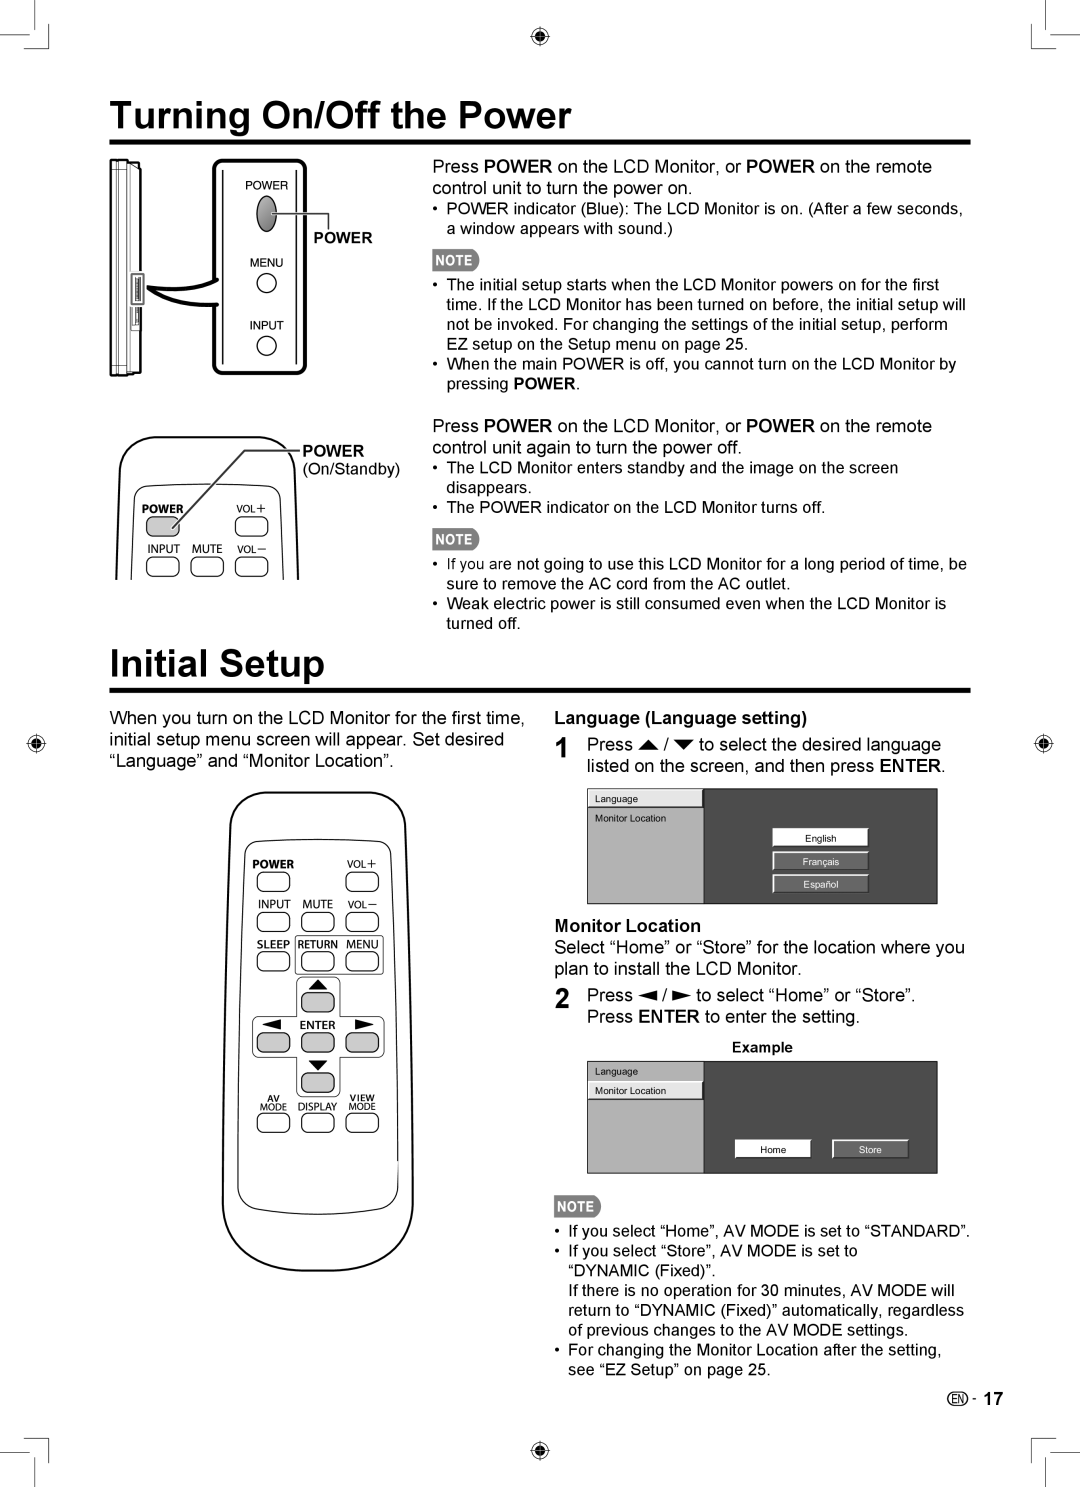
| Press POWER on the LCD Monitor, or POWER on the remote | |
|
| control unit to turn the power on. | |
|
| •• POWER indicator (Blue): The LCD Monitor is on. (After a few seconds, | |
|
| a window appears with sound.) | |
POWER | |||
| |||
|
| •• The initial setup starts when the LCD Monitor powers on for the frst | |
|
| time. If the LCD Monitor has been turned on before, the initial setup will | |
|
| not be invoked. For changing the settings of the initial setup, perform | |
|
| EZ setup on the Setup menu on page 25. | |
|
| •• When the main POWER is off, you cannot turn on the LCD Monitor by | |
|
| pressing POWER. | |
POWER
(On/Standby)
Initial Setup
Press POWER on the LCD Monitor, or POWER on the remote control unit again to turn the power off.
•• The LCD Monitor enters standby and the image on the screen disappears.
•• The POWER indicator on the LCD Monitor turns off.
•• If you are not going to use this LCD Monitor for a long period of time, be sure to remove the AC cord from the AC outlet.
•• Weak electric power is still consumed even when the LCD Monitor is turned off.
When you turn on the LCD Monitor for the frst time, initial setup menu screen will appear. Set desired “Language” and “Monitor Location”.
Language (Language setting)
1 | Press / to select the desired language |
| listed on the screen, and then press ENTER. |
Language
Monitor Location
English
Français
Español
Monitor Location
Select “Home” or “Store” for the location where you plan to install the LCD Monitor.
2 | Press / to select “Home” or “Store”. |
| Press ENTER to enter the setting. |
Example
Language
Monitor Location
Home | Store |
•• If you select “Home”, AV MODE is set to “STANDARD”.
•• If you select “Store”, AV MODE is set to “DYNAMIC (Fixed)”.
If there is no operation for 30 minutes, AV MODE will return to “DYNAMIC (Fixed)” automatically, regardless of previous changes to the AV MODE settings.
•• For changing the Monitor Location after the setting, see “EZ Setup” on page 25.
17