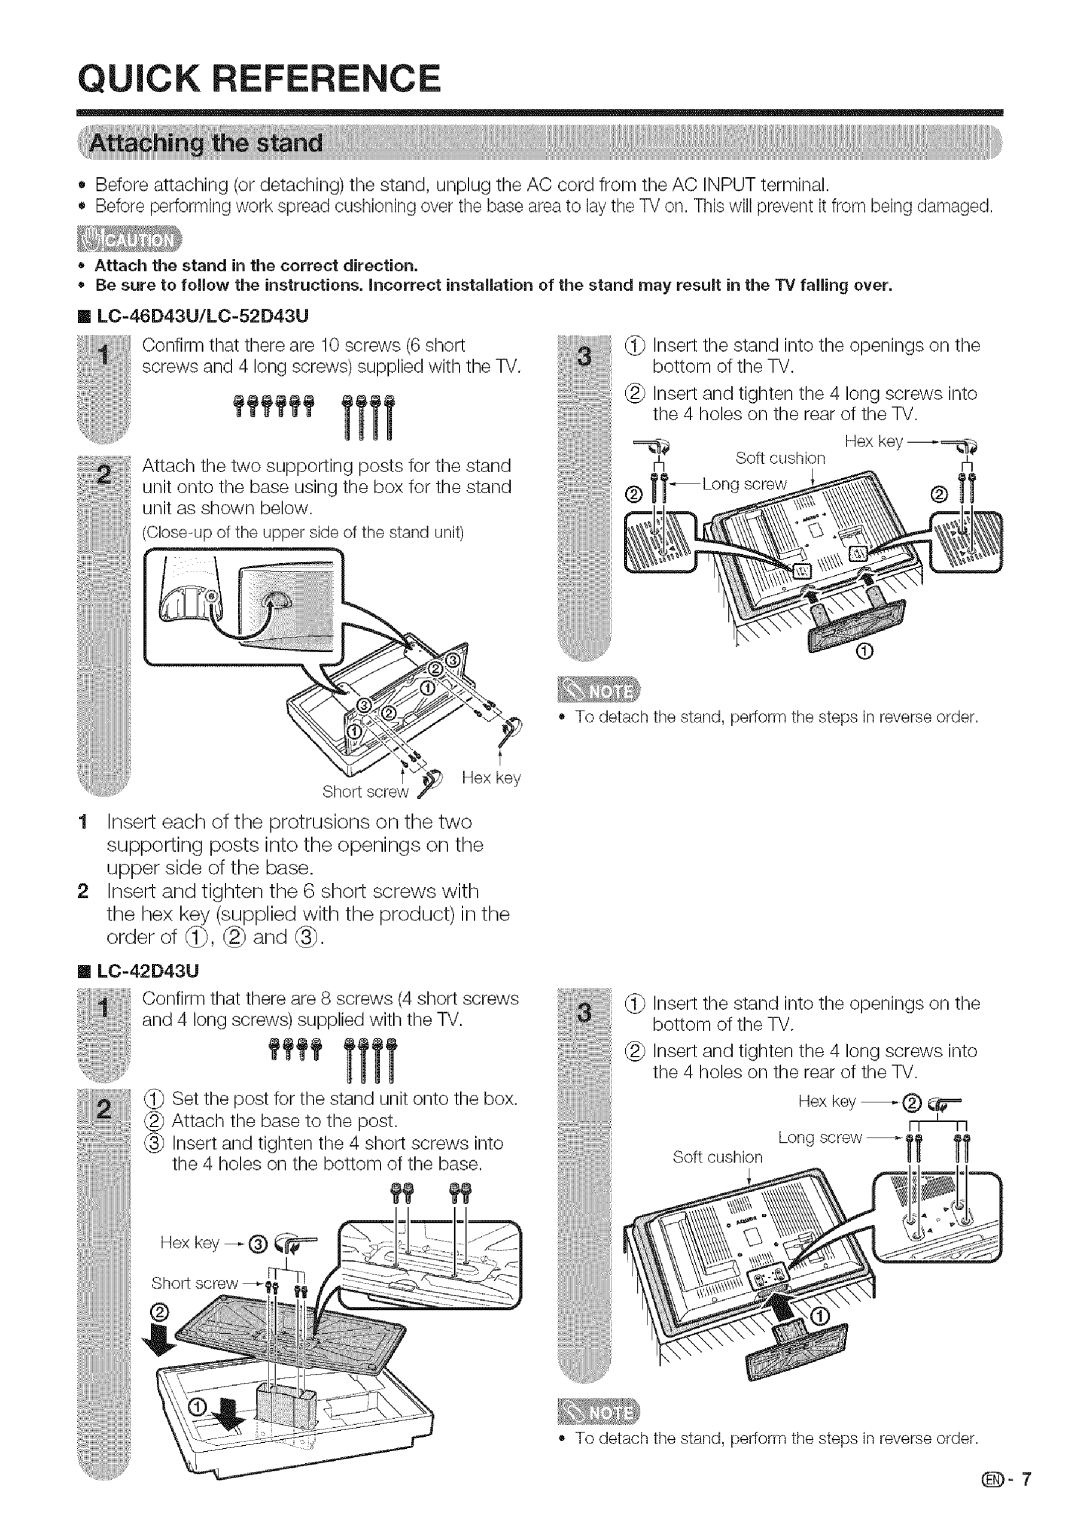
LC 42D43U, LC 52D43U specifications
The Sharp LC-52D43U and LC-42D43U are part of the esteemed line of LCD televisions offered by Sharp, combining cutting-edge technology with user-friendly features. These models highlight the brand's commitment to delivering high-quality home entertainment experiences.The key attribute of the LC-52D43U is its expansive 52-inch screen, while the LC-42D43U presents a slightly smaller, yet still impressive, 42-inch display. Both models utilize Sharp's renowned LCD technology, which provides vibrant colors, deep contrasts, and sharp images. With a resolution of 1080p, viewers can enjoy high-definition content in stunning clarity, making them suitable for both movie watching and gaming.
One of the standout features of these televisions is the Aquos Liquid Crystal technology, which enhances image quality by using advanced pixel technology to improve brightness and color accuracy. The 10-bit panel and 6ms response time ensure smoother on-screen motion, crucial for fast-paced action scenes and sports events.
In terms of connectivity, the LC-52D43U and LC-42D43U are equipped with multiple HDMI inputs, allowing seamless connections to various devices such as Blu-ray players, gaming consoles, and streaming devices. They also include component and composite inputs to ensure compatibility with older technology. The inclusion of a built-in digital tuner further enhances their functionality, allowing users to access over-the-air HD programming without the need for an additional set-top box.
Moreover, both models come with unique Sharp technologies such as Fine Motion Enhanced, which reduces motion blur, making fast-moving images appear clearer. The built-in audio system, complete with Dolby Digital support, delivers an immersive sound experience that complements the stunning visuals.
Design-wise, the LC-52D43U and LC-42D43U present a sleek and modern profile that can blend seamlessly into various living spaces. With their slim bezels and elegant stand, they not only function as entertainment devices but also as stylish additions to home décor.
In conclusion, the Sharp LC-52D43U and LC-42D43U deliver impressive performance and advanced features that cater to the needs of diverse audiences. Whether watching movies, playing games, or enjoying live sports, these televisions promise an exceptional viewing experience, rooted in Sharp's tradition of quality and innovation.

