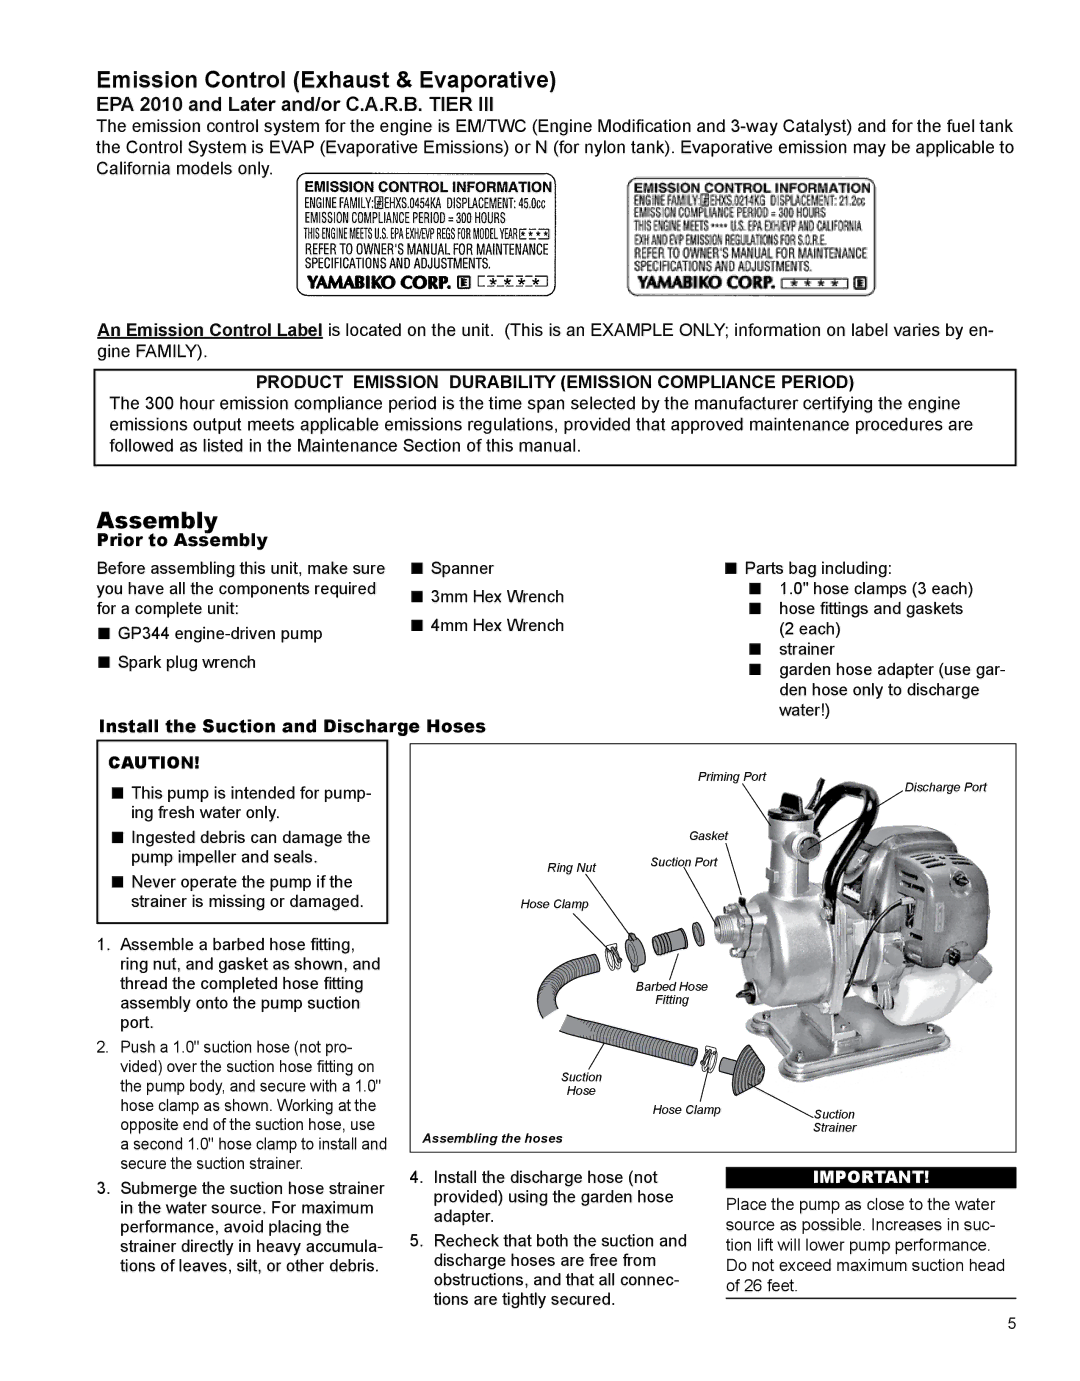
X7506720300, GP344 specifications
The Shindaiwa X7506720300, GP344 is an advanced piece of outdoor power equipment that epitomizes durability and performance in gardening and landscaping tasks. Known for its robust construction and reliability, the GP344 is designed for both professional landscapers and the casual gardener who requires a machine that can perform under demanding conditions.One of the standout features of the Shindaiwa GP344 is its powerful engine. Equipped with a high-performance 34.4cc two-stroke engine, it delivers impressive power while maintaining fuel efficiency. This engine design not only enhances performance but also reduces exhaust emissions, making it an environmentally friendly option for outdoor work.
The GP344 features Shindaiwa's proprietary Digi-Tach technology, which optimizes engine performance by automatically adjusting to the load conditions. This results in a seamless user experience, providing consistent power output whether you are tackling thick brush or delicate landscaping work. Additionally, the unit's low-vibration design minimizes fatigue during extended use, allowing operators to work more comfortably and efficiently.
Another key characteristic is the ergonomic design of the GP344. The unit is equipped with a comfortable handle and an adjustable harness that helps distribute weight evenly across the torso, allowing for better maneuverability. This attention to user comfort is essential for extended hours of operation, particularly in demanding landscaping applications.
Durability is a hallmark of Shindaiwa products, and the GP344 is no exception. Constructed with high-quality materials, the equipment is built to withstand the rigors of daily use. The metal guard and reinforced components provide added protection against wear and tear, ensuring that the unit remains operational for years with proper maintenance.
In terms of versatility, the Shindaiwa GP344 is compatible with various attachments, making it a multifunctional tool that can handle various tasks, from trimming and cutting to clearing heavy brush. This flexibility allows users to invest in one reliable piece of equipment rather than multiple specialized tools, ultimately saving time and money.
Overall, the Shindaiwa X7506720300, GP344 combines power, ergonomics, and durability, making it an ideal choice for landscapers and homeowners alike. With its innovative technologies and user-friendly features, the GP344 stands out as a reliable partner in lawn care and landscaping endeavors. Whether you are maintaining your garden or tackling larger commercial projects, the GP344 promises efficiency and long-lasting performance.

