ENGLISH |
| ENGLISH |
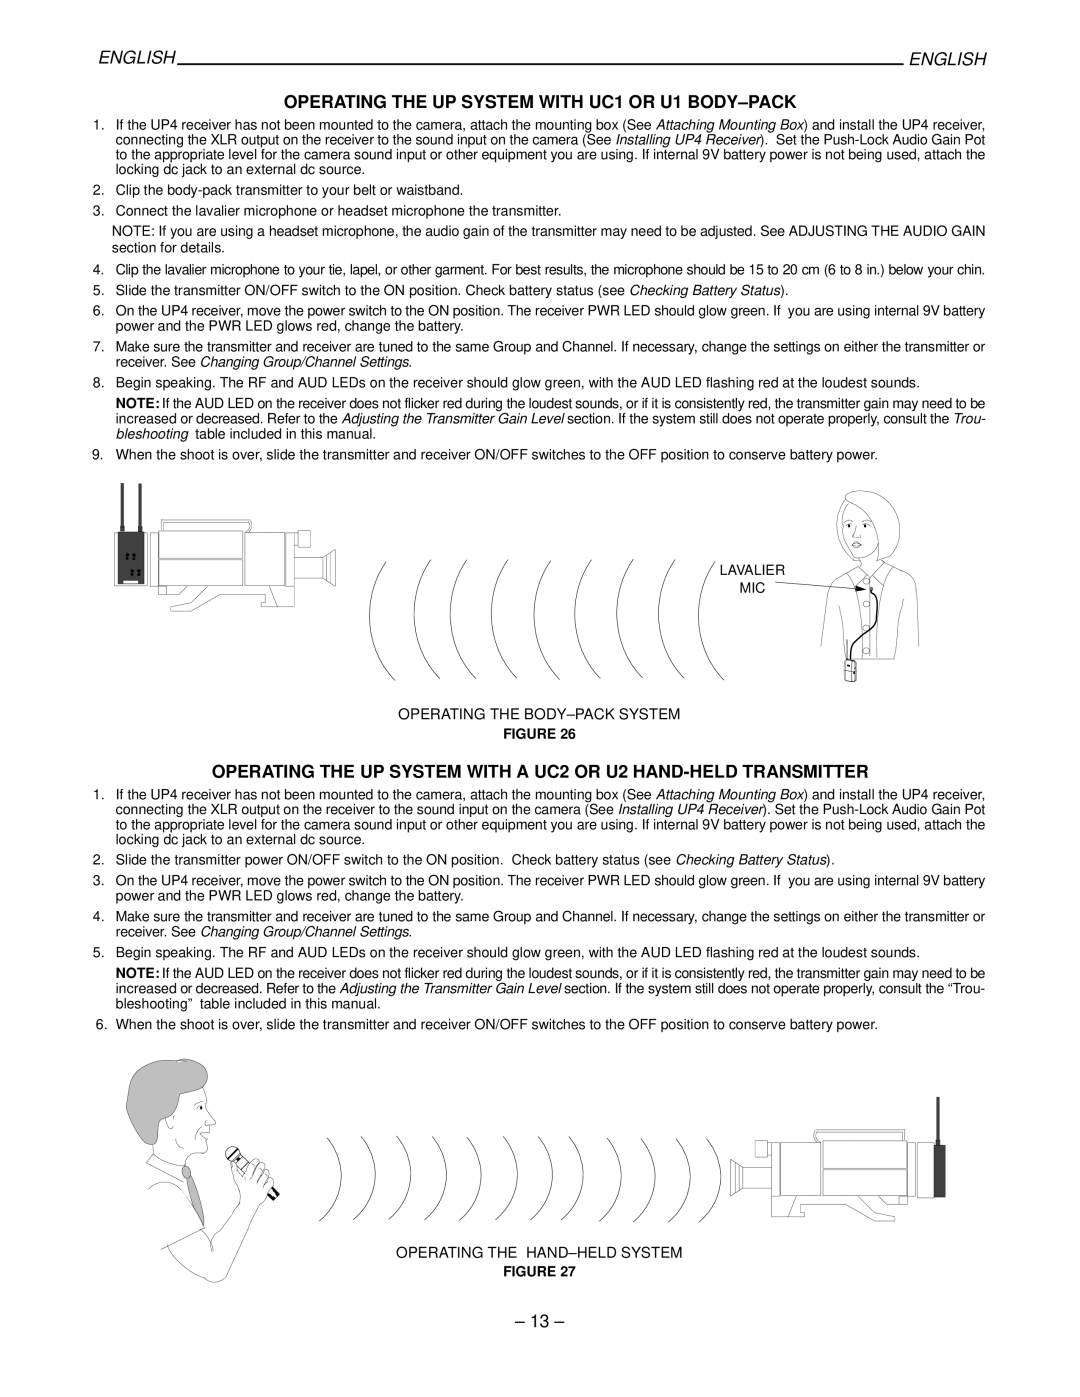
OPERATING THE UP SYSTEM WITH UC1 OR U1 BODY–PACK
1.If the UP4 receiver has not been mounted to the camera, attach the mounting box (See Attaching Mounting Box) and install the UP4 receiver, connecting the XLR output on the receiver to the sound input on the camera (See Installing UP4 Receiver). Set the
2.Clip the
3.Connect the lavalier microphone or headset microphone the transmitter.
NOTE: If you are using a headset microphone, the audio gain of the transmitter may need to be adjusted. See ADJUSTING THE AUDIO GAIN section for details.
4.Clip the lavalier microphone to your tie, lapel, or other garment. For best results, the microphone should be 15 to 20 cm (6 to 8 in.) below your chin.
5.Slide the transmitter ON/OFF switch to the ON position. Check battery status (see Checking Battery Status).
6.On the UP4 receiver, move the power switch to the ON position. The receiver PWR LED should glow green. If you are using internal 9V battery power and the PWR LED glows red, change the battery.
7.Make sure the transmitter and receiver are tuned to the same Group and Channel. If necessary, change the settings on either the transmitter or receiver. See Changing Group/Channel Settings.
8.Begin speaking. The RF and AUD LEDs on the receiver should glow green, with the AUD LED flashing red at the loudest sounds.
NOTE: If the AUD LED on the receiver does not flicker red during the loudest sounds, or if it is consistently red, the transmitter gain may need to be increased or decreased. Refer to the Adjusting the Transmitter Gain Level section. If the system still does not operate properly, consult the Trou- bleshooting table included in this manual.
9.When the shoot is over, slide the transmitter and receiver ON/OFF switches to the OFF position to conserve battery power.
LAVALIER
MIC
OPERATING THE
FIGURE 26
OPERATING THE UP SYSTEM WITH A UC2 OR U2
1.If the UP4 receiver has not been mounted to the camera, attach the mounting box (See Attaching Mounting Box) and install the UP4 receiver, connecting the XLR output on the receiver to the sound input on the camera (See Installing UP4 Receiver). Set the
2.Slide the transmitter power ON/OFF switch to the ON position. Check battery status (see Checking Battery Status).
3.On the UP4 receiver, move the power switch to the ON position. The receiver PWR LED should glow green. If you are using internal 9V battery power and the PWR LED glows red, change the battery.
4.Make sure the transmitter and receiver are tuned to the same Group and Channel. If necessary, change the settings on either the transmitter or receiver. See Changing Group/Channel Settings.
5.Begin speaking. The RF and AUD LEDs on the receiver should glow green, with the AUD LED flashing red at the loudest sounds.
NOTE: If the AUD LED on the receiver does not flicker red during the loudest sounds, or if it is consistently red, the transmitter gain may need to be increased or decreased. Refer to the Adjusting the Transmitter Gain Level section. If the system still does not operate properly, consult the “Trou- bleshooting” table included in this manual.
6.When the shoot is over, slide the transmitter and receiver ON/OFF switches to the OFF position to conserve battery power.
OPERATING THE
FIGURE 27
– 13 –