4 Alignments and Adjustments
4-3 Using the OSD Service function
After replacement of the LCD Panel or Lamp(s), use the 800TFT’s OSD Service Function to complete your service.
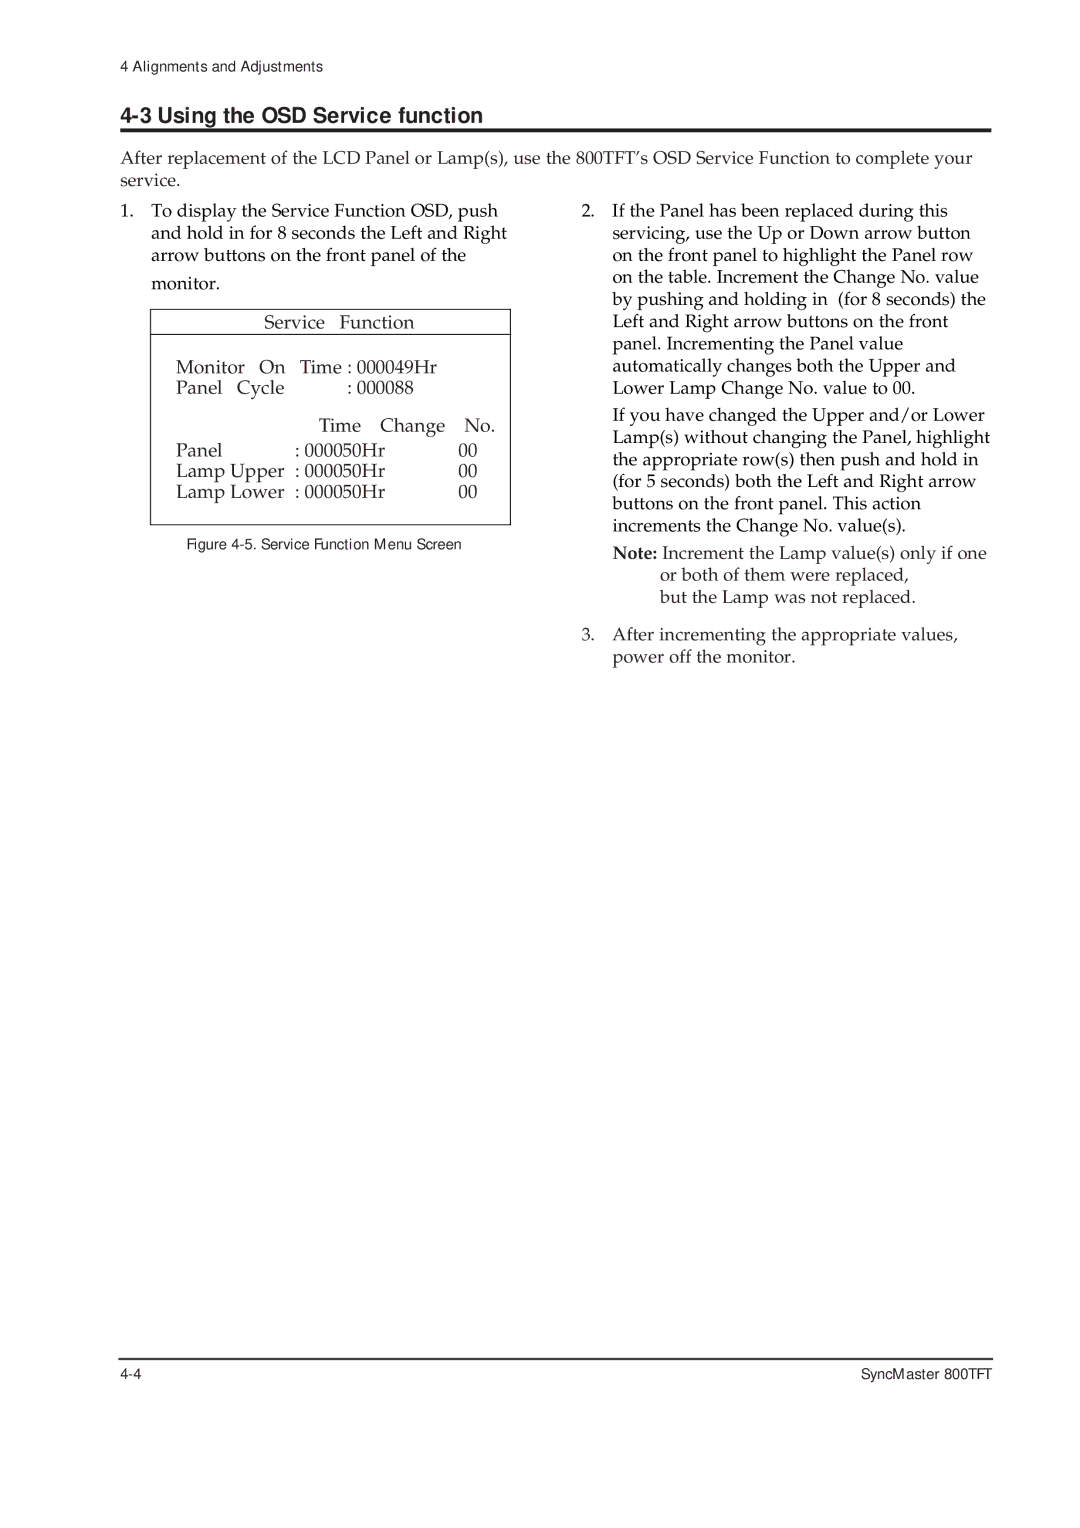
1.To display the Service Function OSD, push and hold in for 8 seconds the Left and Right arrow buttons on the front panel of the
monitor.
| Service | Function |
|
Monitor On Time : 000049Hr |
| ||
Panel | Cycle | : 000088 |
|
| Time Change | No. | |
Panel | : 000050Hr | 00 | |
Lamp Upper : 000050Hr | 00 | ||
Lamp Lower : 000050Hr | 00 | ||
|
|
|
|
Figure 4-5. Service Function Menu Screen
2.If the Panel has been replaced during this servicing, use the Up or Down arrow button on the front panel to highlight the Panel row on the table. Increment the Change No. value by pushing and holding in (for 8 seconds) the Left and Right arrow buttons on the front panel. Incrementing the Panel value automatically changes both the Upper and Lower Lamp Change No. value to 00.
If you have changed the Upper and/or Lower Lamp(s) without changing the Panel, highlight the appropriate row(s) then push and hold in (for 5 seconds) both the Left and Right arrow buttons on the front panel. This action increments the Change No. value(s).
Note: Increment the Lamp value(s) only if one or both of them were replaced,
but the Lamp was not replaced.
3.After incrementing the appropriate values, power off the monitor.
SyncMaster 800TFT |
