The operating components
On the device
qCD compartment
w |
| OPEN/CLOSE | - Pressure point, CD compart- |
|
|
| ment open /close |
eDisplay
rInfrared sensor for the remote control signals
t LED STEREO | - VHF stereo reception indicator |
y/ PLAY/PAUSE/BAND - Playback start/stop
| radio band switching |
u STOP/FM MO/ST. | - End playback |
| VHF mono/stereo switching |
i SNOOZE | - Switch on snooze function |
o TUNING | - Radio station tuning |
aCassette compartment cover
s |
|
| - Stop cassette playback |
d |
|
| - End cassette playback |
|
|
| - Open cassette compartment |
f |
|
| - Cassette wind forward |
g |
|
| - Cassette wind backwards |
h |
|
| - Start cassette playback |
j |
|
| - Start cassette recording |
k |
|
| - Headphones socket |
l VOL + | - Volume increase | ||
1( | VOL — | - Volume decrease | |
2) | USB IN | - USB port | |
2! | - CD programme saving/ | ||
|
|
| setting the time of day |
2@ | FUNCTION | - Select mode of operation | |
2# | LED STANDBY | - Operation indicator | |
2$ |
| STANDBY | - On / Standby button |
| |||
| |||
2% |
| SKIP/SEARCH | - Title skip/Search backwards |
2^ | PLAY MODE | - Repeat function/Random | |
|
|
| playback |
2& |
| SKIP/SEARCH | - Title skip/Search forward |
2* | Speaker |
| |
2( | Mains power switch |
| |
3)Power cord
3! LEFT speaker connection + 3@ LEFT speaker connection — 3# RIGHT speaker connection — 3$ RIGHT speaker connection + 3% FM (VHF) dipole antenna 3^ LINE
On the remote control: |
| ||
3& |
| STANDBY/ON | - On / Standby button |
| |||
| |||
3* |
| / PLAY/PAUSE/BAND - CD playback start/stop | |
|
|
| - radio band switching |
3( |
| STOP/FM MONO/ST. | - CD playback end |
|
|
| VHF mono/stereo switching |
4) |
| SKIP/SEARCH | - Title skip/Search forward |
4! |
| SKIP/SEARCH | - Title skip/Search backward |
4@ |
| FOLDER | - to the next MP3/WMA folder |
4# |
| FOLDER | - to the previous MP3/WMA folder |
4$ | AL. SET/OFF | - Alarm 2 set/deactivate | |
4% | AL. SET/OFF | - Alarm 1 set/deactivate | |
4^ | VOLUME + | - Volume increase | |
4& | VOLUME — | - Volume decrease | |
4* | Battery compartment (rear panel) | ||
4( |
| MUTE | - Switching sound to mute |
5) | EQ | - Activate sound settings | |
5! | SLEEP | - Setting the sleep function | |
5@ | PLAY MODE | - Repeat function/Random | |
|
|
| playback |
5# | FUNCTION | - Selecting mode of operation | |
Inserting the batteries
The remote control requires a 3 V battery type CR2032, which has been preinstalled at the factory. To protect against premature discharging the poles have been isolated with a plastic strip, which you can simply pull out before initial op- eration. The remote control is then ready for operation.
If the device no longer reacts reliably on the remote control signal, the battery is depleted. Change the battery with a new one of the same type.
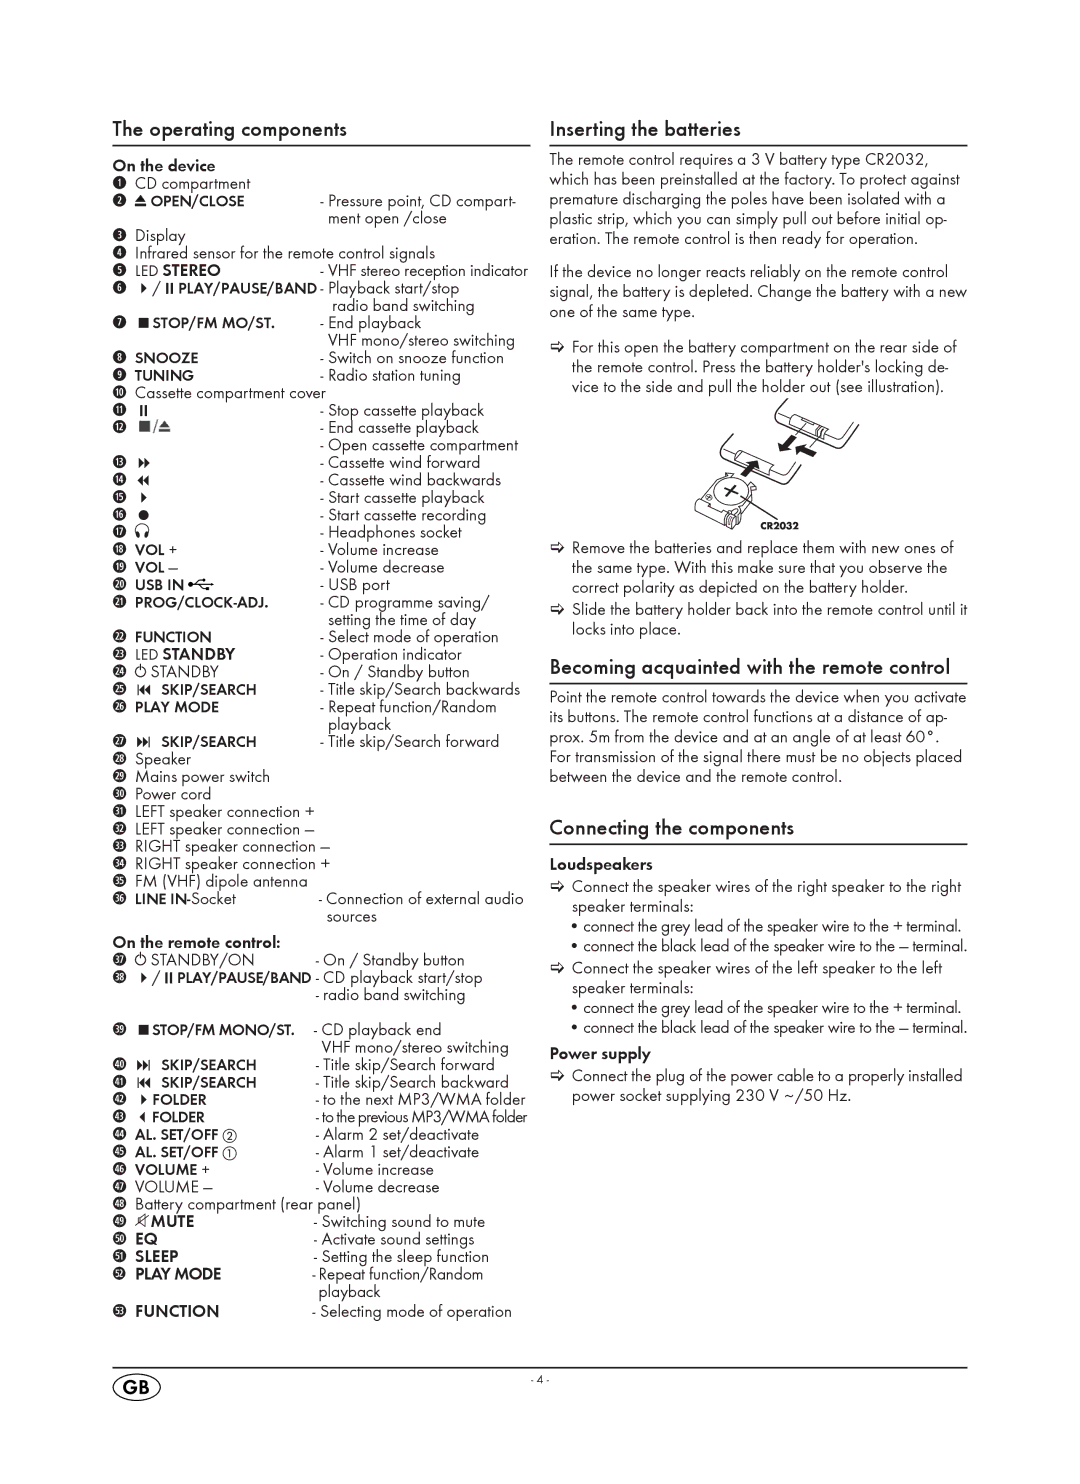
>For this open the battery compartment on the rear side of the remote control. Press the battery holder's locking de- vice to the side and pull the holder out (see illustration).
>Remove the batteries and replace them with new ones of the same type. With this make sure that you observe the correct polarity as depicted on the battery holder.
>Slide the battery holder back into the remote control until it locks into place.
Becoming acquainted with the remote control
Point the remote control towards the device when you activate its buttons. The remote control functions at a distance of ap- prox. 5m from the device and at an angle of at least 60°. For transmission of the signal there must be no objects placed between the device and the remote control.
Connecting the components
Loudspeakers
>Connect the speaker wires of the right speaker to the right speaker terminals:
•connect the grey lead of the speaker wire to the + terminal.
•connect the black lead of the speaker wire to the — terminal.
>Connect the speaker wires of the left speaker to the left speaker terminals:
•connect the grey lead of the speaker wire to the + terminal.
•connect the black lead of the speaker wire to the — terminal.
Power supply
>Connect the plug of the power cable to a properly installed power socket supplying 230 V ~/50 Hz.
- 4 -