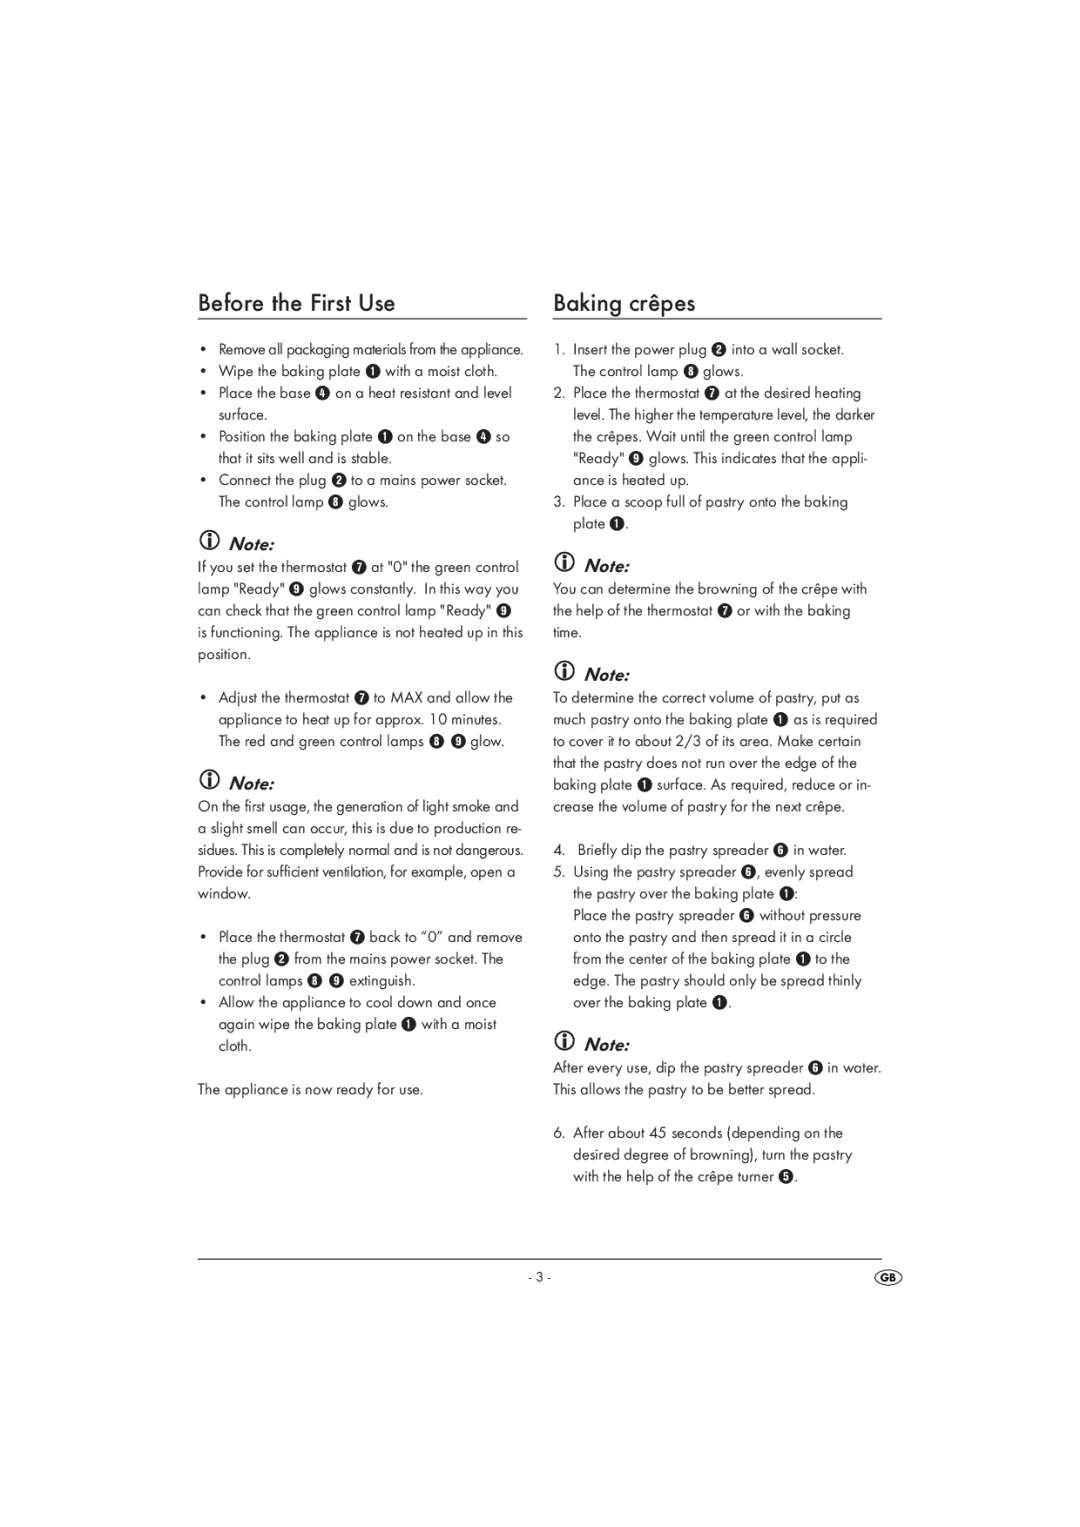
SCM1400A1-05/10-V2 specifications
The Silvercrest SCM1400A1-05/10-V2 is an innovative kitchen appliance designed to simplify food preparation for home cooks. This versatile device combines efficiency and advanced technology to meet the needs of modern kitchens. With its sleek design and user-friendly interface, it has gained popularity among culinary enthusiasts and casual cooks alike.One of the standout features of the Silvercrest SCM1400A1-05/10-V2 is its powerful motor, which provides robust performance for various tasks, including chopping, blending, and mixing. This appliance is equipped with high-quality stainless steel blades that ensure consistent results and durability. Whether you need to puree vegetables for a soup or crush ice for a smoothie, the SCM1400A1-05/10-V2 handles it with ease.
Versatility is at the core of this device. It comes with multiple speed settings that allow users to tailor the processing speed to their specific needs. This feature is particularly useful when working with different types of ingredients, as it provides greater control over texture and consistency. Additionally, the appliance includes various attachments, such as a whisk, dough hook, and a chopping bowl, expanding its functionality further.
Safety is paramount in kitchen appliances, and the Silvercrest SCM1400A1-05/10-V2 does not disappoint. It features a secure locking system that ensures safe assembly and operation. The non-slip base adds stability during use, preventing the appliance from moving on kitchen surfaces. Furthermore, its compact design allows for convenient storage, making it an excellent choice for those with limited countertop space.
The SCM1400A1-05/10-V2 is also designed with ease of cleaning in mind. The removable parts are dishwasher safe, which significantly reduces the time and effort required for maintenance after cooking. The appliance’s modern aesthetic complements any kitchen interior, making it both a functional and attractive addition to the home.
In summary, the Silvercrest SCM1400A1-05/10-V2 combines powerful performance, versatile functionality, and user-friendly design in one compact appliance. Its advanced technologies, such as multiple speed settings and durable materials, cater to the diverse needs of home cooks. Ideal for anyone looking to enhance their culinary experience, this innovative kitchen tool is a valuable investment for both novice cooks and seasoned chefs.

