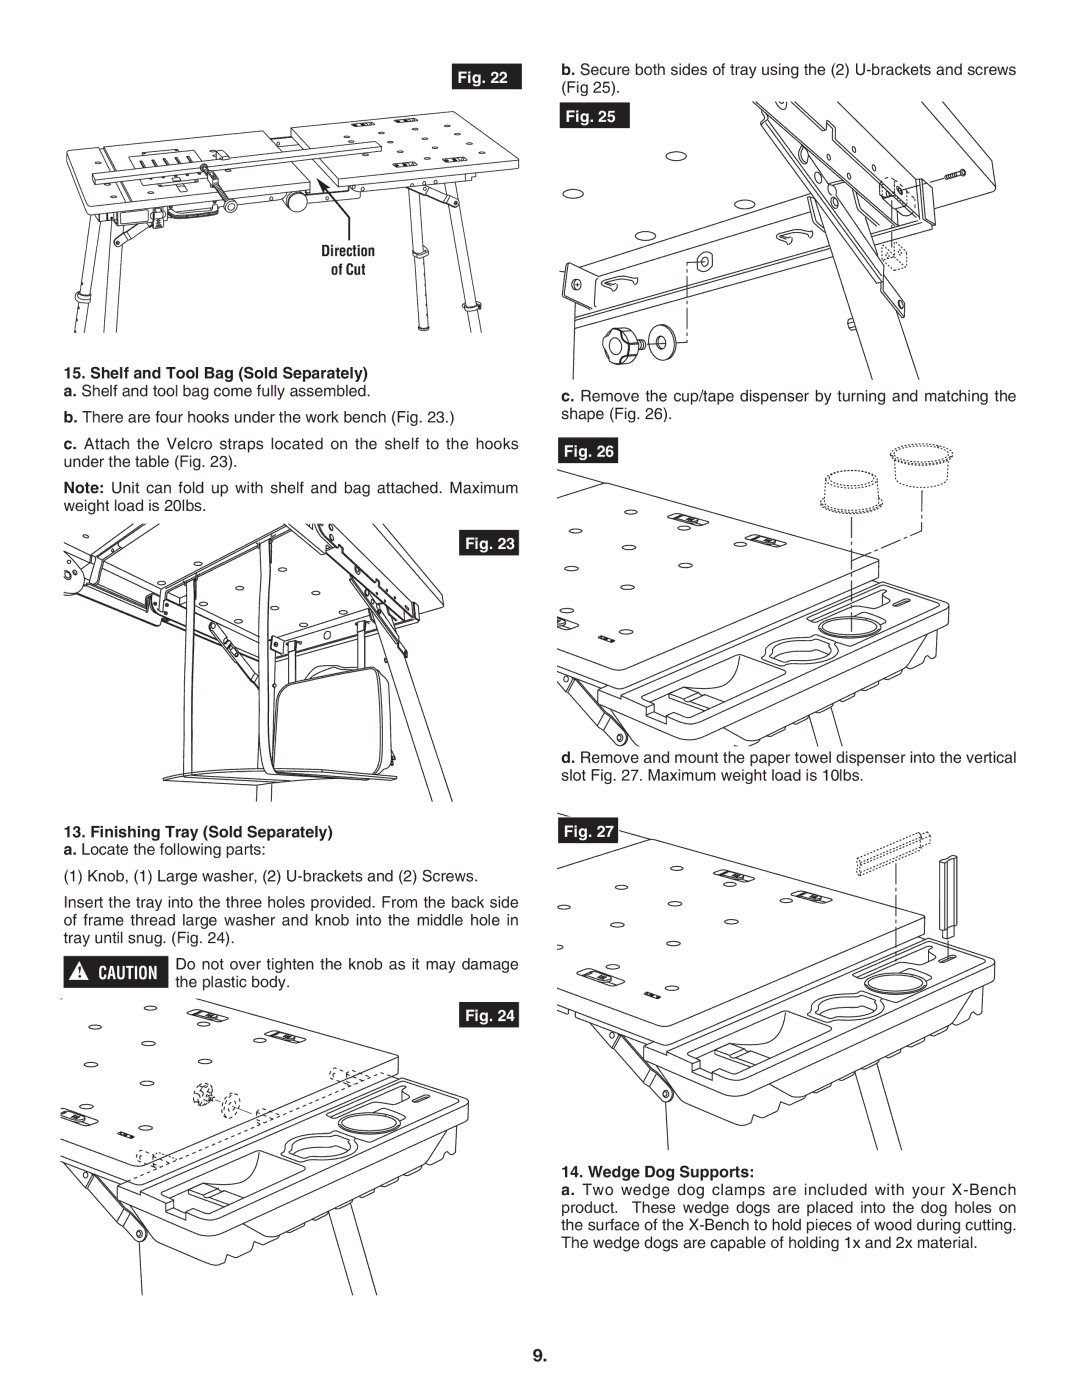
Fig. 22
Direction
of Cut
b. Secure both sides of tray using the (2)
Fig. 25
15.Shelf and Tool Bag (Sold Separately) a. Shelf and tool bag come fully assembled.
b. There are four hooks under the work bench (Fig. 23.)
c. Attach the Velcro straps located on the shelf to the hooks under the table (Fig. 23).
Note: Unit can fold up with shelf and bag attached. Maximum weight load is 20lbs.
Fig. 23
13.Finishing Tray (Sold Separately) a. Locate the following parts:
(1) Knob, (1) Large washer, (2)
Insert the tray into the three holes provided. From the back side of frame thread large washer and knob into the middle hole in tray until snug. (Fig. 24).
! | CAUTION | Do not over tighten the knob as it may damage | |
the plastic body. | |||
|
| ||
|
| Fig. 24 |
c. Remove the cup/tape dispenser by turning and matching the shape (Fig. 26).
Fig. 26
d. Remove and mount the paper towel dispenser into the vertical slot Fig. 27. Maximum weight load is 10lbs.
Fig. 27
14. Wedge Dog Supports:
a.Two wedge dog clamps are included with your
9.