Connections and Setup
Plug in the TV
Plug the end of the power cord into the back of the TV. Plug the other end into a wall outlet. Insert the plug completely into the outlet. Do not plug into an outlet controlled by a light switch.
Put Batteries in the Remote
Remove the battery(AAA) compartment cover from the back of the remote by pushing the Tab and lifting off the cover.
Insert two fresh batteries. Make sure the polarities (+ and
Turn on the TV
Turn on your TV by pressing the Power button on the side of the TV or ON/OFF on the remote control.
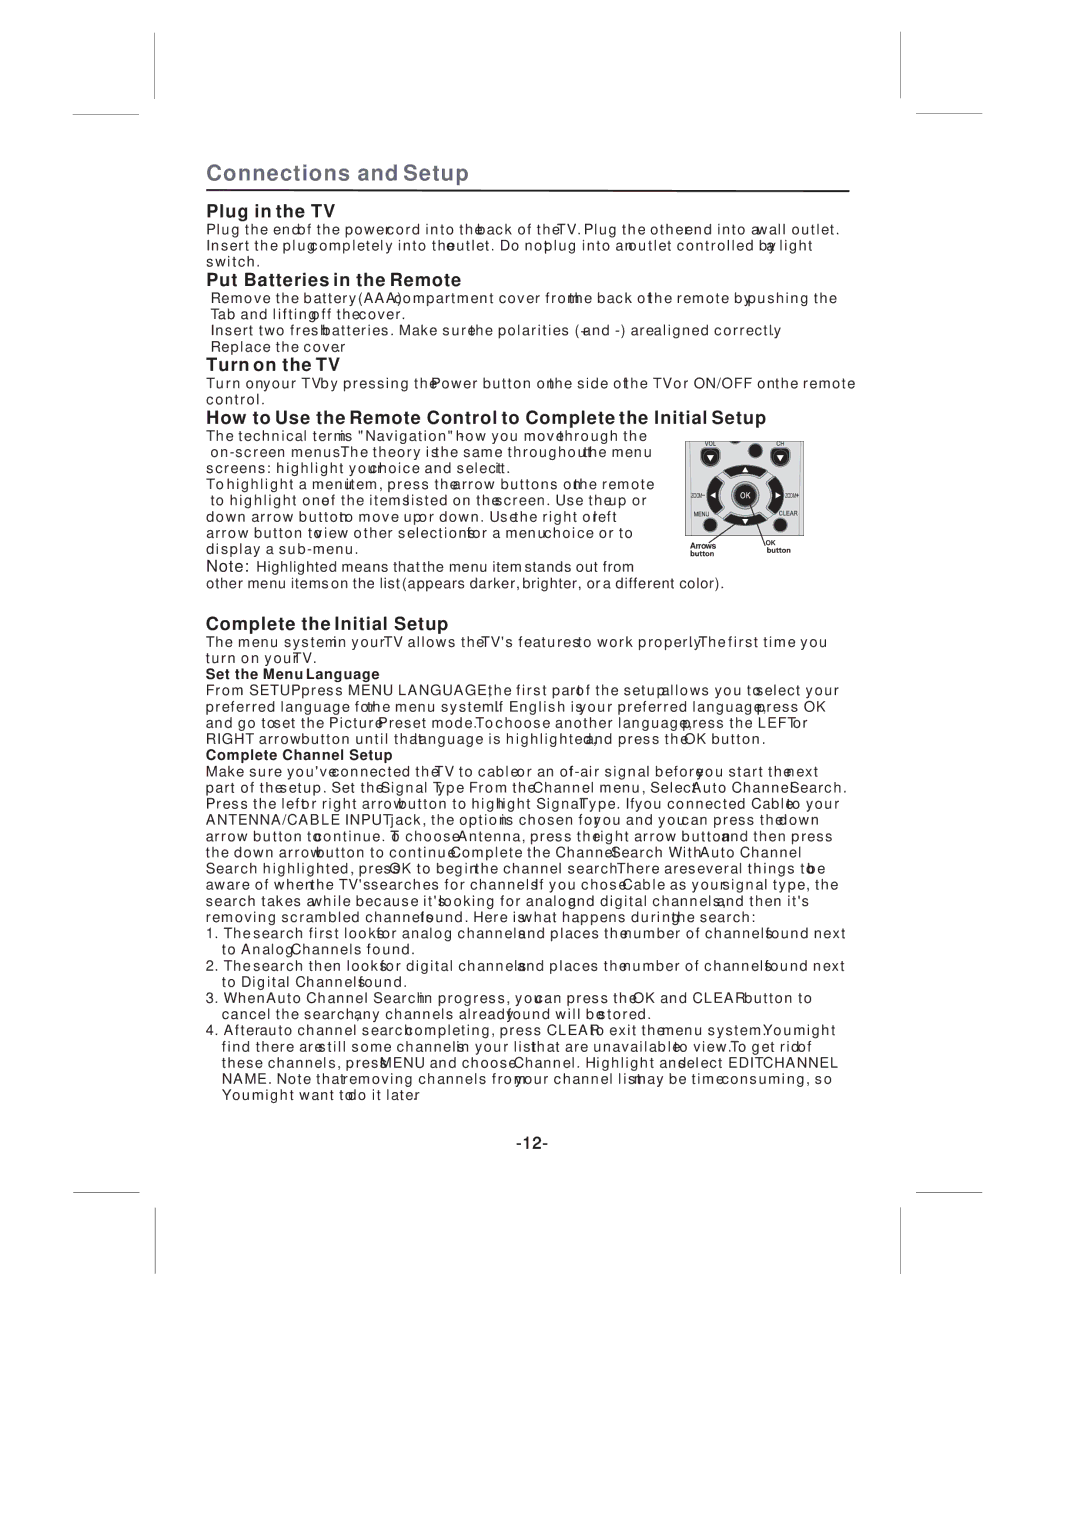
How to Use the Remote Control to Complete the Initial Setup
The technical term is "Navigation" - how you move through the
|
| ||
screens: highlight your choice and select it. |
|
| |
To highlight a menu item, press the arrow buttons on the remote |
|
| |
to highlight one of the items listed on the screen. Use the up or | ZOOM | ZOOM | |
|
| ||
down arrow button to move up or down. Use the right or left |
|
| |
arrow button to view other selections for a menu choice or to |
| OK | |
display a | Arrows | ||
|
Note: Highlighted means that the menu item stands out from
other menu items on the list (appears darker, brighter, or a different color).
Complete the Initial Setup
The menu system in your TV allows the TV's features to work properly. The first time you turn on your TV.
Set the Menu Language
From SETUP press MENU LANGUAGE, the first part of the setup allows you to select your preferred language for the menu system. If English is your preferred language, press OK and go to set the Picture Preset mode. To choose another language, press the LEFT or RIGHT arrow button until that language is highlighted, and press the OK button.
Complete Channel Setup
Make sure you've connected the TV to cable or an
1.The search first looks for analog channels and places the number of channels found next to Analog Channels found.
2.The search then looks for digital channels and places the number of channels found next to Digital Channels found.
3.When Auto Channel Search in progress, you can press the OK and CLEAR button to cancel the search, any channels already found will be stored.
4.After auto channel search completing, press CLEAR to exit the menu system. You might find there are still some channels in your list that are unavailable to view. To get rid of these channels, press MENU and choose Channel. Highlight and select EDIT CHANNEL NAME. Note that removing channels from your channel list may be time consuming, so You might want to do it later.
