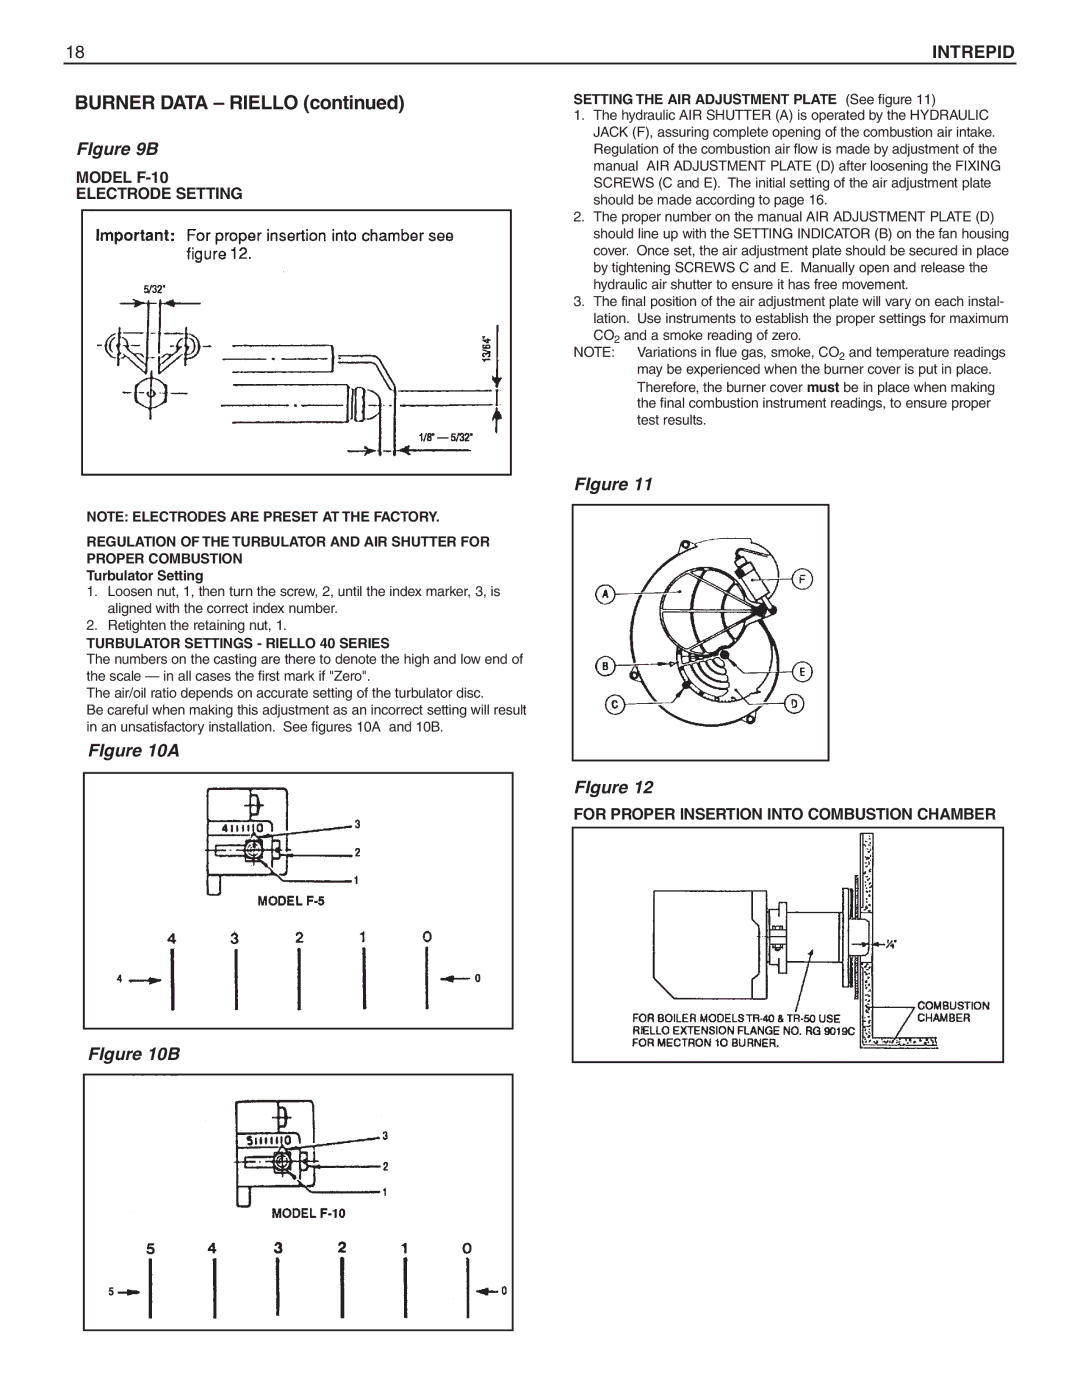
Oil-fired Boiler specifications
The Slant/Fin Oil-fired Boiler is renowned for its reliable performance and efficiency in residential and commercial heating applications. Designed to deliver optimal heating while minimizing fuel costs, this boiler is an excellent choice for those looking to maximize comfort in their living spaces.One of the main features of the Slant/Fin Oil-fired Boiler is its robust construction, which ensures longevity and resilience against harsh conditions. Crafted from high-quality materials, the boiler boasts a cast iron heat exchanger that provides superior heat retention and distribution. This construction not only contributes to its durability but also enhances its overall energy efficiency.
A standout characteristic of the Slant/Fin Oil-fired Boiler is its advanced burner technology. The unit incorporates a high-efficiency oil burner that ensures complete combustion of the fuel. This upgrade leads to significant energy savings while producing low emissions, thereby making it an environmentally friendly heating solution. The burner is designed for quiet operation, which adds to the comfort of home environments.
The boiler is equipped with an innovative control system that allows users to easily monitor and adjust settings for optimal performance. This feature aids in maintaining a consistent temperature throughout the home, ensuring comfort during the coldest months. Additionally, the system offers diagnostic capabilities, making it easier to troubleshoot and maintain.
Another key characteristic of the Slant/Fin Oil-fired Boiler is its versatility in installation. The compact design allows for installation in a variety of spaces, including basements, utility rooms, and garages. This adaptability makes it a popular choice for homeowners looking to optimize their heating solutions without compromising on space.
Furthermore, Slant/Fin offers a variety of models within its oil-fired boiler range to cater to diverse heating needs. This range includes different output capacities to accommodate various home sizes. With a focus on user-friendly design, the boilers come with clear instructions and support for installation and maintenance.
In conclusion, the Slant/Fin Oil-fired Boiler stands out for its durability, efficiency, and advanced technologies. Its cast iron construction, high-efficiency oil burner, and innovative control systems combine to create a reliable heating solution. A perfect fit for both residential and commercial applications, this boiler ensures comfort and peace of mind, making it a preferred choice among homeowners seeking quality and performance in their heating systems.

