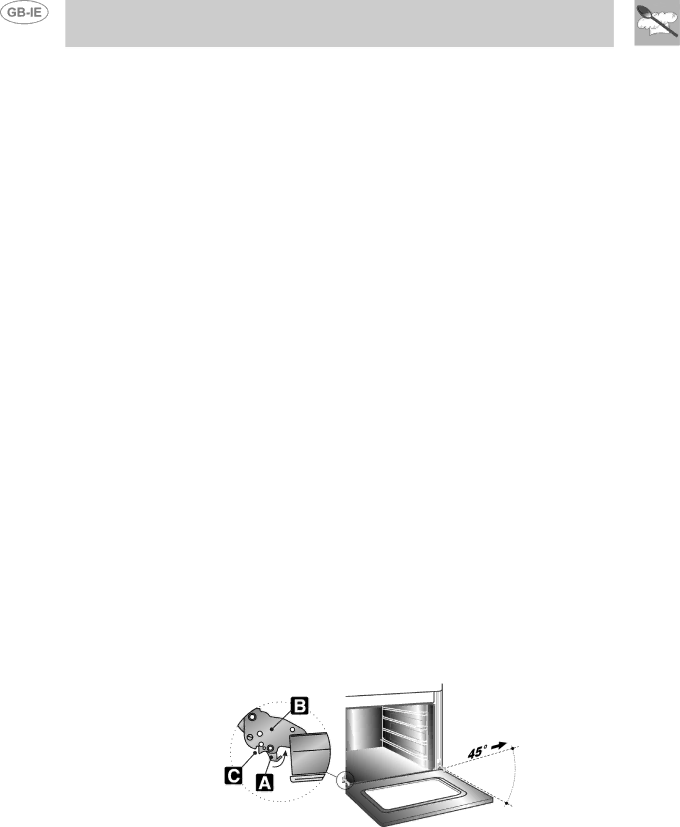
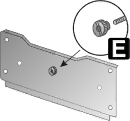
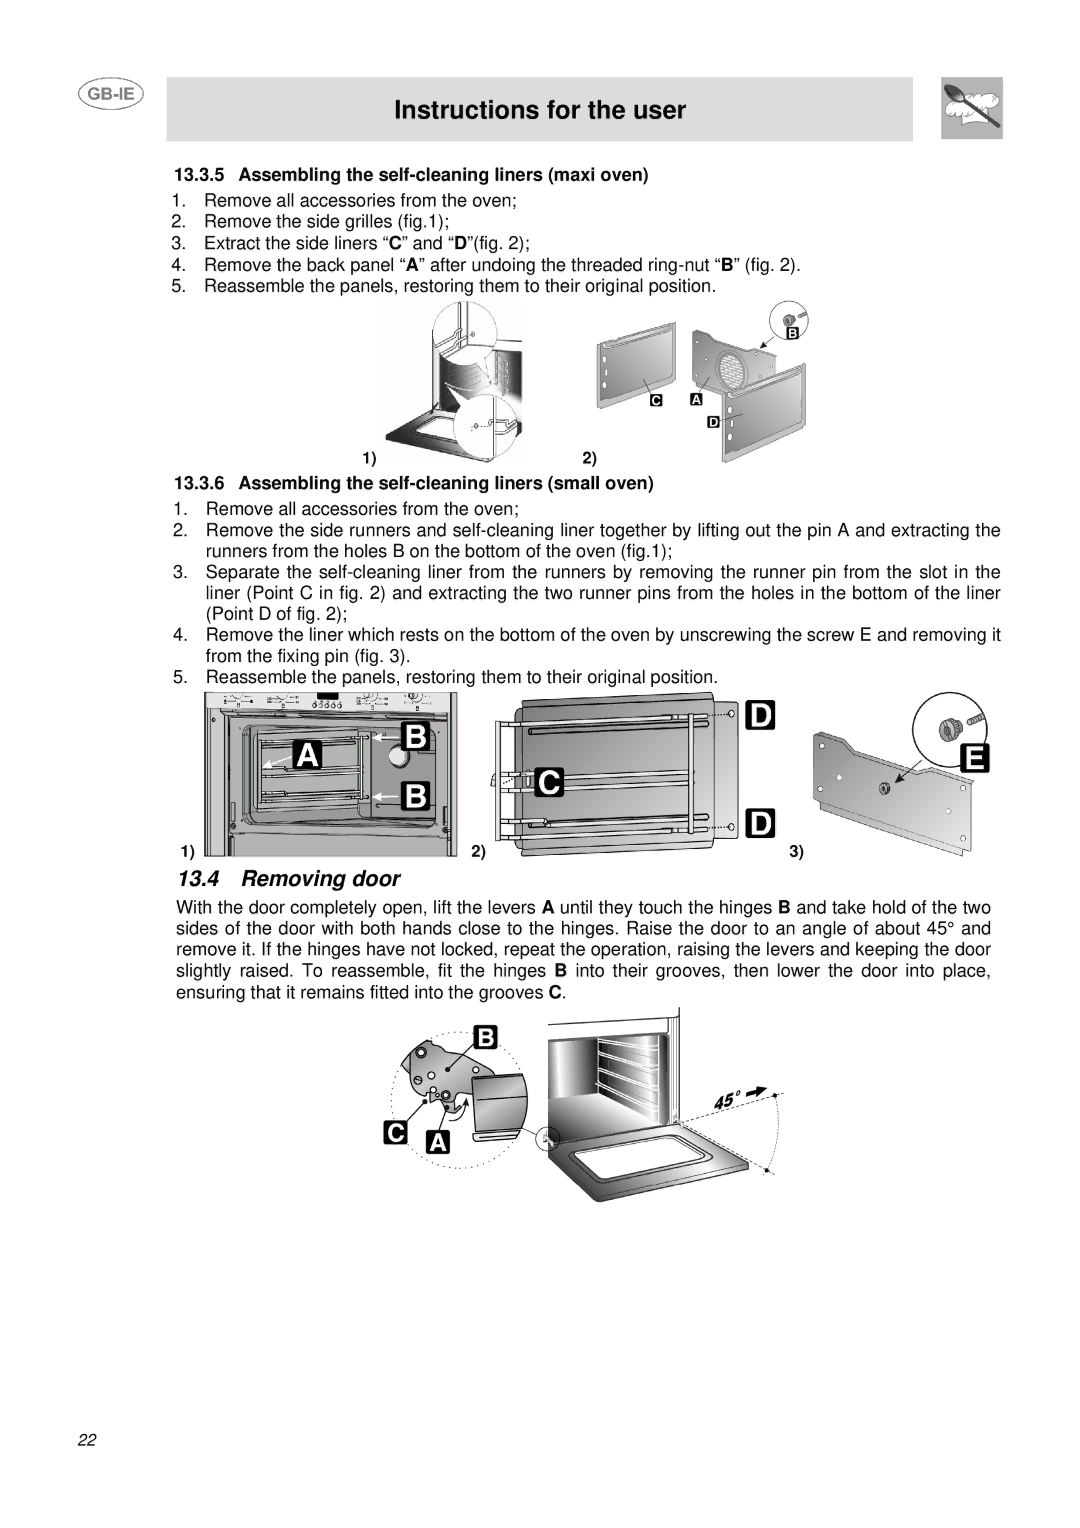
 2)
2)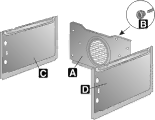
 2)
2) 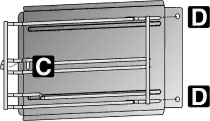 3)
3) 
DUCO4SS specifications
The Smeg DUCO4SS is a stunning addition to the world of kitchen appliances, combining sleek design with advanced performance. This built-in dishwasher is part of Smeg's esteemed range of products known for their stylish aesthetics and high functionality. The DUCO4SS is particularly appealing to those who value both form and function in their kitchen.One of the standout features of the DUCO4SS is its generous capacity, capable of accommodating up to 13 place settings. This makes it an ideal choice for families or individuals who frequently entertain guests. With adjustable racks, including a height-adjustable upper rack, users can easily customize the interior layout to fit larger pots and pans. The flexible loading configurations ensure that every inch of space is utilized efficiently.
In terms of performance, the Smeg DUCO4SS is equipped with an impressive energy efficiency rating, which is a significant consideration for eco-conscious consumers. It operates quietly, with a noise level of just 44 dB, making it suitable for open-plan living environments. The appliance is designed to minimize water consumption without compromising on cleaning power, featuring advanced wash programs that are tailored for various needs.
The DUCO4SS comes with multiple wash programs, including intensive, eco, and quick wash settings, allowing users to select the optimal cycle for their specific load. Additionally, the dishwasher incorporates Smeg’s innovative washing technologies, such as the Aquastop system that prevents leaks and the dual spray arm system that enhances water circulation for superior cleaning performance.
Ease of use is further enhanced with the appliance’s digital display and intuitive control panel that allows for straightforward operation. The delayed start function is a convenient feature, enabling users to set the dishwasher to run at a time that suits them best, often during off-peak energy hours for cost efficiency.
Furthermore, the Smeg DUCO4SS boasts an elegant stainless-steel finish that blends seamlessly with modern kitchen designs. Its robust build ensures durability, while the sophisticated look adds a touch of luxury to any culinary space.
In summary, the Smeg DUCO4SS is an exceptional built-in dishwasher that embodies the perfect balance of style and performance. With its generous capacity, advanced technologies, energy efficiency, and user-friendly features, it stands out as an investment that enhances both the functionality and aesthetics of the contemporary kitchen.